Snow White Table
Custom Snow White side table
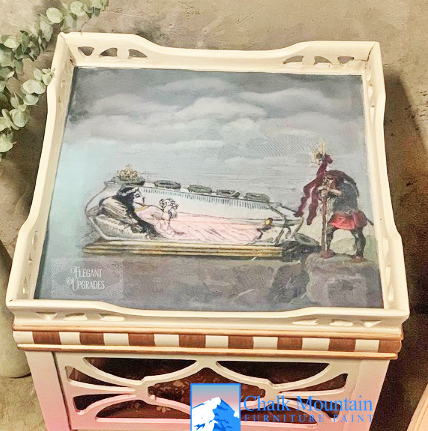
Taryn with Elegant Upgrades likes to use these vintage tables with ledges for decoupaged tops. The rim around the top gives a frame to work within. Choose your print and then dry fit it to the area you want it in. I use the satin poly to apply my papers. Just brush the surface of the table and then lay the paper gently over the top trying to smooth out creases and bubbles as you go. Then apply another layer of the poly over the top. Let that dry over night.
Now for the fun part! Pick out your paint colors- the more the merrier I think. I use small artist brushes to stay within the lines and I keep a cup of water on hand because you want your paint REALLY watered down. You want to be able to see the print through the paint. And don’t worry about messing up- since it was sealed with poly over night you can just wipe back any mistakes. Once you have your print painted to your liking and it’s fully dry, you then seal it with another layer of poly. (And go ahead and add another if you want extra protection) Voila! You have a magnificent piece of art brought to life on a tabletop (or whatever surface you chose to use 😉)
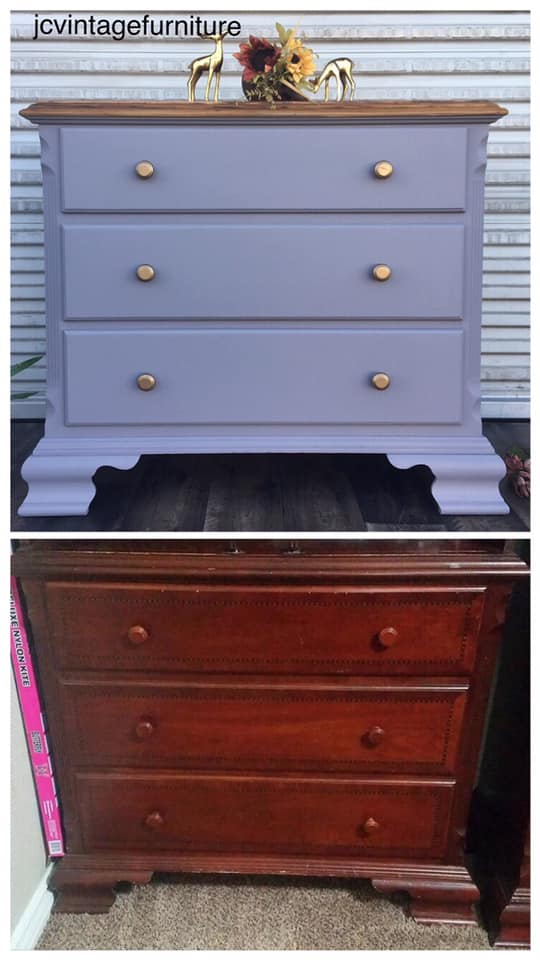
This is the sweetest little table ever!!! Adorned with a vintage Snow White print and water-colored in. Perfect for a little girls room.
Follow Taryn on Instagram Today:
https://www.instagram.com/elegantupgrades/
Chalk Mountain Furniture Product Links:
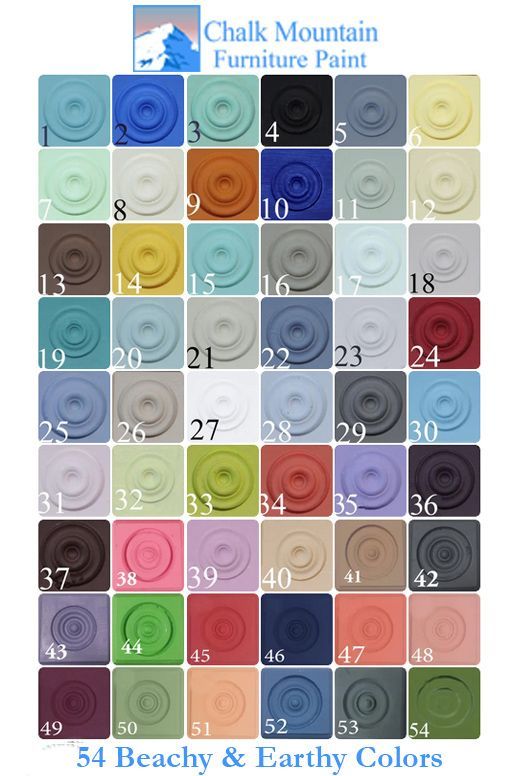
#21Light Khaki- https://www.chalkmountainpaint.com/store/Chalk-Mountain-Paint-21-Pebble-Beach-p214282136
#48 Rose Petal- https://www.chalkmountainpaint.com/store/Chalk-Mountain-Paint-48-Rose-Petal-p208925631
#43 Plum- https://www.chalkmountainpaint.com/store/Chalk-Mountain-Paint-43-Plum-Purple-p214929126
#27 Woodland Harbor- https://www.chalkmountainpaint.com/store/Chalk-Mountain-Paint-37-Woodland-Harbor-p214931048
Dark Antiquing Wax - https://www.chalkmountainpaint.com/store/8oz-Dark-Antiquing-Furniture-Finishing-Wax-p211255753
Satin Poly apply the deco- https://www.chalkmountainpaint.com/store/8oz-Poly-Acrylic-p263271906
Glazing Dusts for the guilded stripe - https://www.chalkmountainpaint.com/store/Glazing-Dust-1oz-Gold-p217819060
Follow Taryn on Instagram Today:
https://www.instagram.com/elegantupgrades/
Chalk Mountain Furniture Product Links:
#21Light Khaki- https://www.chalkmountainpaint.com/store/Chalk-Mountain-Paint-21-Pebble-Beach-p214282136
#48 Rose Petal- https://www.chalkmountainpaint.com/store/Chalk-Mountain-Paint-48-Rose-Petal-p208925631
#43 Plum- https://www.chalkmountainpaint.com/store/Chalk-Mountain-Paint-43-Plum-Purple-p214929126
#27 Woodland Harbor- https://www.chalkmountainpaint.com/store/Chalk-Mountain-Paint-37-Woodland-Harbor-p214931048
Dark Antiquing Wax - https://www.chalkmountainpaint.com/store/8oz-Dark-Antiquing-Furniture-Finishing-Wax-p211255753
Satin Poly apply the deco- https://www.chalkmountainpaint.com/store/8oz-Poly-Acrylic-p263271906
Glazing Dusts for the guilded stripe - https://www.chalkmountainpaint.com/store/Glazing-Dust-1oz-Gold-p217819060
May all your Mistakes be Serendipitous,
Chalk Mtn Supply
There are several ways to create a blending technique with chalk furniture paint, depending on the effect you're looking for and your comfort level. Wet Blending: This is a great technique for beginners and creates a smooth, seamless transition between colors. What you'll need: Chalk furniture paint in your desired colors, a dedicated brush for each color, a misting bottle filled with water, and a soft blending brush. Steps: Apply your base coat(s) in your chosen colors, leaving some space for blending between them. While the paint is still wet, lightly mist the area where the colors meet. Use your blending brush, dampened with water, to gently work the colors together in small circles or back-and-forth strokes. Continue misting and blending until you achieve the desired level of transition. Let the paint dry completely before adding another coat or sealant. Dry-Brush Blending: This method offers more control and is ideal for creating textured or distressed finishes. What you'll need: Chalk furniture paint in your desired colors, a flat brush for each color, and a stiff bristle brush. Steps: Apply your base coat(s) as desired. Dip the flat brush into one color and wipe off most of the paint on a paper towel. Lightly brush the color onto the other color in a dabbing motion, creating a feathered effect. Repeat with the other color, working in small sections. Use the stiff bristle brush to further blend and distress the colors if desired. Let the paint dry completely before adding another coat or sealant. Feathering Blending: This technique creates a soft, diffused transition between colors. What you'll need: Chalk furniture paint in your desired colors, a flat brush for each color, a clean, and a damp sponge. Steps: Apply your base coat(s) as desired. Dip the flat brush into one color and load it lightly. Use the sponge to dab the loaded brush onto the other color, creating a feathered edge. Repeat with the other color, working in small sections. Blend the edges further with the clean side of the sponge by lightly dabbing and lifting. Let the paint dry completely before adding another coat or sealant. Meshing Technique: This is a quicker, less controlled method that creates a mottled, blended effect. What you'll need: Chalk furniture paint in your desired colors, a chip brush, and a clear furniture wax or colored wax of your choice. Steps: Apply a base coat of your chosen color. Apply a thin coat of clear glaze over the entire surface. While the glaze is wet, randomly "slap" on small amounts of your other chosen colors with the chip brush. Let the furniture wax dry completely, then add another coat if desired. Tips: Always practice on a scrap piece of wood or furniture before starting your project. Work in small sections to avoid blending too much paint at once. Keep your blending brush damp for wet blending and dry for dry-brush blending. Don't be afraid to experiment with different colors, techniques, and tools to achieve your desired effect. There are many online tutorials and resources available to help you learn more about chalk furniture paint blending techniques. We hope this helps! Contact us today if you have any further questions. May all your Mistakes be Serendipitous.
Starting your furniture upcycle business with Chalk Mountain
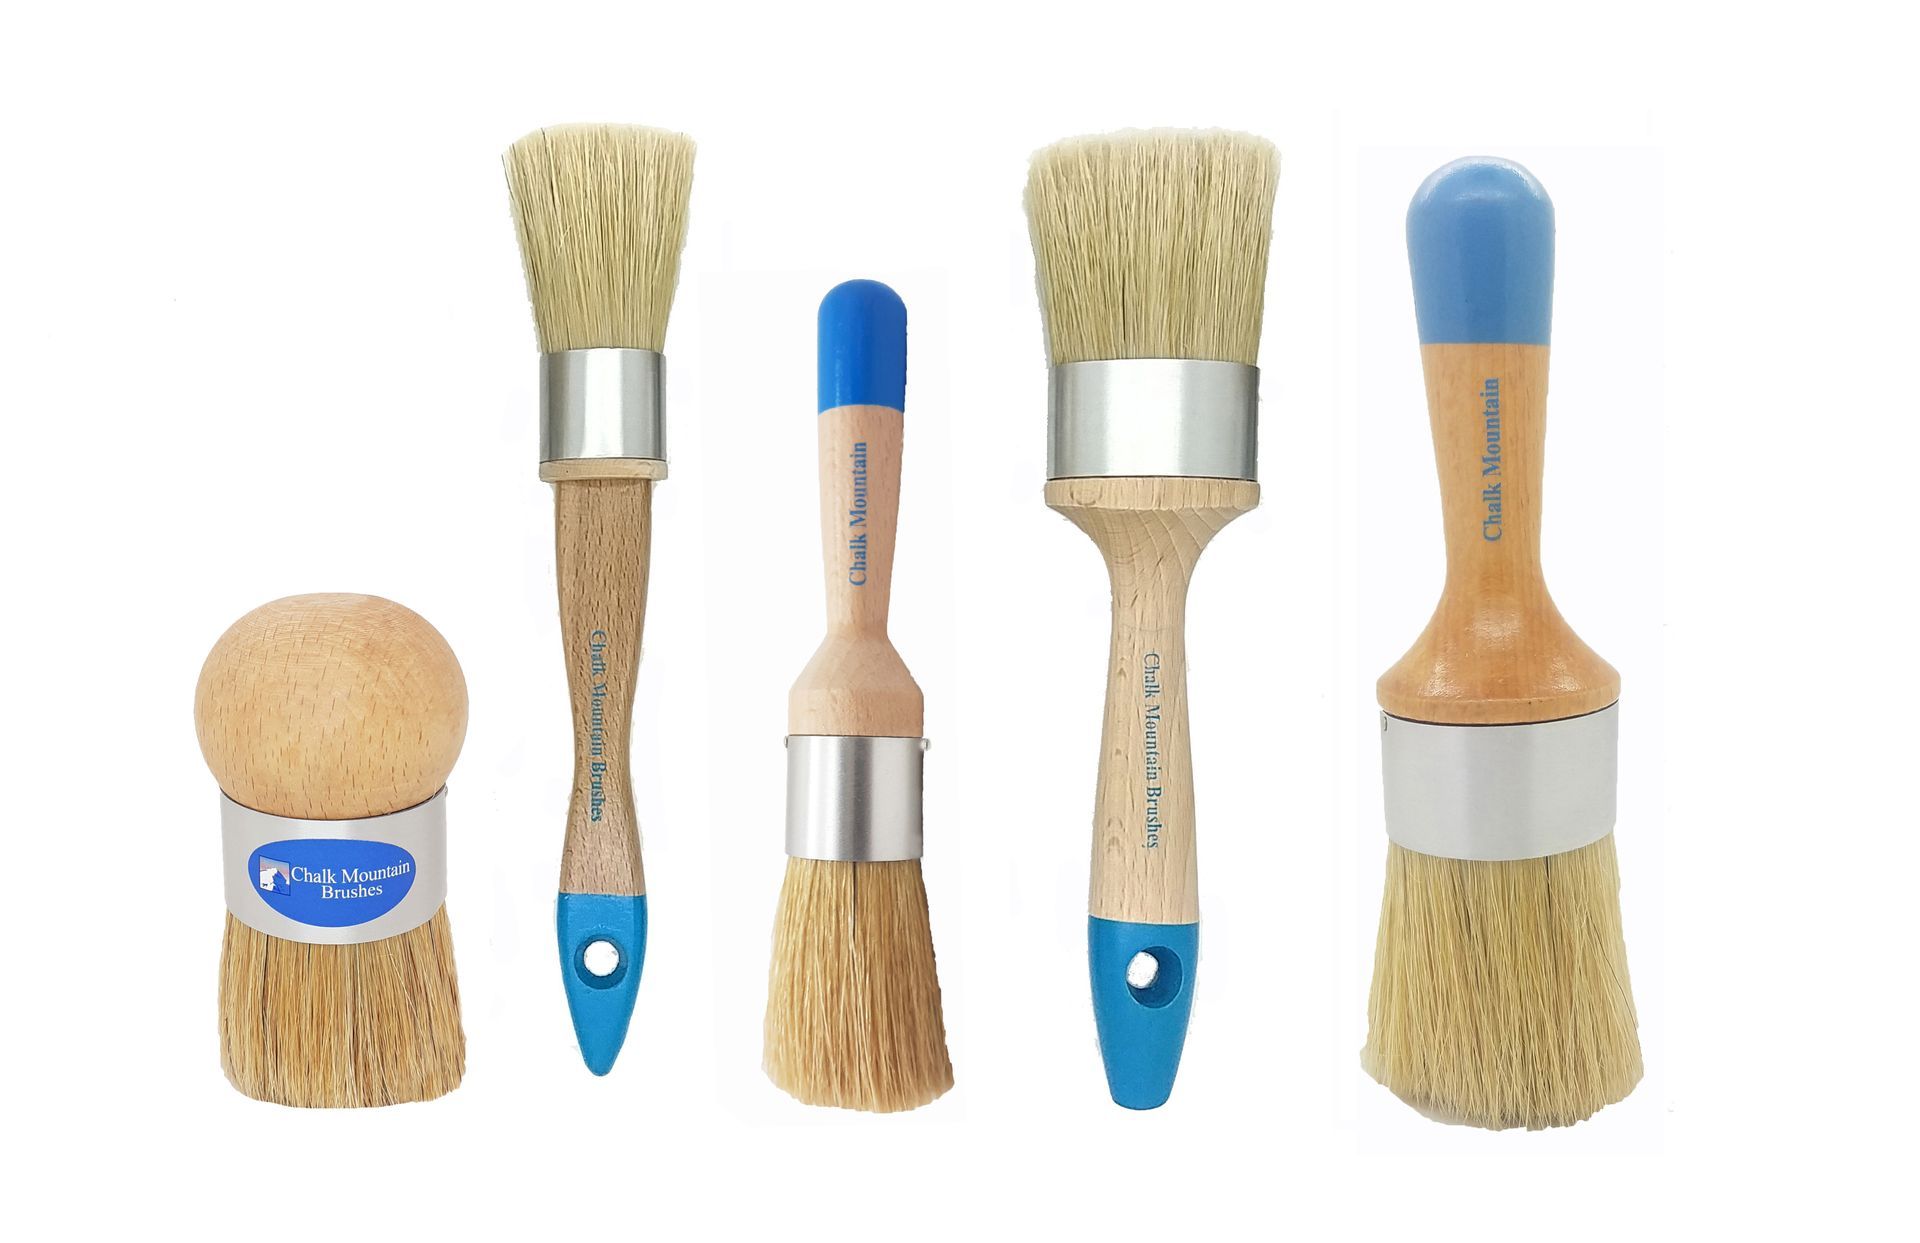
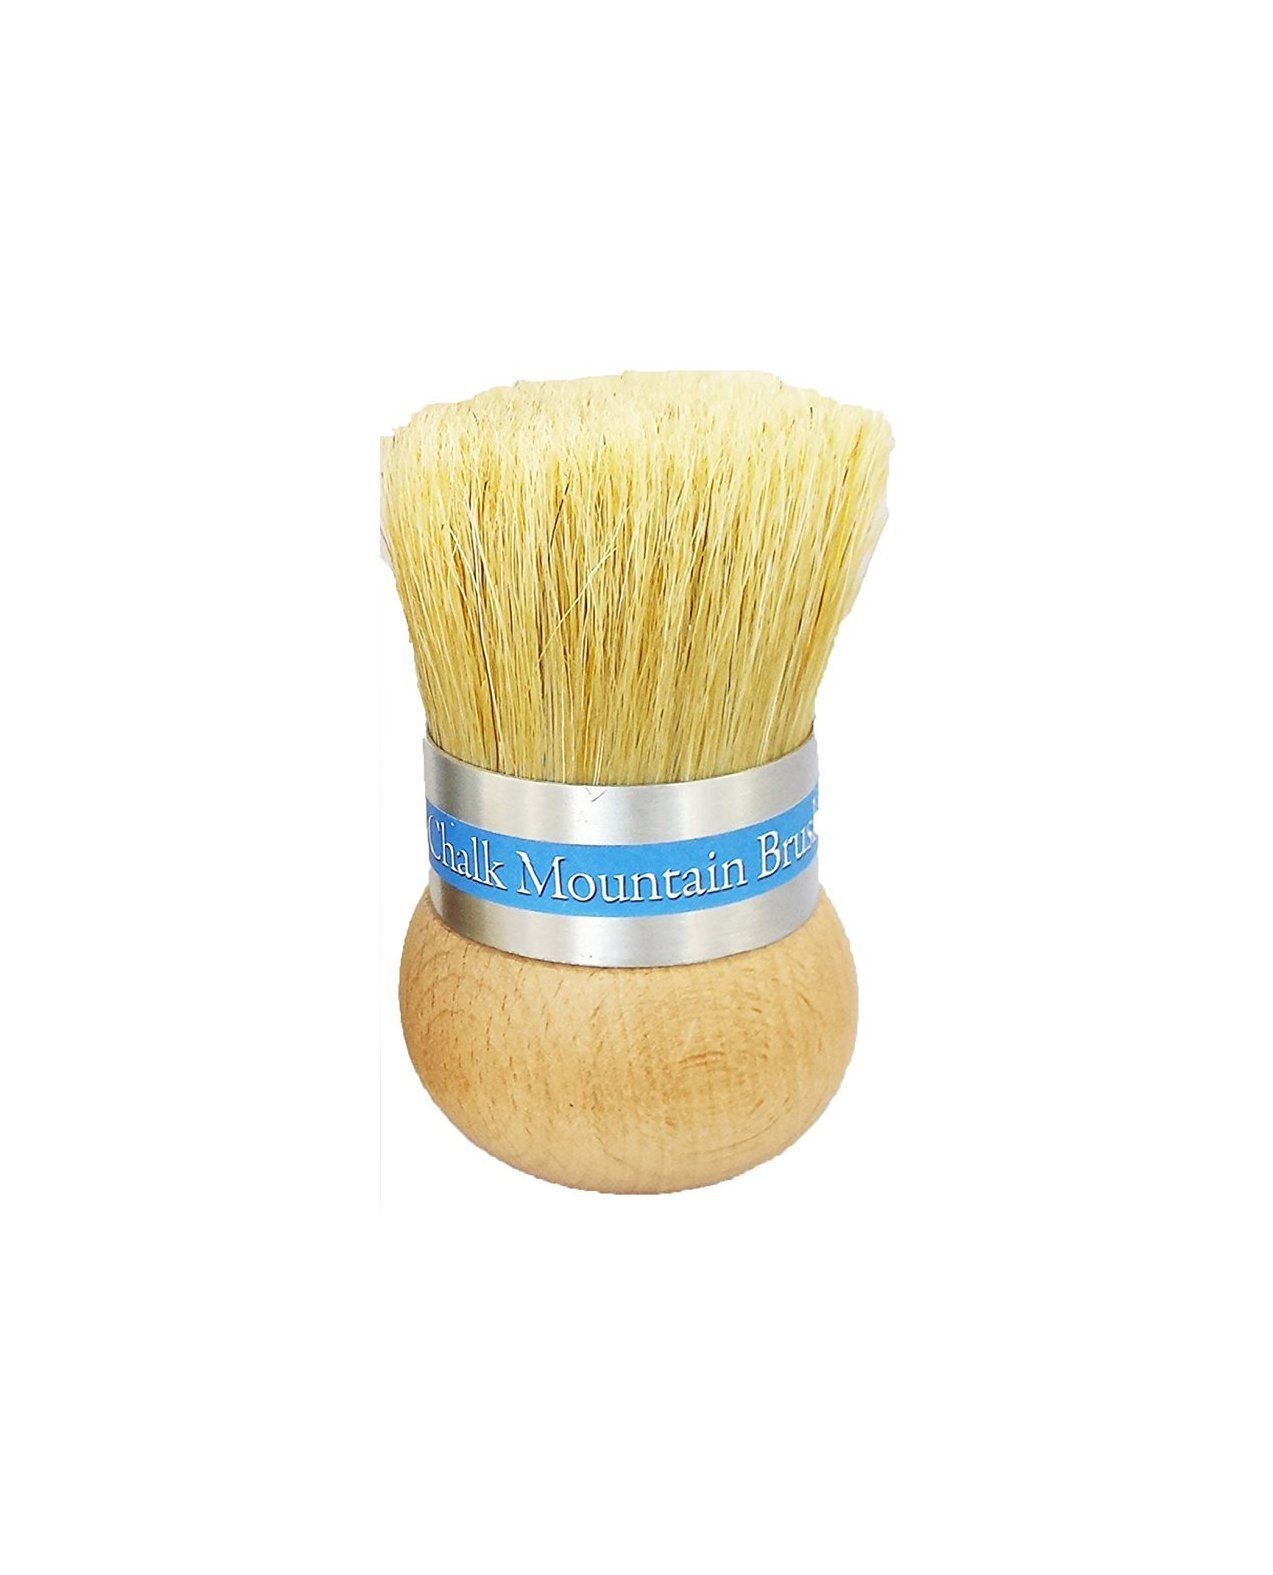
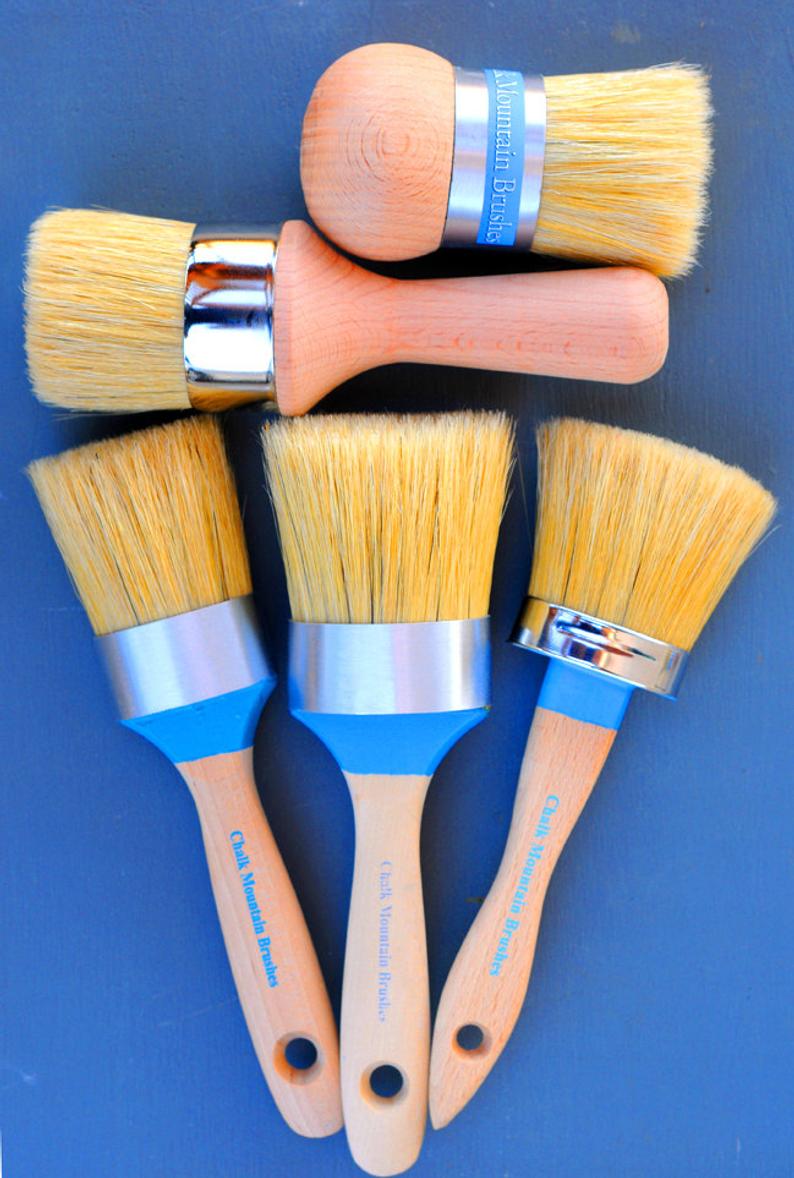
Boar Hair Paint and Wax Brushes: The Artisan's Choice for Quality and Efficiency
Caring for your brushes after a project.
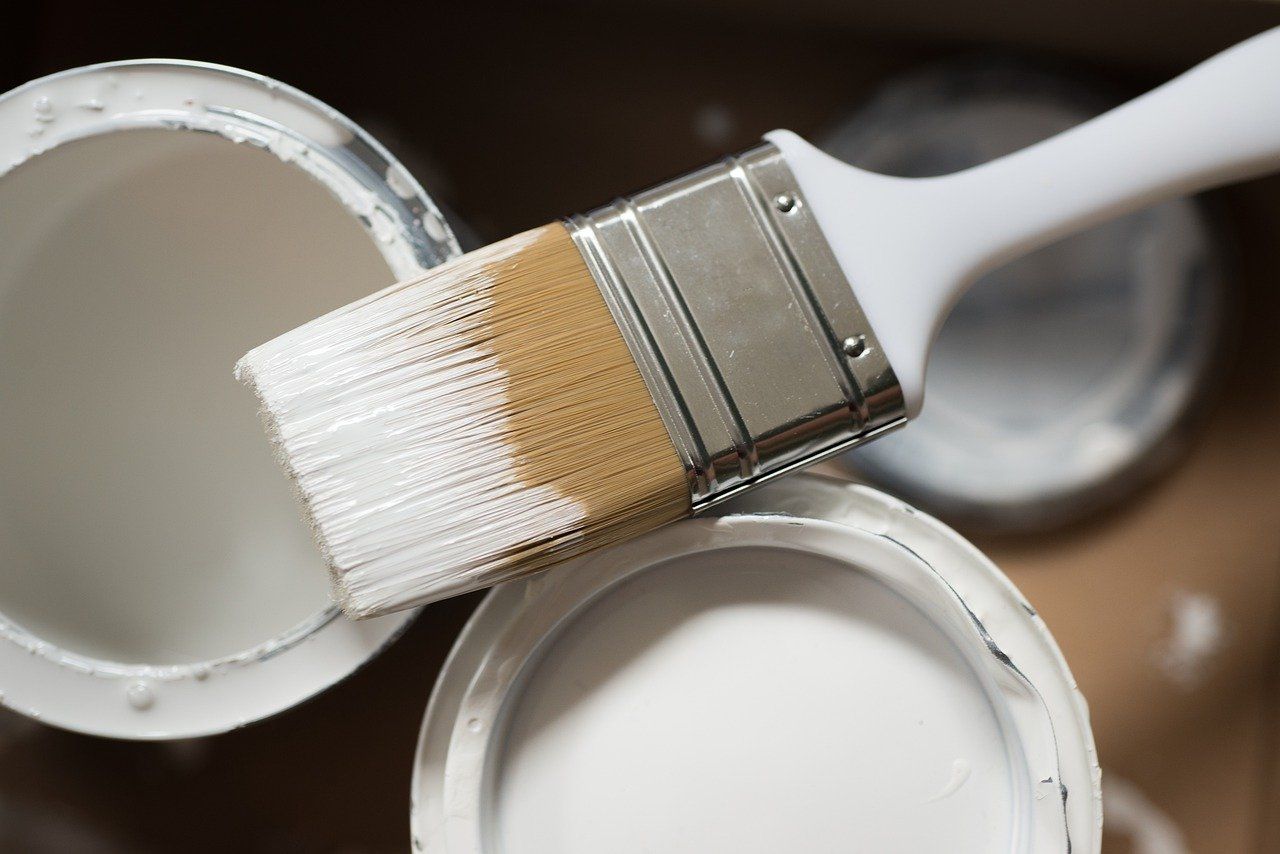
For all your DIY supplies
A Versatile and Easy-to-Use Paint for Furniture
Complete your Project with Chalk Mountain
The History behind Chalk Furniture Paint

The Origin of Natural Furniture Wax

Bringing your Piece Back to Life