0

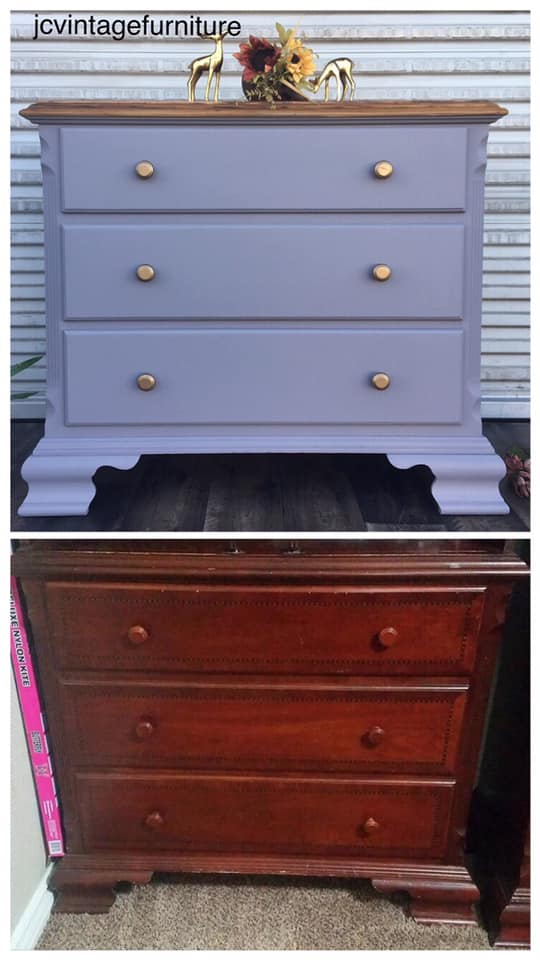
The Benefits of Furniture Restoration

Benefits of Furniture Restoration


Furniture restoration is the process of returning a piece of furniture to its original condition or a close approximation of it. This can involve a variety of tasks, such as cleaning, repairing, and refinishing. Furniture restoration can be a rewarding hobby or a professional business.


There are many benefits to furniture restoration. First, it is a great way to save money. Instead of buying new furniture, you can restore old pieces that have been passed down in your family or that you have found at thrift stores or garage sales. Second, furniture restoration is a sustainable way to furnish your home. By restoring old furniture, you are keeping it out of landfills and reducing your environmental impact. Third, furniture restoration can be a very satisfying hobby. It is a great way to learn new skills and to be creative.


The process of furniture restoration can vary depending on the piece of furniture and its condition. However, there are some general steps that are involved in most restoration projects.


Types of Furniture Restoration

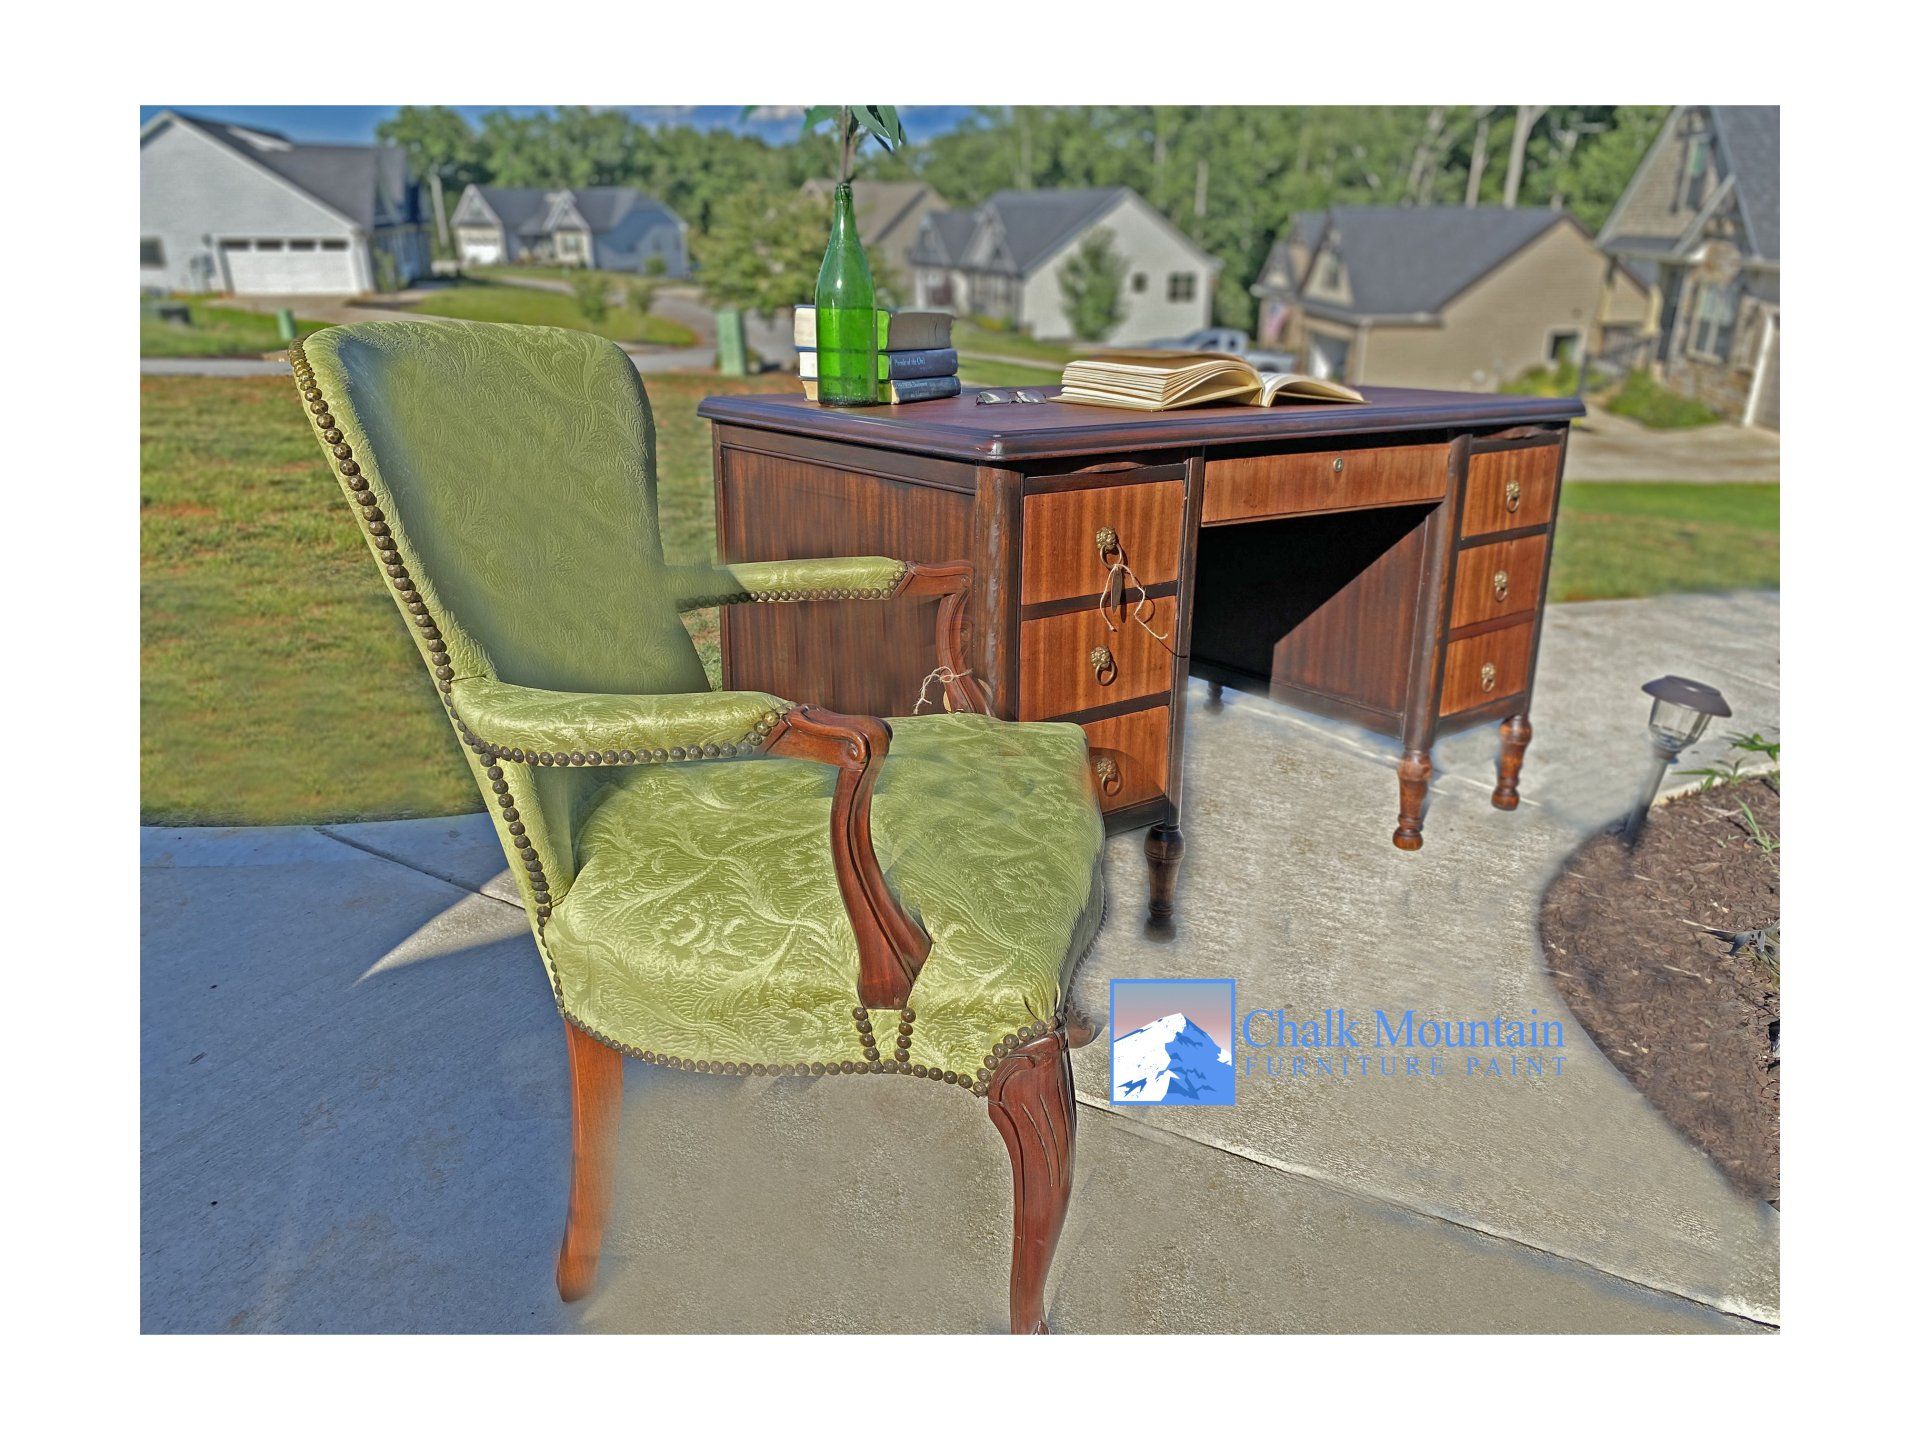
 There are two main types of furniture restoration: light restoration and comprehensive restoration.

 Light restoration involves cleaning, repairing, and refinishing a piece of furniture to its original condition. This type of restoration is typically less expensive than comprehensive restoration.


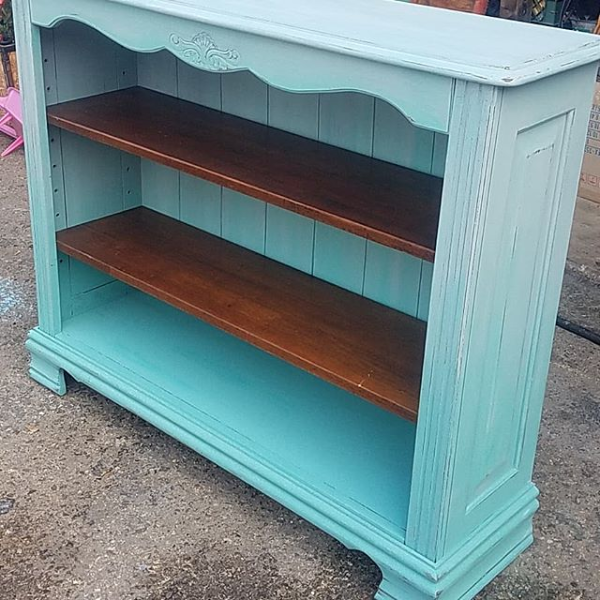
Comprehensive restoration involves restoring a piece of furniture to its original condition, or even better than its original condition. This type of restoration is more expensive than light restoration, but it can result in a piece of furniture that is as good as new.


Cleaning

Step 1 in furniture restoration is to clean the piece of furniture. This will remove dirt, dust, and grime that may have accumulated over time. You can clean furniture with a variety of methods, such as dusting, vacuuming, and using a damp cloth.


Step 2 Repairing Once the furniture is clean, you can begin to repair any damage. This may involve fixing cracks, dents, or loose joints. You may also need to replace missing or damaged parts.


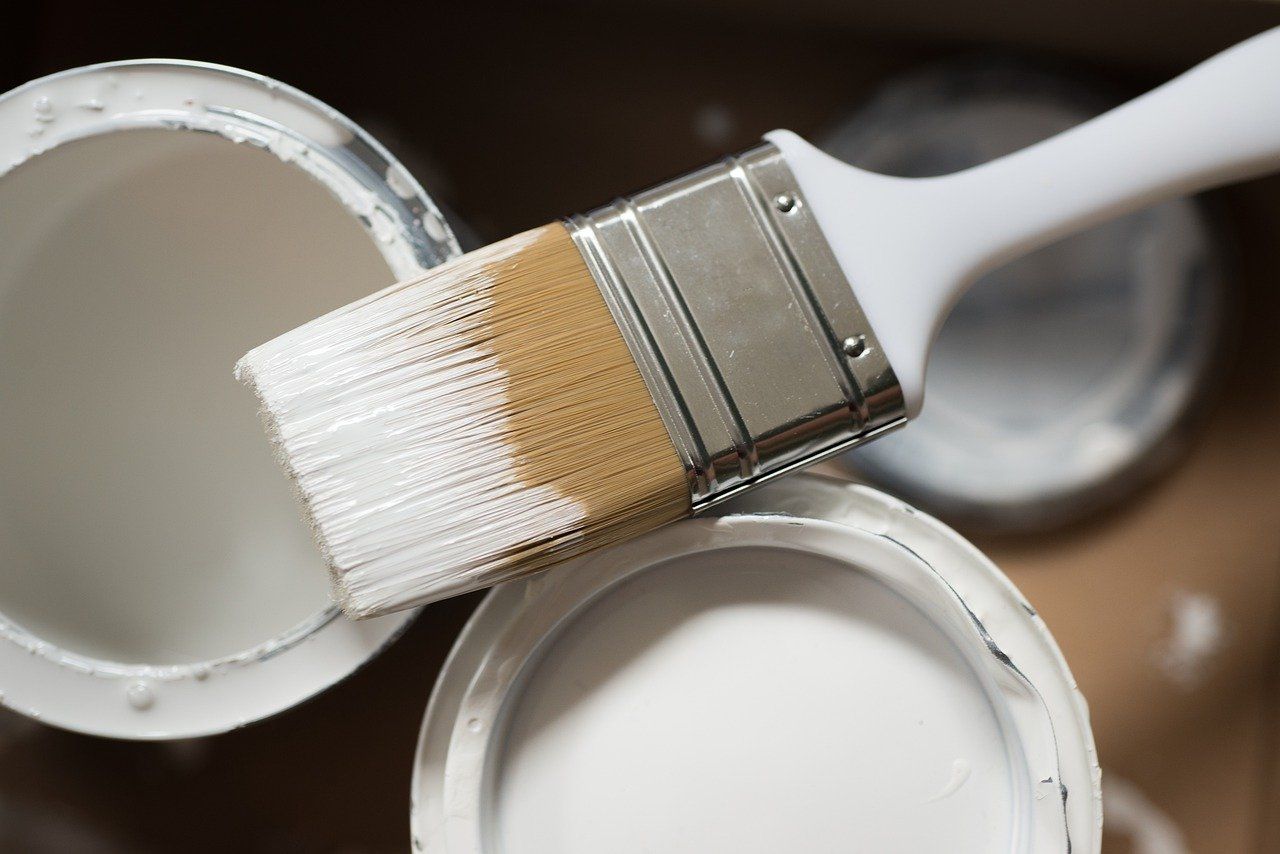
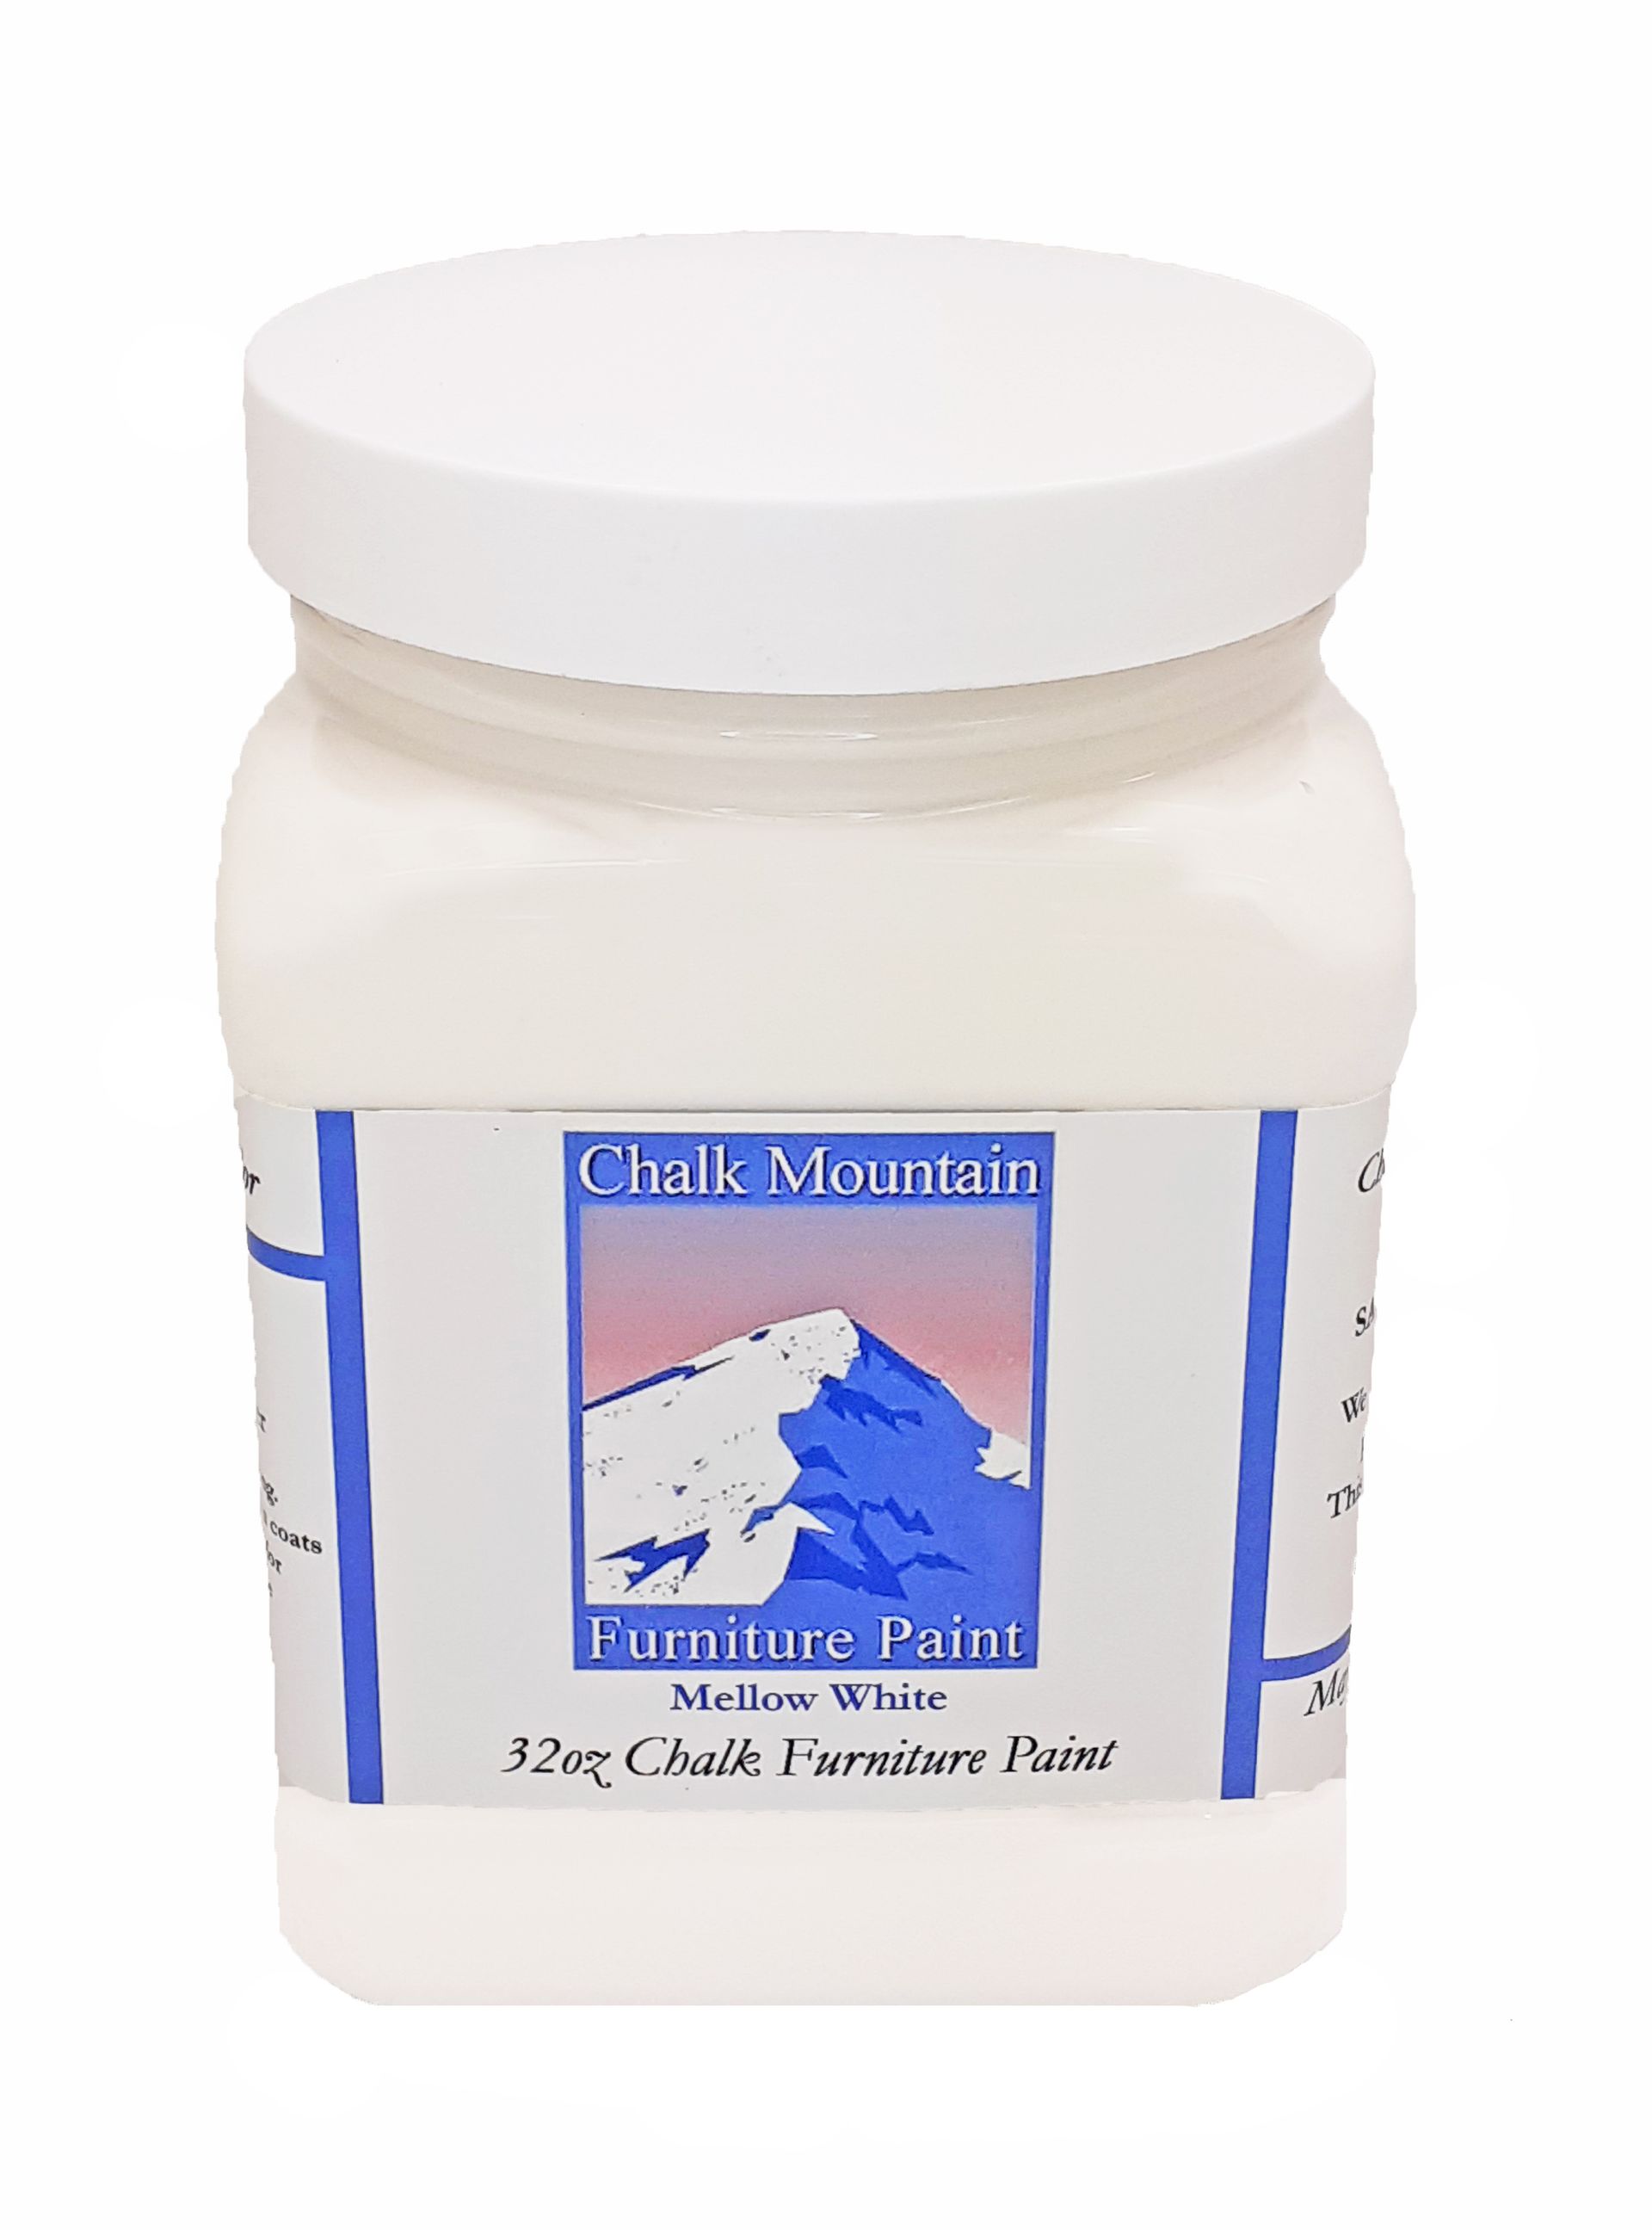
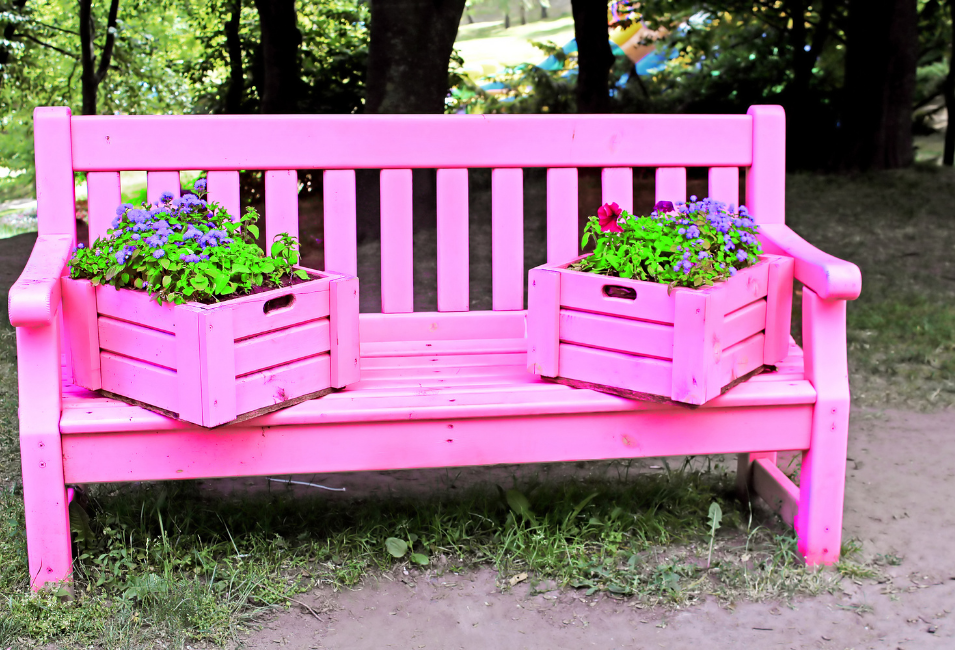
Step 3 Refinishing is The final step in furniture restoration is to refinish the piece of furniture. This will give it a new coat of paint or finish. You can choose from a variety of finishes, such as stain, varnish, or lacquer.


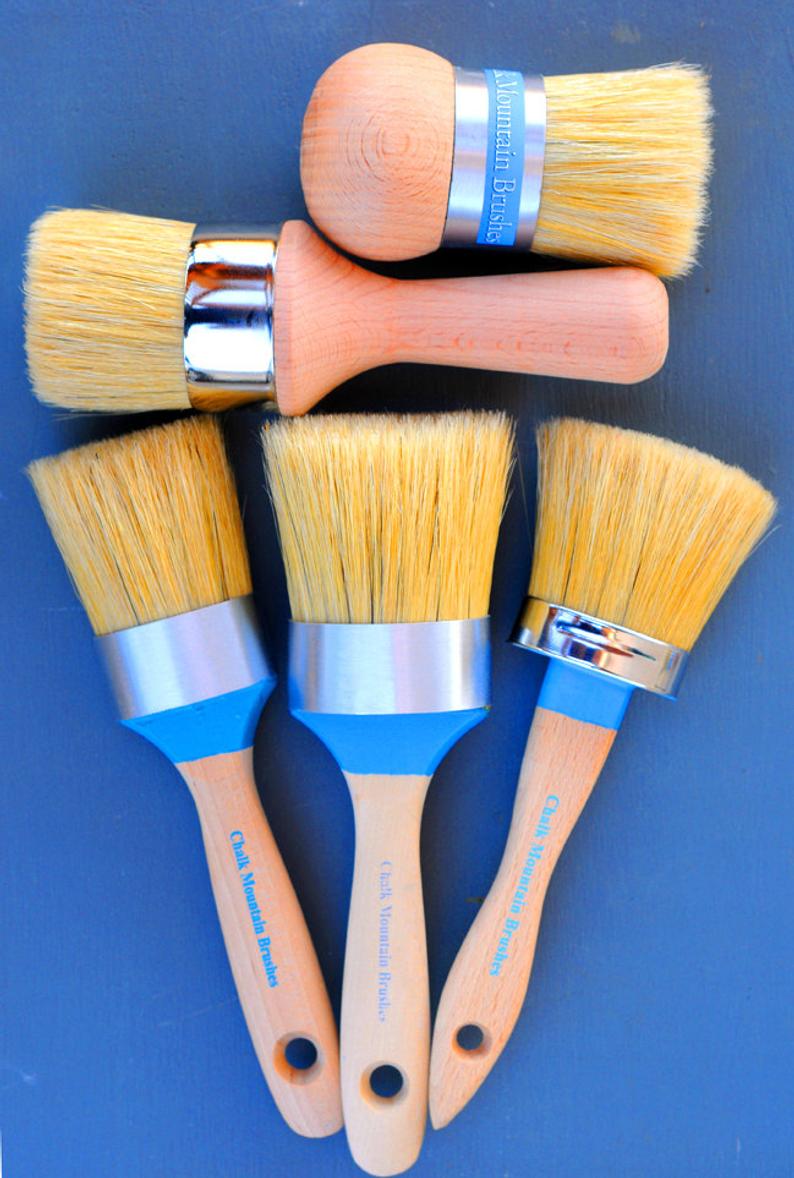
Tools and Materials for Furniture Restoration

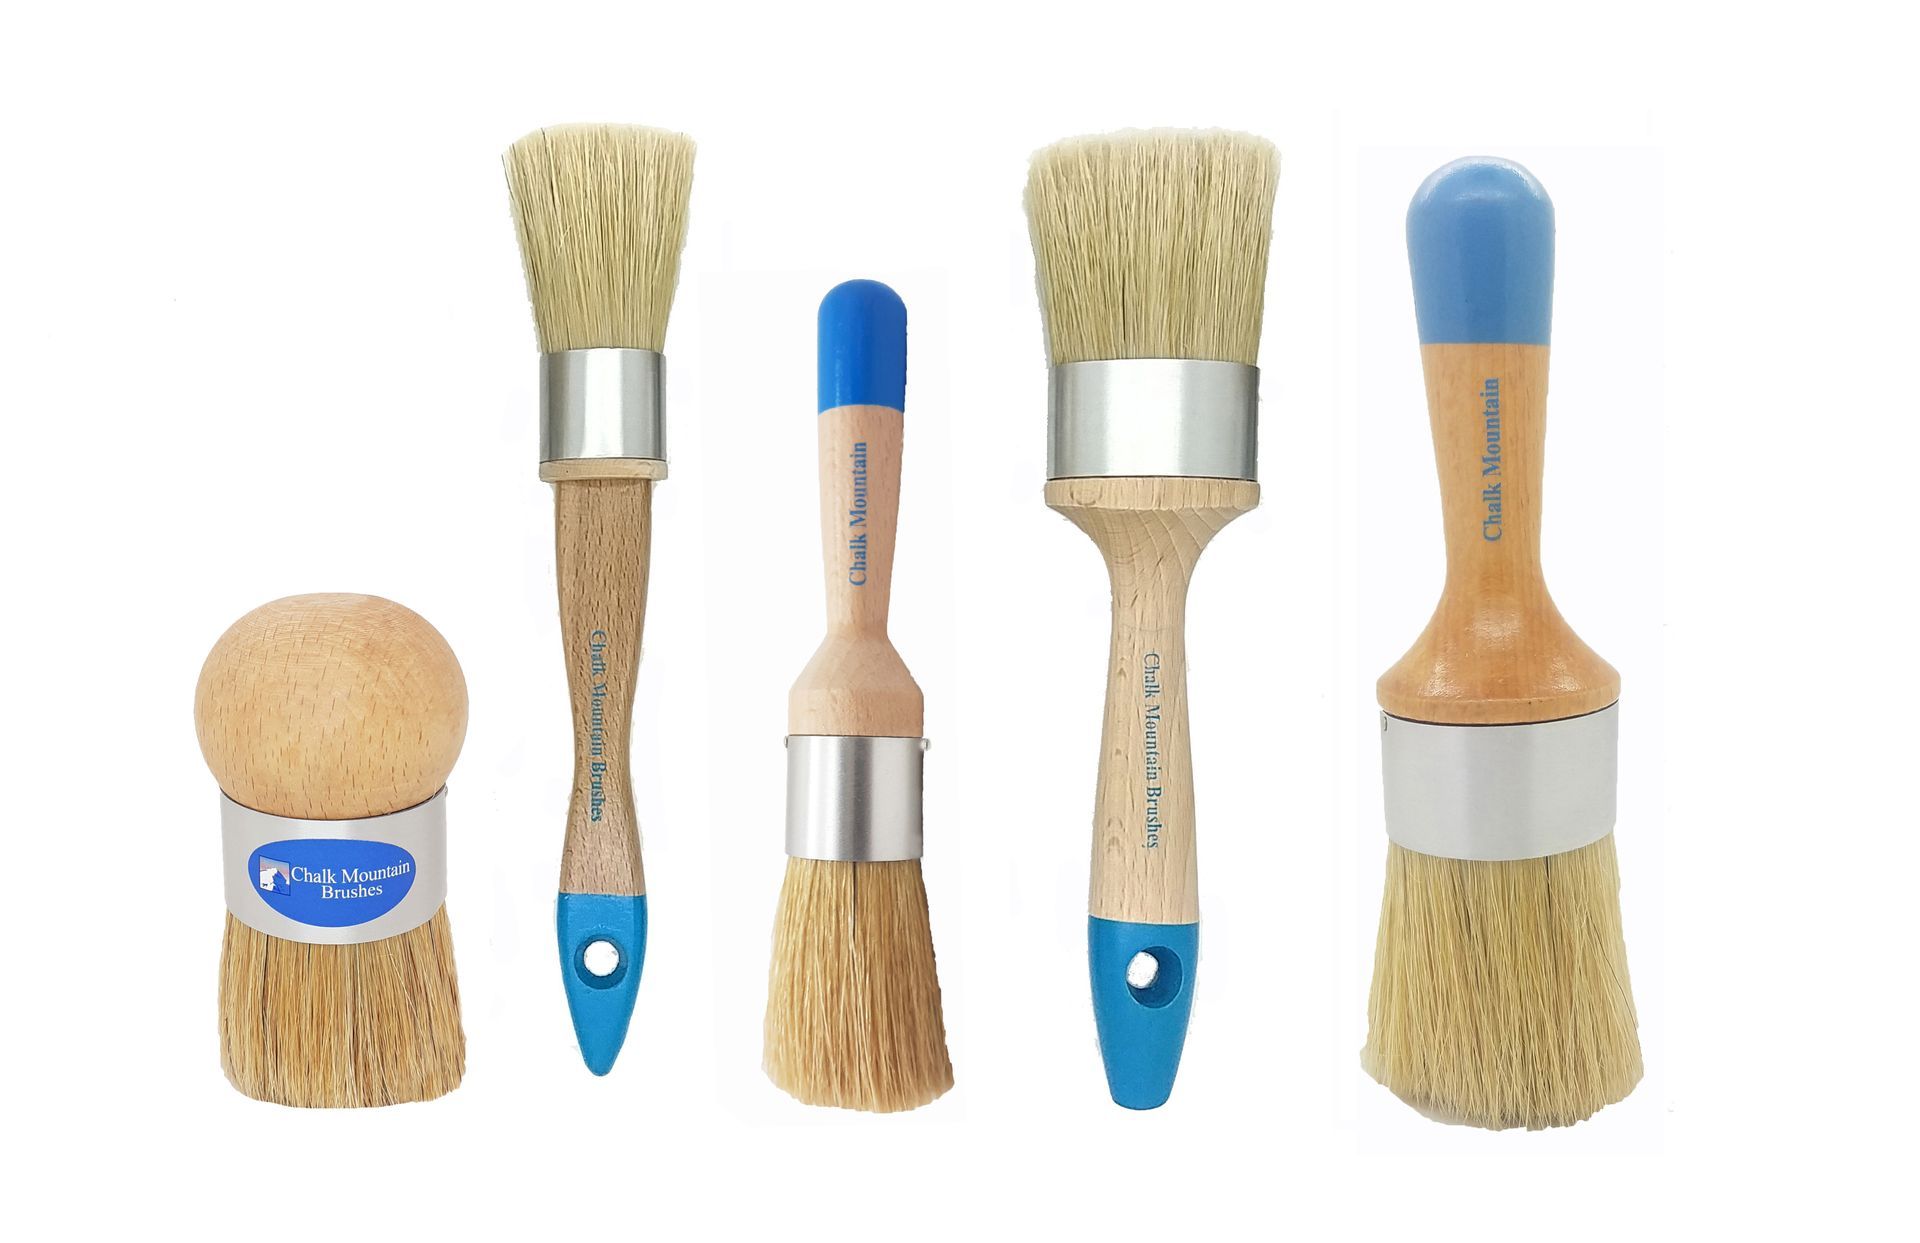
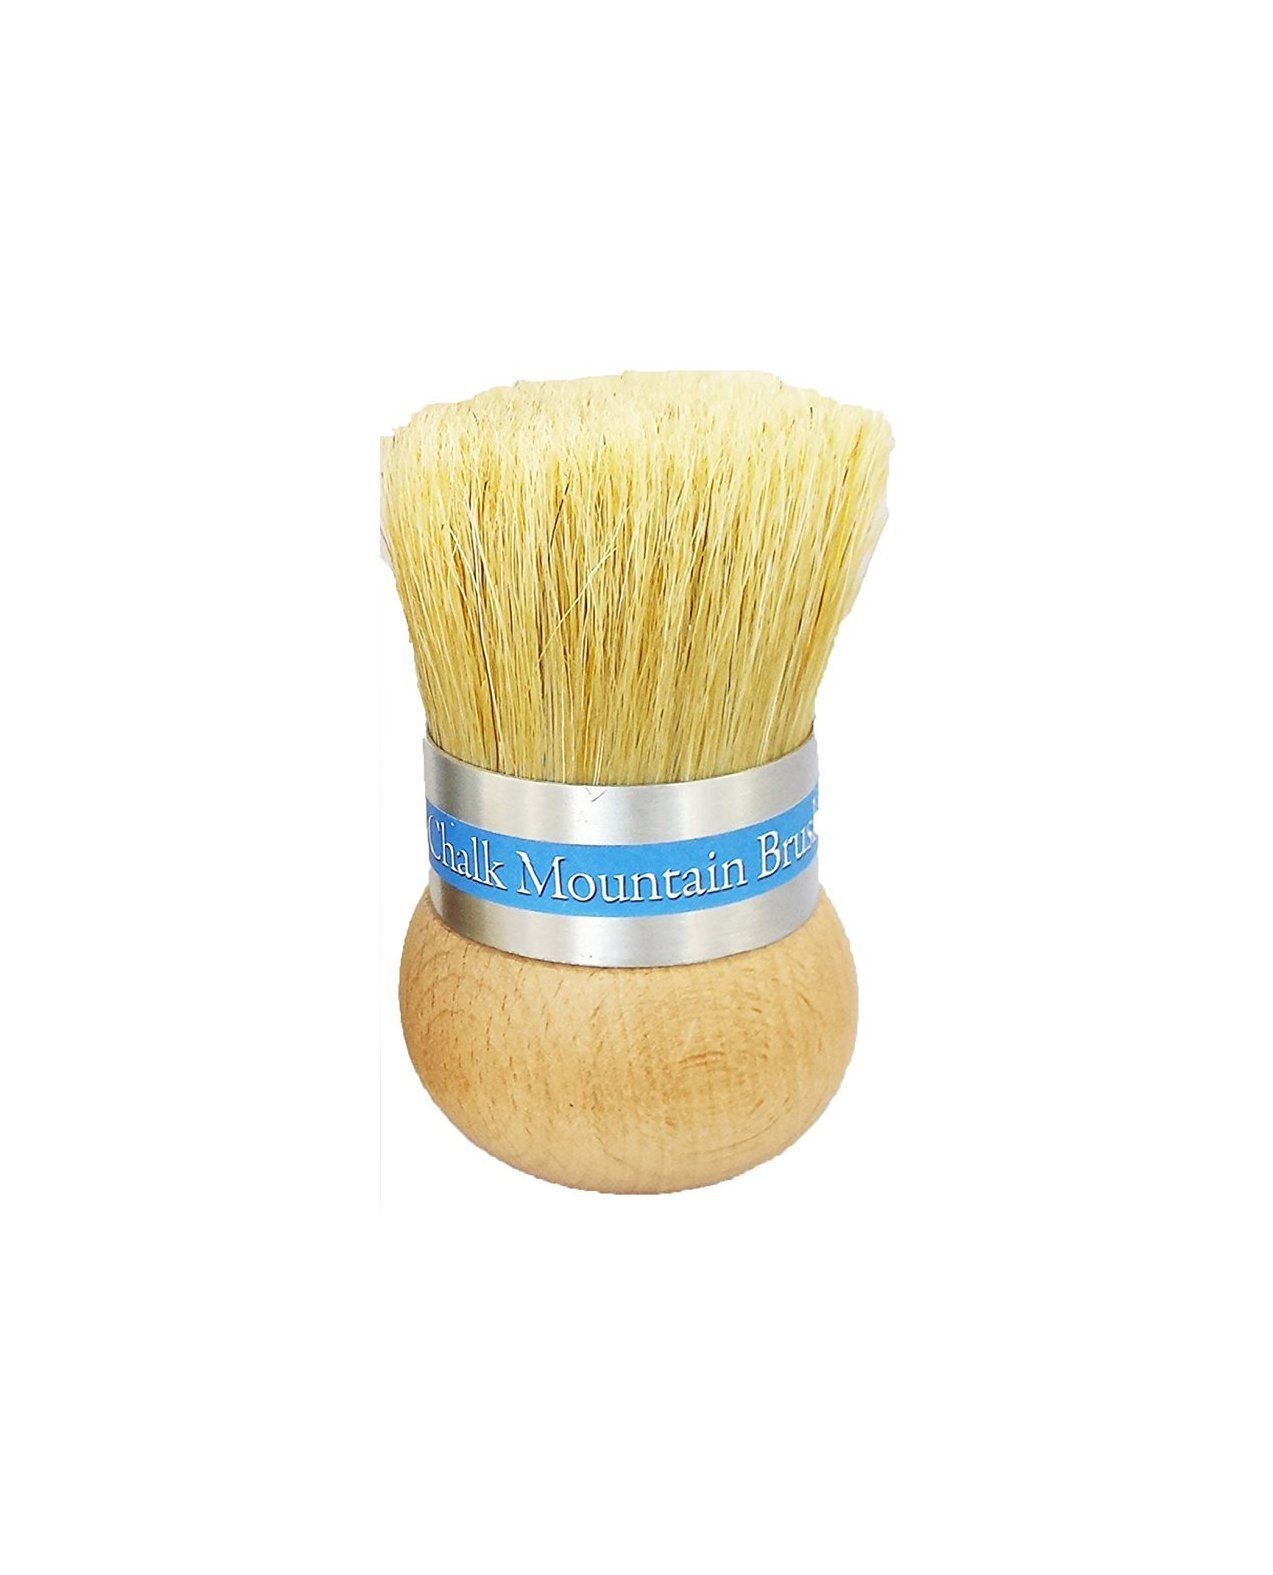
There are a variety of tools and materials that you will need for furniture restoration.  Some of the most common tools include: Saws, Chisels, Sandpaper, Wood filler, Stain, Varnish & Lacquer. You will also need a variety of materials, such as: Wood, Fabric, Leather, Upholstery & foam.


Where to Learn Furniture Restoration

 There are a few different ways to learn furniture restoration. You can take a class at a local community college or adult education center. You can also find books and online tutorials on furniture restoration.


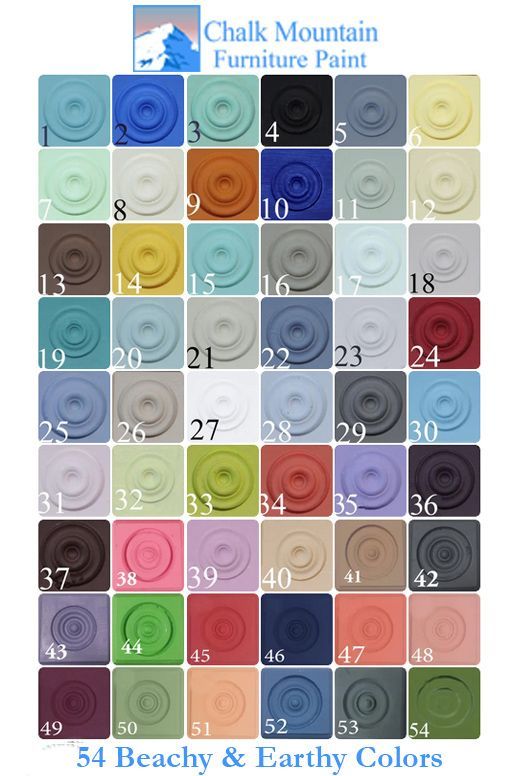
Are you ready to Restore & Bring New Life to your Project? Order your Chalk Mountain Furniture Paint


 Check out our store today! We are a brand you can trust...Guaranteed!


https://www.chalkmountainpaint.com/store/


By Brittany W February 25, 2024
There are several ways to create a blending technique with chalk furniture paint, depending on the effect you're looking for and your comfort level. Wet Blending: This is a great technique for beginners and creates a smooth, seamless transition between colors. What you'll need: Chalk furniture paint in your desired colors, a dedicated brush for each color, a misting bottle filled with water, and a soft blending brush. Steps: Apply your base coat(s) in your chosen colors, leaving some space for blending between them. While the paint is still wet, lightly mist the area where the colors meet. Use your blending brush, dampened with water, to gently work the colors together in small circles or back-and-forth strokes. Continue misting and blending until you achieve the desired level of transition. Let the paint dry completely before adding another coat or sealant. Dry-Brush Blending: This method offers more control and is ideal for creating textured or distressed finishes. What you'll need: Chalk furniture paint in your desired colors, a flat brush for each color, and a stiff bristle brush. Steps: Apply your base coat(s) as desired. Dip the flat brush into one color and wipe off most of the paint on a paper towel. Lightly brush the color onto the other color in a dabbing motion, creating a feathered effect. Repeat with the other color, working in small sections. Use the stiff bristle brush to further blend and distress the colors if desired. Let the paint dry completely before adding another coat or sealant. Feathering Blending: This technique creates a soft, diffused transition between colors. What you'll need: Chalk furniture paint in your desired colors, a flat brush for each color, a clean, and a damp sponge. Steps: Apply your base coat(s) as desired. Dip the flat brush into one color and load it lightly. Use the sponge to dab the loaded brush onto the other color, creating a feathered edge. Repeat with the other color, working in small sections. Blend the edges further with the clean side of the sponge by lightly dabbing and lifting. Let the paint dry completely before adding another coat or sealant. Meshing Technique: This is a quicker, less controlled method that creates a mottled, blended effect. What you'll need: Chalk furniture paint in your desired colors, a chip brush, and a clear furniture wax or colored wax of your choice. Steps: Apply a base coat of your chosen color. Apply a thin coat of clear glaze over the entire surface. While the glaze is wet, randomly "slap" on small amounts of your other chosen colors with the chip brush. Let the furniture wax dry completely, then add another coat if desired. Tips: Always practice on a scrap piece of wood or furniture before starting your project. Work in small sections to avoid blending too much paint at once. Keep your blending brush damp for wet blending and dry for dry-brush blending. Don't be afraid to experiment with different colors, techniques, and tools to achieve your desired effect. There are many online tutorials and resources available to help you learn more about chalk furniture paint blending techniques. We hope this helps! Contact us today if you have any further questions. May all your Mistakes be Serendipitous.
By Brittany W September 29, 2023
Starting your furniture upcycle business with Chalk Mountain
By Brittany W August 22, 2023
Boar Hair Paint and Wax Brushes: The Artisan's Choice for Quality and Efficiency
By Brittany W August 12, 2023
Caring for your brushes after a project.
Chalk Mountain Color Chart
By Brittany W July 24, 2023
For all your DIY supplies
By Brittany W July 21, 2023
A Versatile and Easy-to-Use Paint for Furniture
By Brittany W July 21, 2023
Complete your Project with Chalk Mountain
By Brittany W July 18, 2023
The History behind Chalk Furniture Paint
By Brittany W July 18, 2023
The Origin of Natural Furniture Wax 
By Brittany W July 18, 2023
Bringing your Piece Back to Life
More Posts
Share by: