0

Furniture Painting: A Complete Guide

Bringing your Piece Back to Life

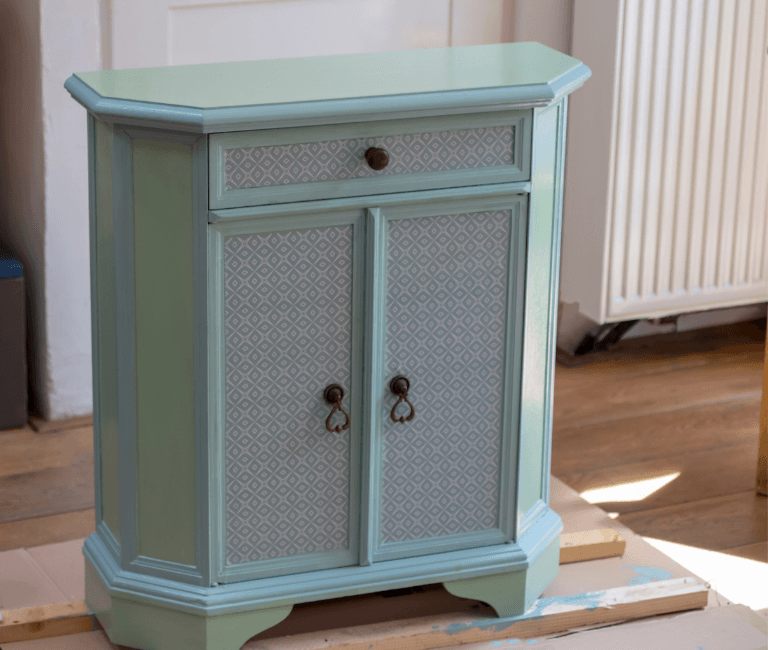
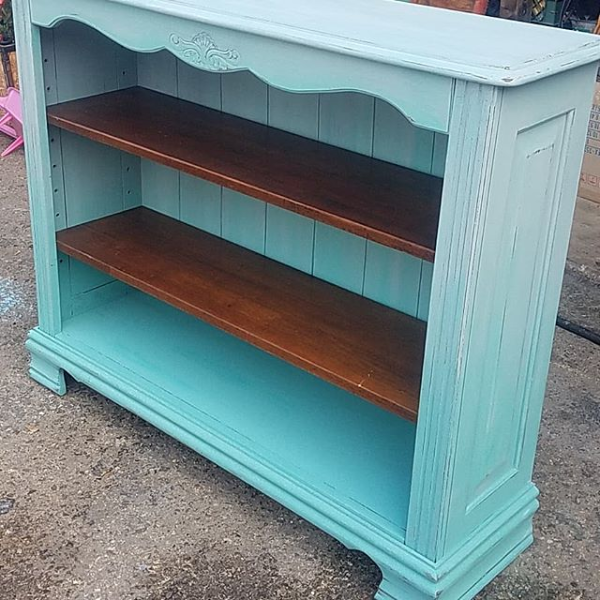
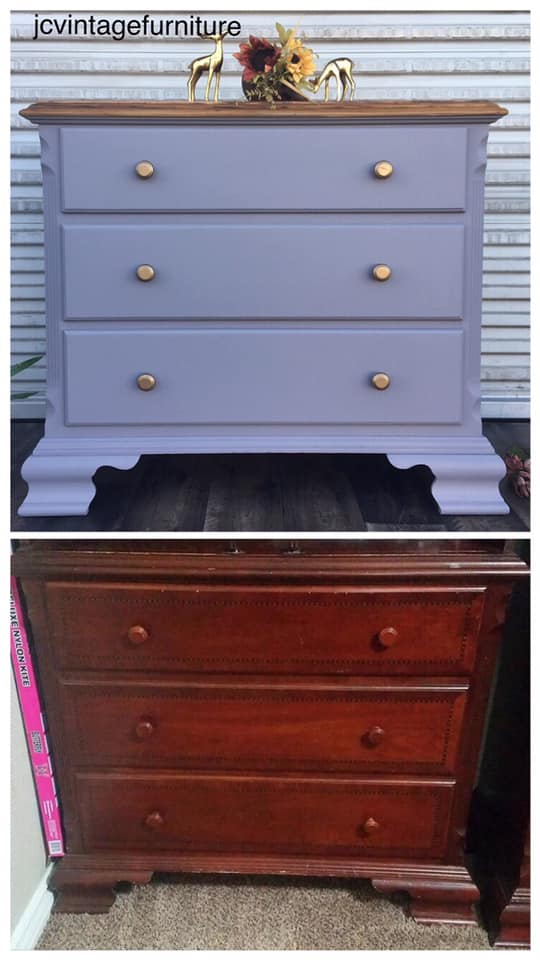
Furniture painting is a great way to update the look of your home without spending a lot of money. You can transform old, outdated furniture into something that looks brand new with a few simple steps.


In this article, we will discuss everything you need to know about furniture painting, from choosing the right paint to the best techniques for achieving a professional finish. We will also provide tips on how to avoid common mistakes, so that you can get the best possible results.


Why Paint Furniture?

There are many reasons why you might want to paint furniture. Perhaps you have some old pieces that you no longer like the look of. Or maybe you want to change the color scheme in your home and need a way to update your furniture. Whatever the reason, furniture painting is a great way to give your home a new look.


Benefits of Furniture Painting.


There are many benefits to furniture painting. Here are just a few:


  • It's a relatively inexpensive way to update your home


  • You can choose any color or finish you want.


  • You can customize your furniture to match your personal style.


  • It's a fun and rewarding project that you can do yourself.


What You Need to Get Started:


Before you start painting your furniture, you will need to gather a few supplies. Here is a list of the basics:


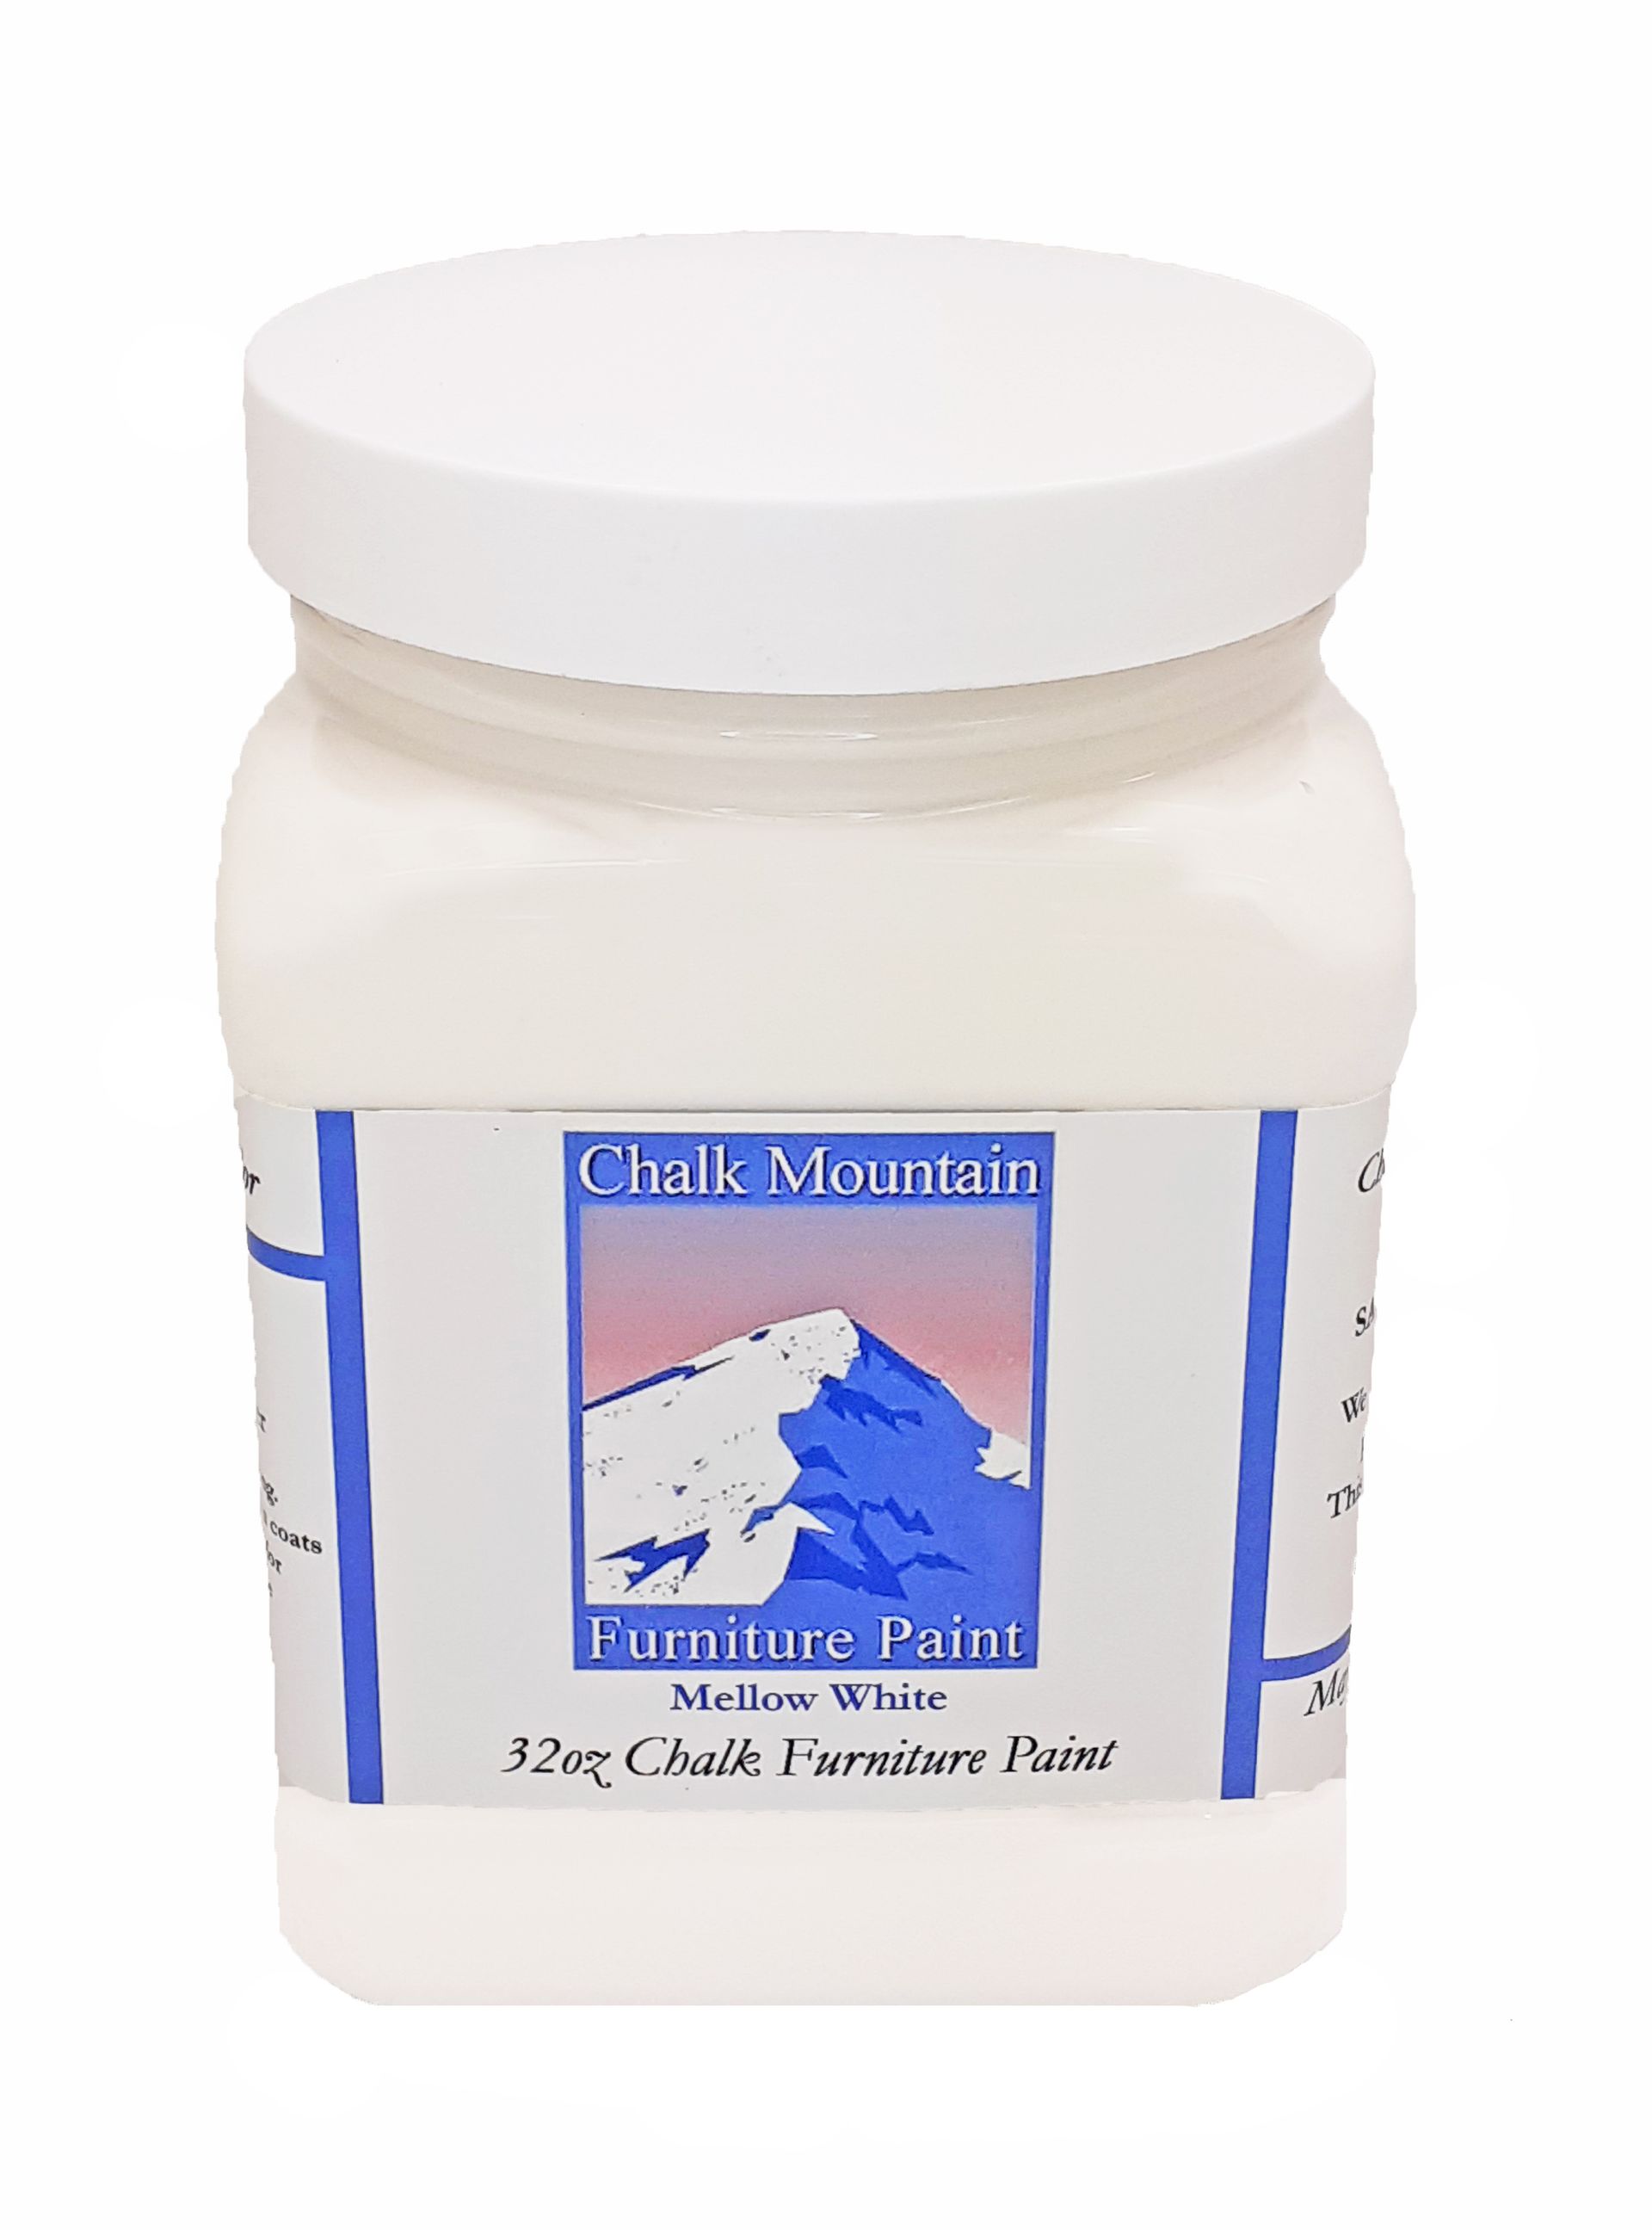
  • Paint: Choose a paint that is specifically designed for furniture. This will ensure that the paint will adhere properly to the surface of the furniture and that it will be durable.


  • Sandpaper: You will need to sand the furniture before you paint it. This will help to create a smooth surface for the paint to adhere to.


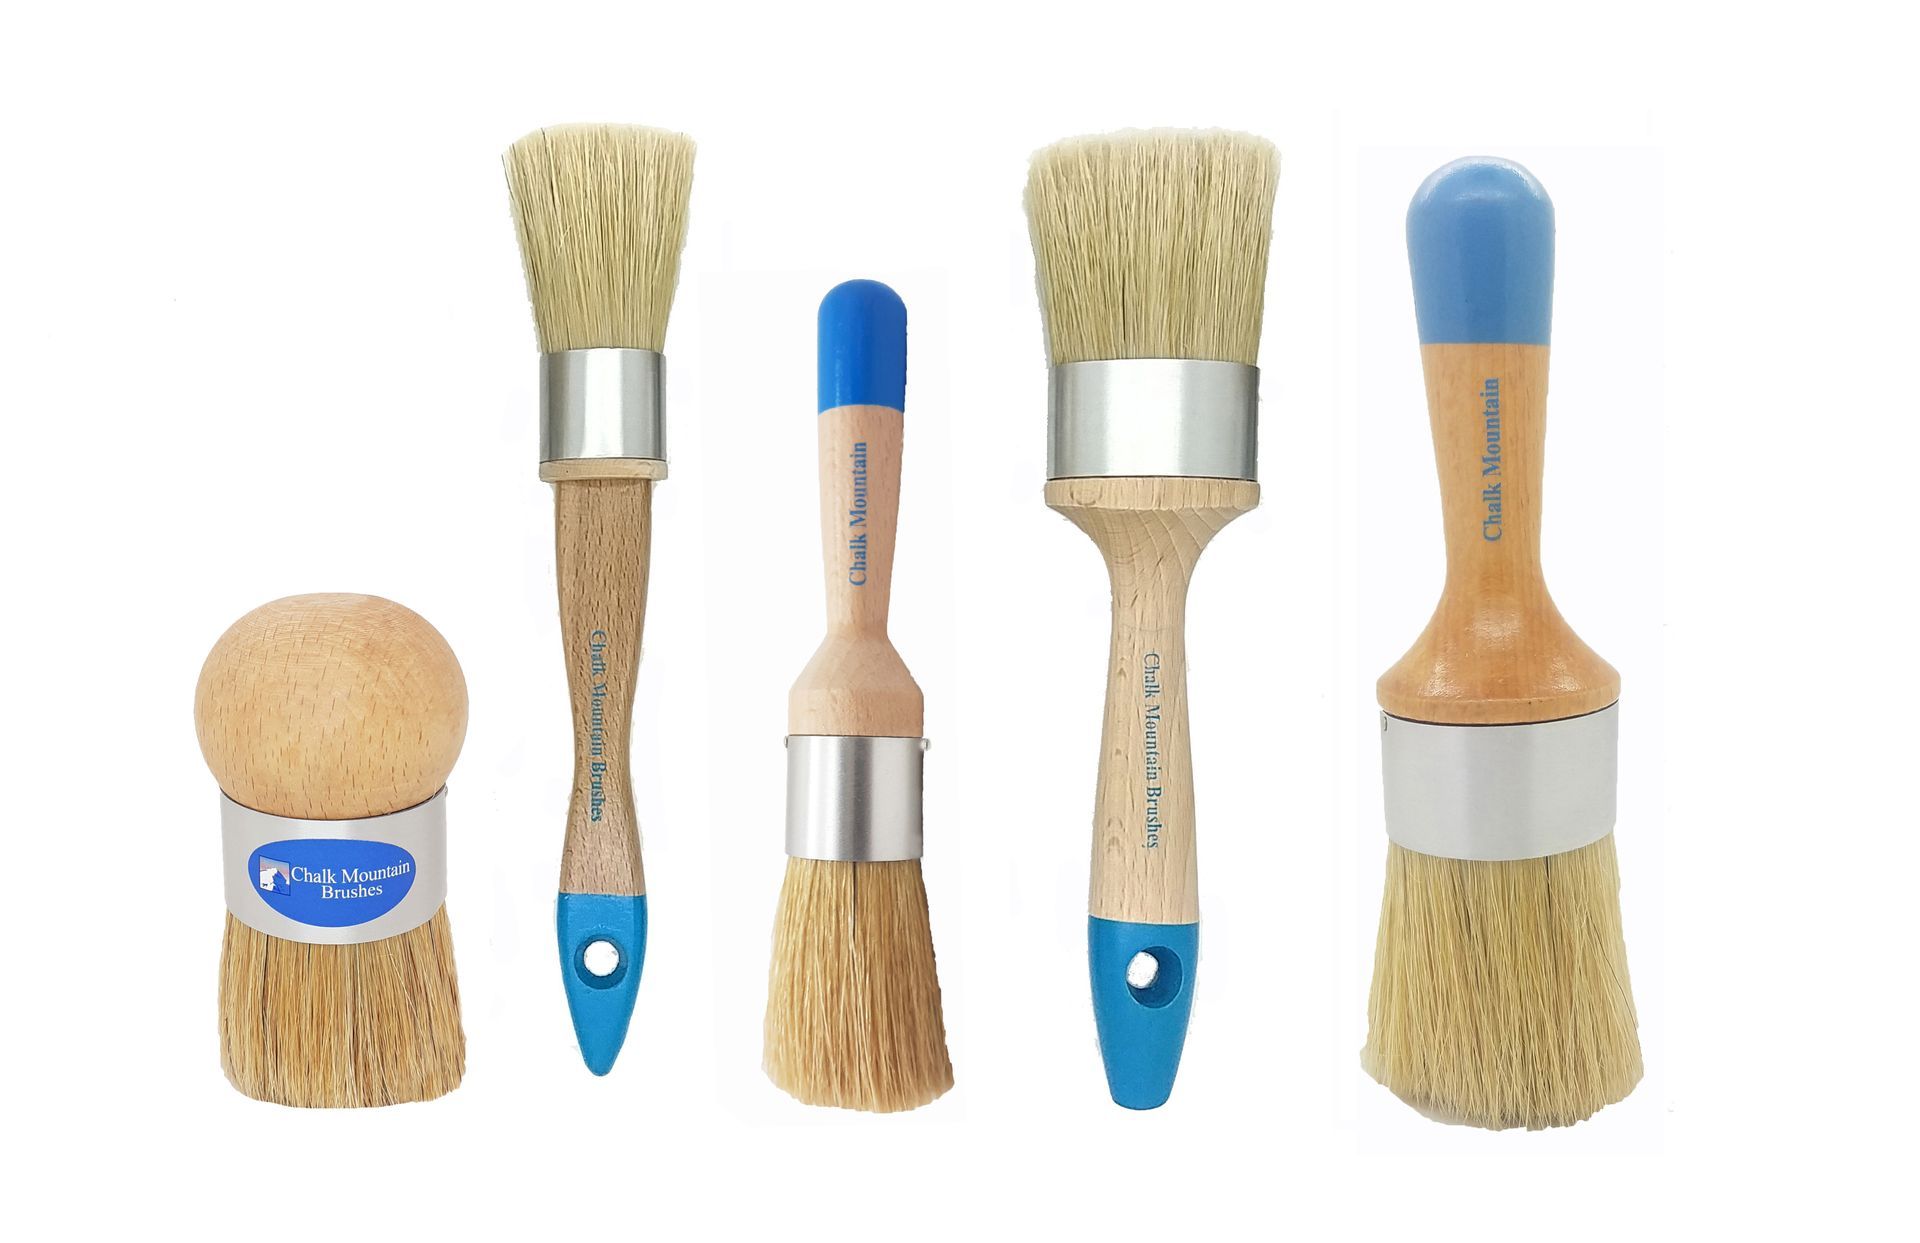
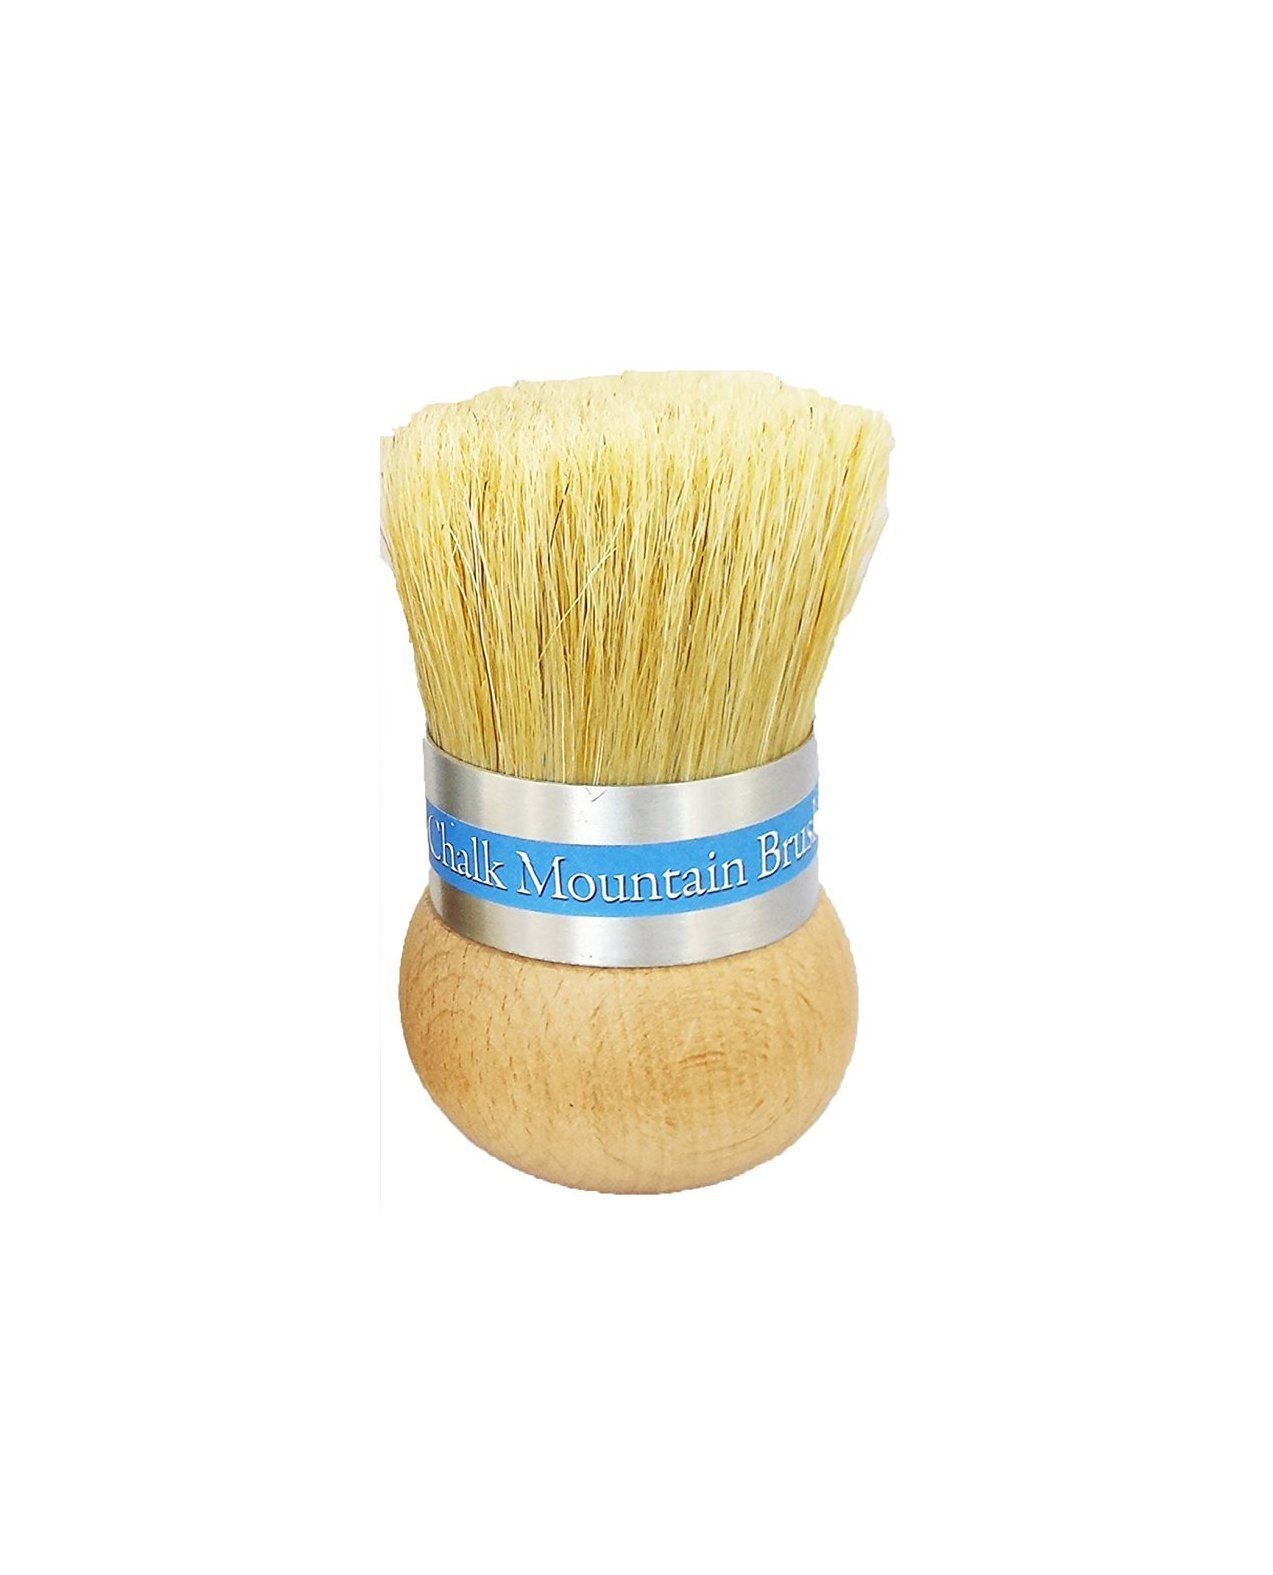
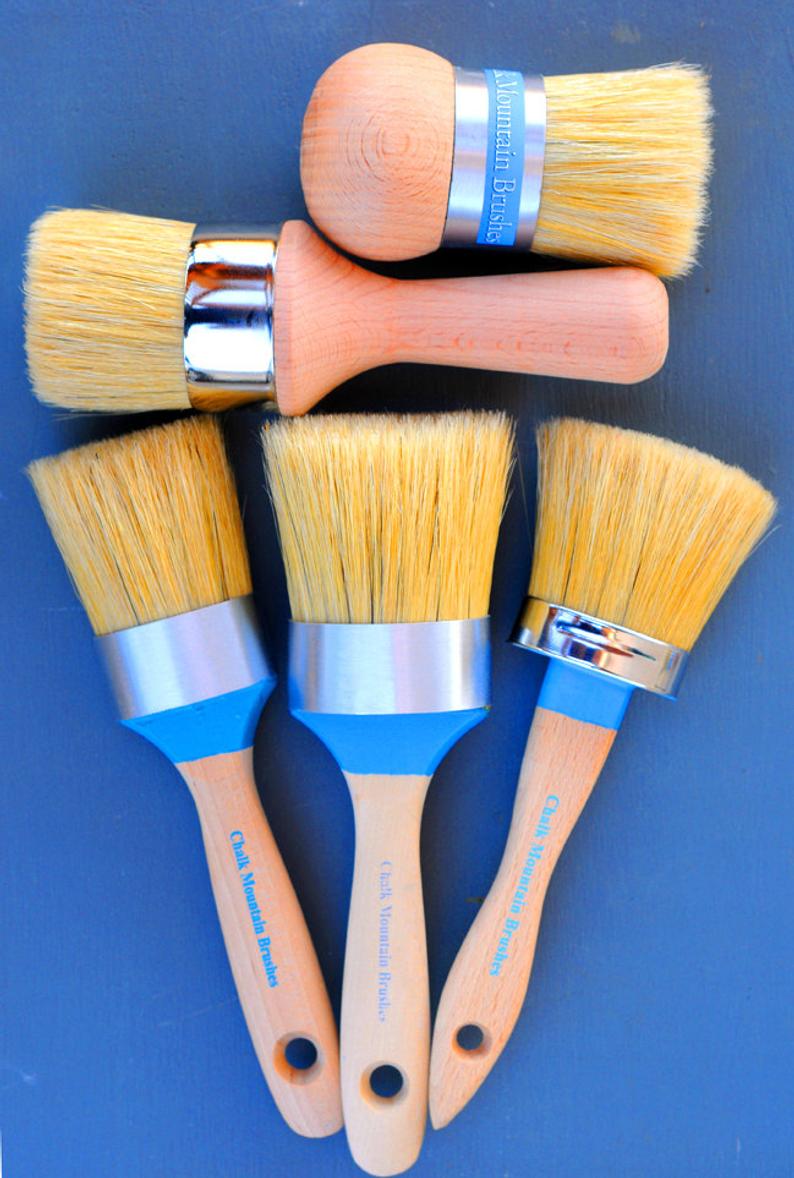
  • Paint brushes: You will need a variety of paint brushes to apply the paint. A small brush is good for getting into tight spots, while a larger brush is better for covering large areas.


  • Painter's tape: Painter's tape will help to protect areas of the furniture that you don't want to paint.


  • Safety glasses: Safety glasses will protect your eyes from paint splatter.


Choosing the Right Paint


When choosing paint for furniture, there are a few things you need to keep in mind. First, you need to decide what type of finish you want. There are two main types of finishes: flat and glossy. Flat finishes are less shiny than glossy finishes, but they are also more durable. Glossy finishes are more reflective, but they can be more difficult to apply, and they are not as durable as flat finishes.


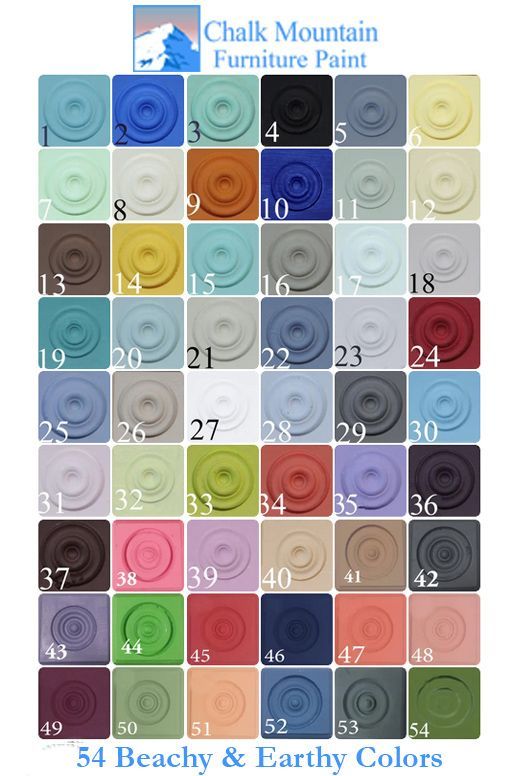
Once you have decided on a finish, you need to choose the right color. You can choose any color you want, but it is important to consider the overall style of your home. If you have a lot of dark furniture, you might want to choose a lighter color for your new paint job.


Preparing the Furniture


Before you start painting, you need to prepare the furniture. This means sanding the furniture to remove any old finish and to create a smooth surface for the new paint to adhere to. You should also use painter's tape to protect any areas of the furniture that you don't want to paint.
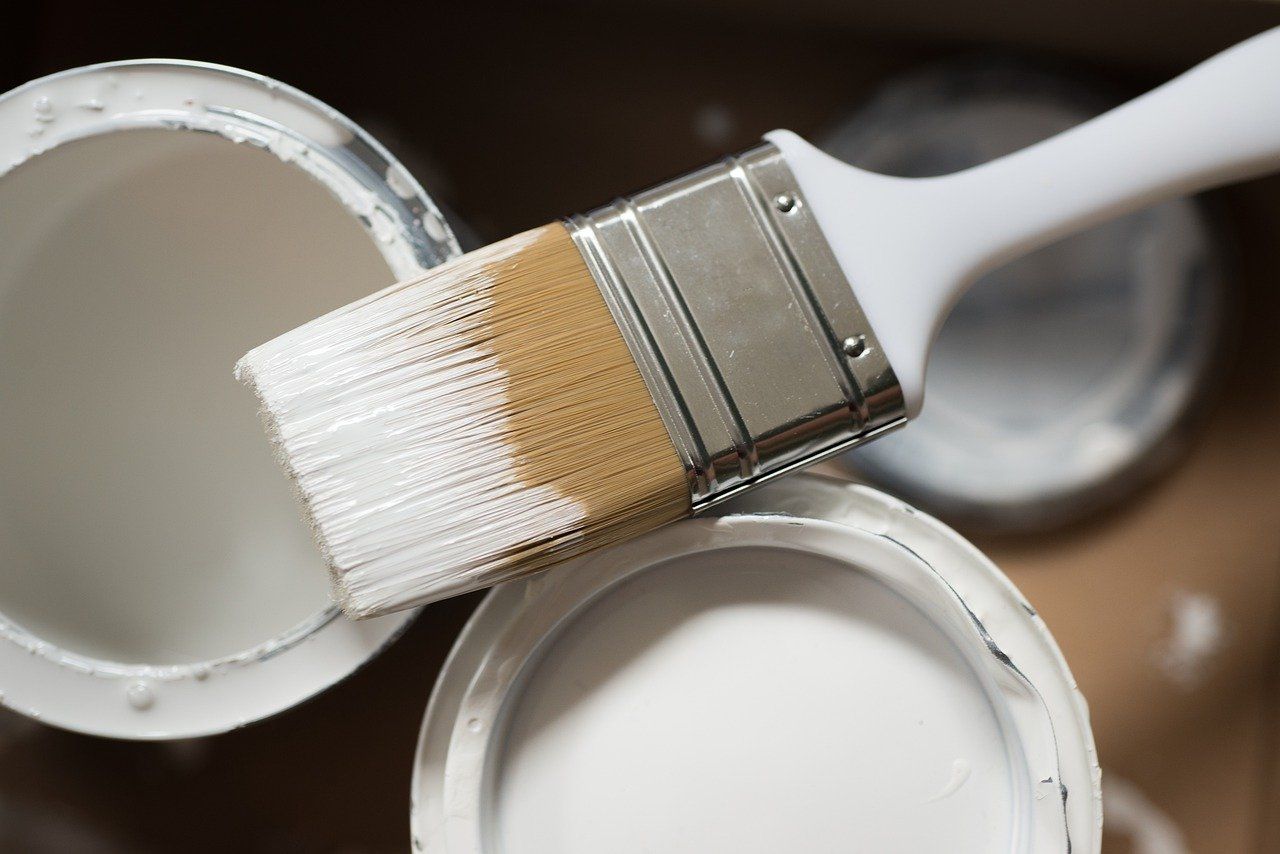

Applying the Paint


Once the furniture is prepared, you can start painting. Start by applying a thin layer. This will help the paint to adhere to the surface of the furniture and will also help to prevent the wood from bleeding through the paint. Once it is dry, you can start applying the paint. Apply the paint in thin coats, allowing each coat to dry completely before applying the next coat. This will help to prevent the paint from cracking or peeling.


Finishing Touches


Once the paint is dry, you can add a finishing touch. This could be a clear coat of varnish or a coat of wax. A clear coat will protect the paint and make it more durable. Wax will give the furniture a warm, antiqued finish.


Tips for Avoiding Mistakes


  • Use the right type of paint for the job.


  • Prep & Sand the furniture before you paint it.


  • Apply the paint in thin coats.


  • Allow each coat of paint to dry completely before applying the next coat.


  • Use a clear coat or wax to protect the paint.


By Brittany W February 25, 2024
There are several ways to create a blending technique with chalk furniture paint, depending on the effect you're looking for and your comfort level. Wet Blending: This is a great technique for beginners and creates a smooth, seamless transition between colors. What you'll need: Chalk furniture paint in your desired colors, a dedicated brush for each color, a misting bottle filled with water, and a soft blending brush. Steps: Apply your base coat(s) in your chosen colors, leaving some space for blending between them. While the paint is still wet, lightly mist the area where the colors meet. Use your blending brush, dampened with water, to gently work the colors together in small circles or back-and-forth strokes. Continue misting and blending until you achieve the desired level of transition. Let the paint dry completely before adding another coat or sealant. Dry-Brush Blending: This method offers more control and is ideal for creating textured or distressed finishes. What you'll need: Chalk furniture paint in your desired colors, a flat brush for each color, and a stiff bristle brush. Steps: Apply your base coat(s) as desired. Dip the flat brush into one color and wipe off most of the paint on a paper towel. Lightly brush the color onto the other color in a dabbing motion, creating a feathered effect. Repeat with the other color, working in small sections. Use the stiff bristle brush to further blend and distress the colors if desired. Let the paint dry completely before adding another coat or sealant. Feathering Blending: This technique creates a soft, diffused transition between colors. What you'll need: Chalk furniture paint in your desired colors, a flat brush for each color, a clean, and a damp sponge. Steps: Apply your base coat(s) as desired. Dip the flat brush into one color and load it lightly. Use the sponge to dab the loaded brush onto the other color, creating a feathered edge. Repeat with the other color, working in small sections. Blend the edges further with the clean side of the sponge by lightly dabbing and lifting. Let the paint dry completely before adding another coat or sealant. Meshing Technique: This is a quicker, less controlled method that creates a mottled, blended effect. What you'll need: Chalk furniture paint in your desired colors, a chip brush, and a clear furniture wax or colored wax of your choice. Steps: Apply a base coat of your chosen color. Apply a thin coat of clear glaze over the entire surface. While the glaze is wet, randomly "slap" on small amounts of your other chosen colors with the chip brush. Let the furniture wax dry completely, then add another coat if desired. Tips: Always practice on a scrap piece of wood or furniture before starting your project. Work in small sections to avoid blending too much paint at once. Keep your blending brush damp for wet blending and dry for dry-brush blending. Don't be afraid to experiment with different colors, techniques, and tools to achieve your desired effect. There are many online tutorials and resources available to help you learn more about chalk furniture paint blending techniques. We hope this helps! Contact us today if you have any further questions. May all your Mistakes be Serendipitous.
By Brittany W September 29, 2023
Starting your furniture upcycle business with Chalk Mountain
By Brittany W August 22, 2023
Boar Hair Paint and Wax Brushes: The Artisan's Choice for Quality and Efficiency
By Brittany W August 12, 2023
Caring for your brushes after a project.
Chalk Mountain Color Chart
By Brittany W July 24, 2023
For all your DIY supplies
By Brittany W July 21, 2023
A Versatile and Easy-to-Use Paint for Furniture
By Brittany W July 21, 2023
Complete your Project with Chalk Mountain
By Brittany W July 18, 2023
The History behind Chalk Furniture Paint
By Brittany W July 18, 2023
The Origin of Natural Furniture Wax 
By Brittany W July 15, 2023
A Family-Owned and Operated Business  That's Changing the Way We Paint Furniture
More Posts
Share by: