Chalk Mountain Water color - Alice’s Adventures In Wonderland
Chalk Mountain watercolor Alice’s Adventures In Wonderland top

Table top Painted by Taryn at Elegant Upgrades.
Typically Taryn does these types of pieces on little table tops with some sort of trim around them to frame out the image. But it could work on anything if you don’t mind seeing the edge of paper decoupaged.
I take a stroll through the inter webs until I find an image I love, then print it out on extra thin paper- usually it’s the same paper they use for newsprint. I make sure it’s a black and white that would be suitable for adding color.
Once I have an image printed, I double check that it fits nicely. If I can fit it perfectly next to an edge I’ll make it a clean cut, if not, I’ll tear the edges so it doesn’t look so obvious. I also like to sand down the edges of the paper a bit if I feel they are standing out too much. After that, I make sure my piece is prepped with a lighter color- that could be paint or primer depending on the specific needs of the table. In this case, it needed to be primed because it was a bleeder. Then I can use Chalk Mountain Satin Poly to apply the image. That means a liberal coat on the tabletop, apply the image, smooth it out and then add an additional layer of poly over the top. Then I let it completely dry.
Now for the fun part- Choose your colors. Whatever colors you like and that suit your image. Mix them if you need a shade you don’t have in your Chalk Mountain arsenal. And here’s the best part- you use next to no paint. Their paint is so pigmented, I literally only use tiny dabs from the lid to fill in the image. And I use a TON of water on my brush and in the lid. You want to be able to see through the paint to the image. You want the black lines showing up because that’s what gives it the story book look. And because I sealed the top before I started painting, if I make a mistake, or don’t love a color I chose- I can just wipe it back and try again! The brushes I use are just little artist brushes I’ve collected over the years, you don’t need anything special here, water coloring is an imperfect art.
Once you get the image fully colored in, seal it once again with the poly. And maybe a couple times depending on how much use the piece will get. Table tops tend to take a beating so I like to have at least three layers of poly or at the very least two and a layer of wax. Yep, I put wax over my poly. It’s a great way to add extra protection.
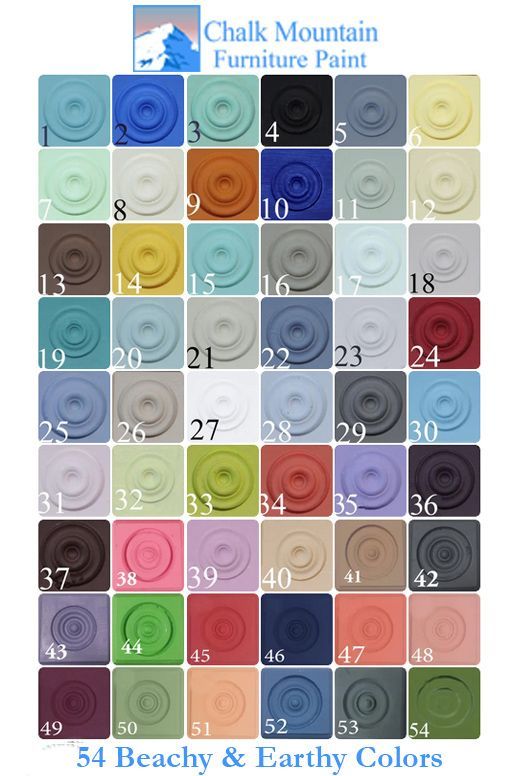
Chalk Mountain Furniture Paint colors used to complete this project:
#44 Deep Emerald Green
#52 Deep Water Blue
#38 Pink Night Skies
#6 Light Yellow
#21 Light Khaki
#25 Sapphire
#19 Green Chalk Board
#46 Indigo Blue
#1 Aquamarine
Sealed for Protection with Chalk Mountain's
Poly Acrylic

Chalk Paint vs. Acrylic Paint: Why Your Next DIY Project Demands Chalk
There are several ways to create a blending technique with chalk furniture paint, depending on the effect you're looking for and your comfort level. Wet Blending: This is a great technique for beginners and creates a smooth, seamless transition between colors. What you'll need: Chalk furniture paint in your desired colors, a dedicated brush for each color, a misting bottle filled with water, and a soft blending brush. Steps: Apply your base coat(s) in your chosen colors, leaving some space for blending between them. While the paint is still wet, lightly mist the area where the colors meet. Use your blending brush, dampened with water, to gently work the colors together in small circles or back-and-forth strokes. Continue misting and blending until you achieve the desired level of transition. Let the paint dry completely before adding another coat or sealant. Dry-Brush Blending: This method offers more control and is ideal for creating textured or distressed finishes. What you'll need: Chalk furniture paint in your desired colors, a flat brush for each color, and a stiff bristle brush. Steps: Apply your base coat(s) as desired. Dip the flat brush into one color and wipe off most of the paint on a paper towel. Lightly brush the color onto the other color in a dabbing motion, creating a feathered effect. Repeat with the other color, working in small sections. Use the stiff bristle brush to further blend and distress the colors if desired. Let the paint dry completely before adding another coat or sealant. Feathering Blending: This technique creates a soft, diffused transition between colors. What you'll need: Chalk furniture paint in your desired colors, a flat brush for each color, a clean, and a damp sponge. Steps: Apply your base coat(s) as desired. Dip the flat brush into one color and load it lightly. Use the sponge to dab the loaded brush onto the other color, creating a feathered edge. Repeat with the other color, working in small sections. Blend the edges further with the clean side of the sponge by lightly dabbing and lifting. Let the paint dry completely before adding another coat or sealant. Meshing Technique: This is a quicker, less controlled method that creates a mottled, blended effect. What you'll need: Chalk furniture paint in your desired colors, a chip brush, and a clear furniture wax or colored wax of your choice. Steps: Apply a base coat of your chosen color. Apply a thin coat of clear glaze over the entire surface. While the glaze is wet, randomly "slap" on small amounts of your other chosen colors with the chip brush. Let the furniture wax dry completely, then add another coat if desired. Tips: Always practice on a scrap piece of wood or furniture before starting your project. Work in small sections to avoid blending too much paint at once. Keep your blending brush damp for wet blending and dry for dry-brush blending. Don't be afraid to experiment with different colors, techniques, and tools to achieve your desired effect. There are many online tutorials and resources available to help you learn more about chalk furniture paint blending techniques. We hope this helps! Contact us today if you have any further questions. May all your Mistakes be Serendipitous.
Starting your furniture upcycle business with Chalk Mountain
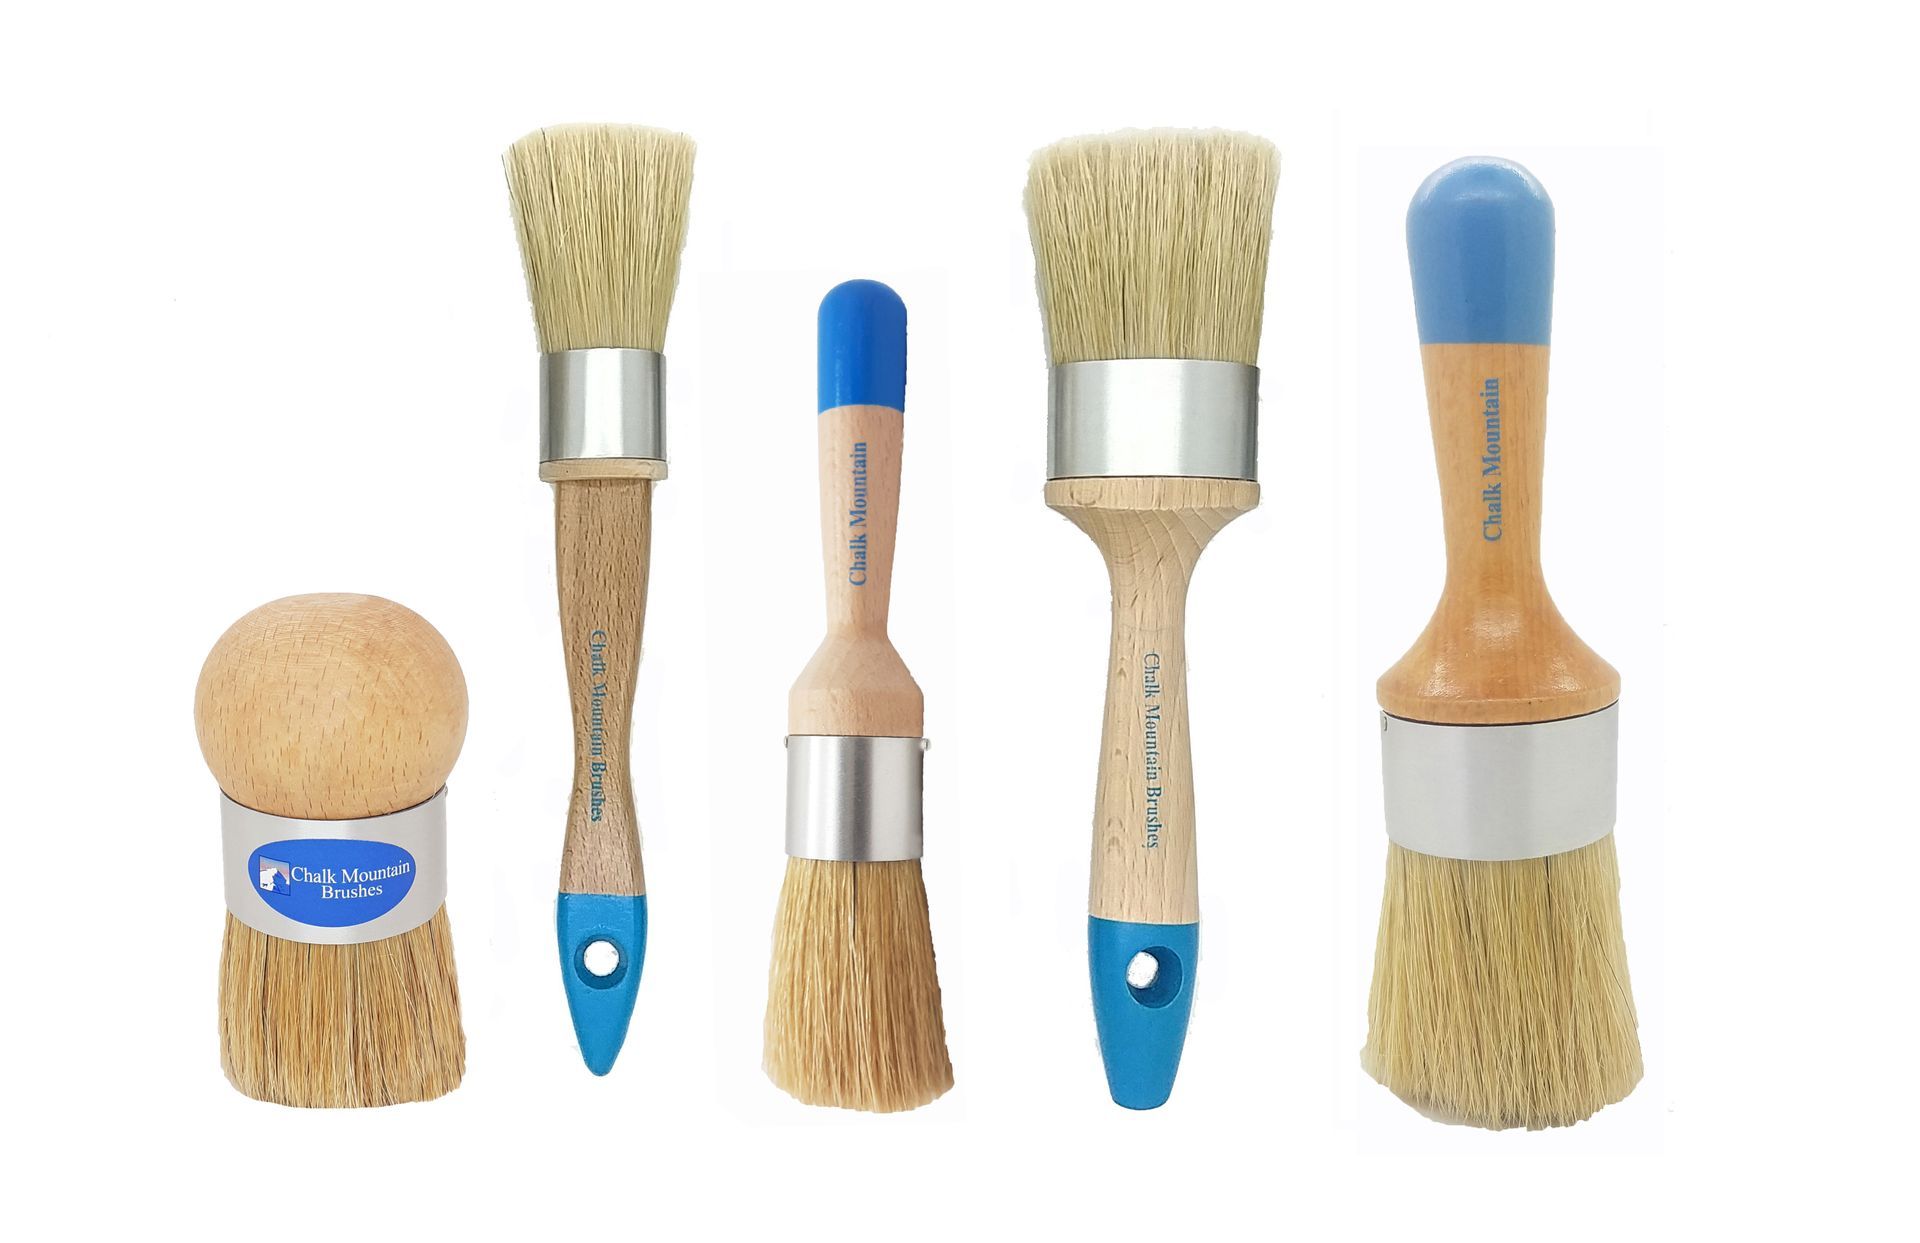
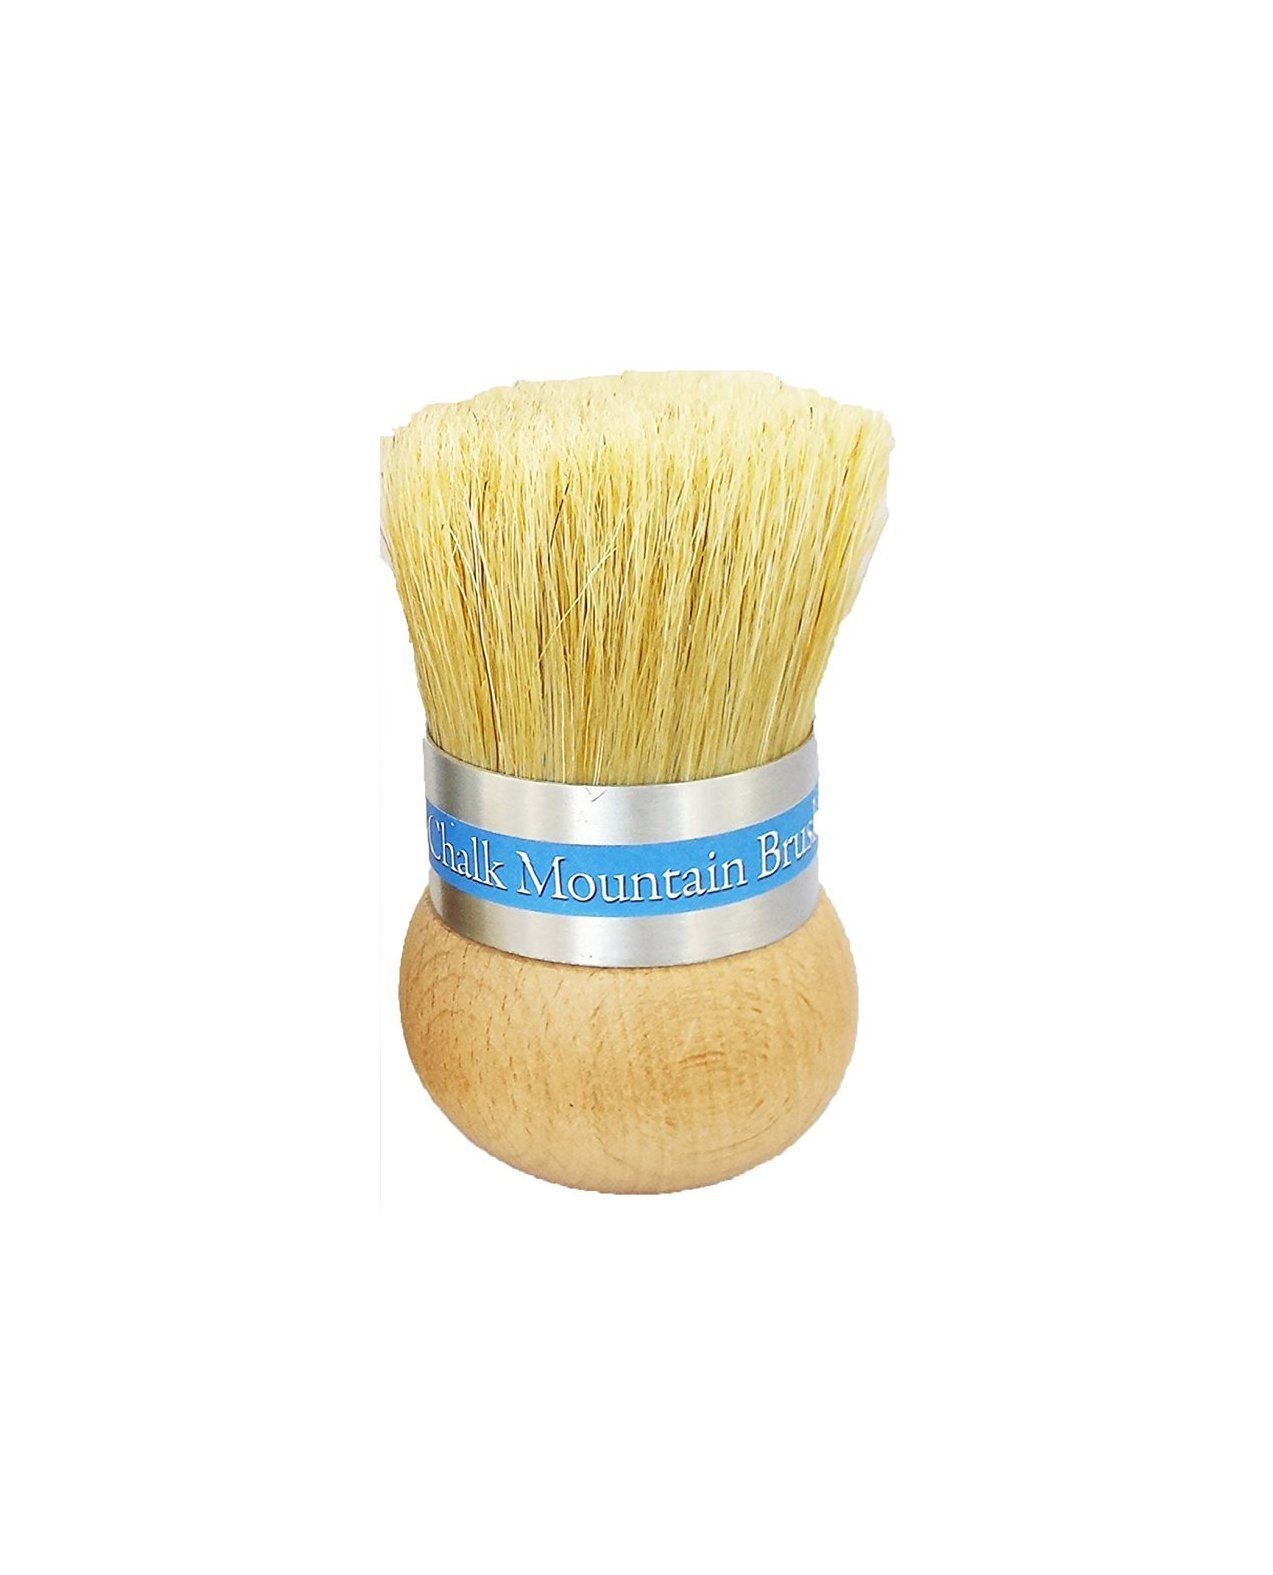
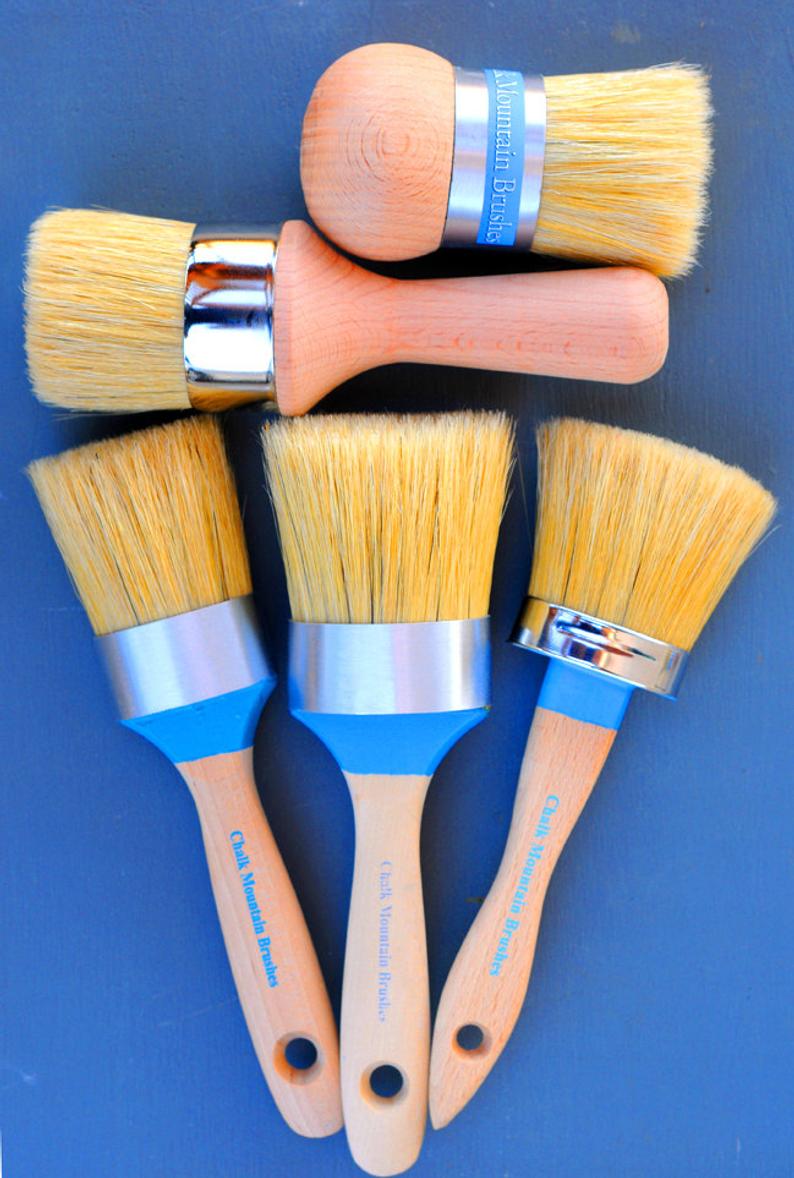
Boar Hair Paint and Wax Brushes: The Artisan's Choice for Quality and Efficiency
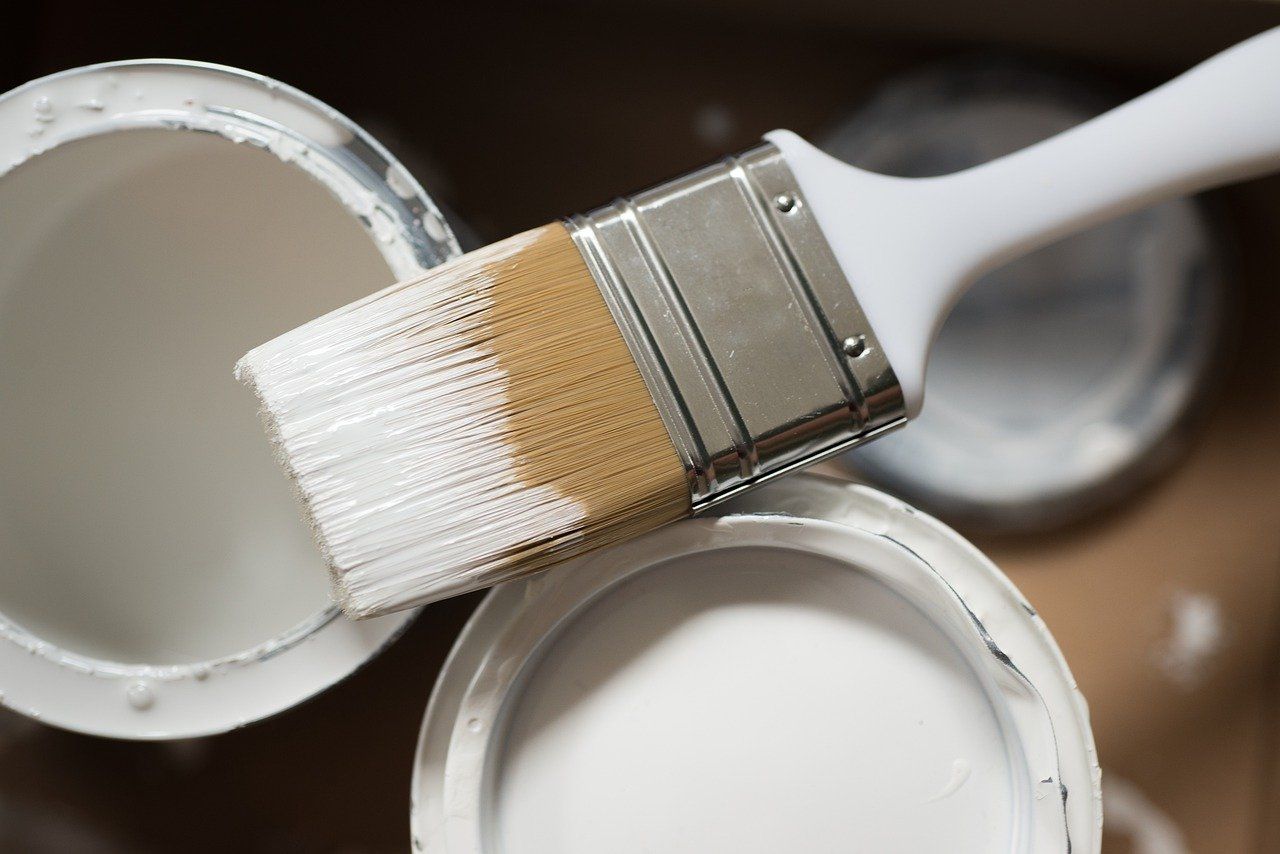
Caring for your brushes after a project.
For all your DIY supplies
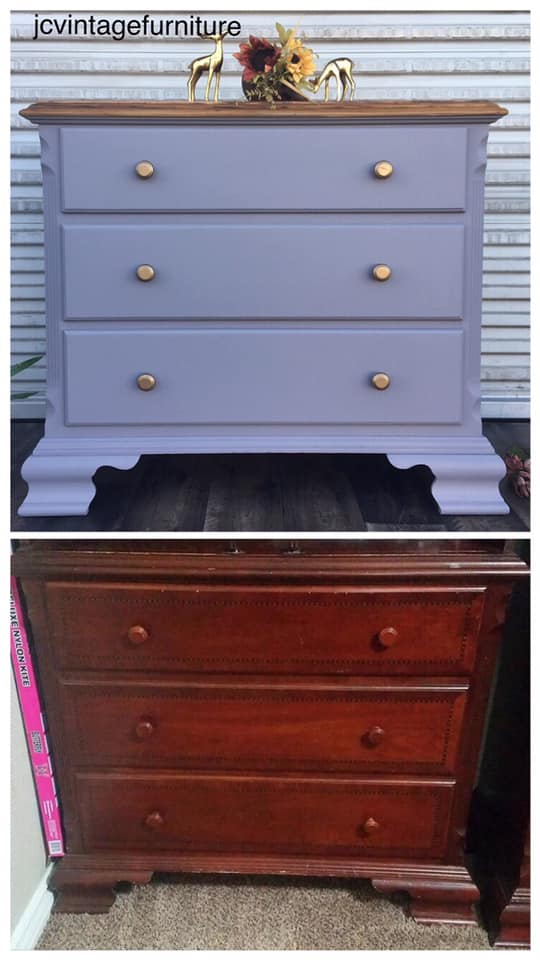
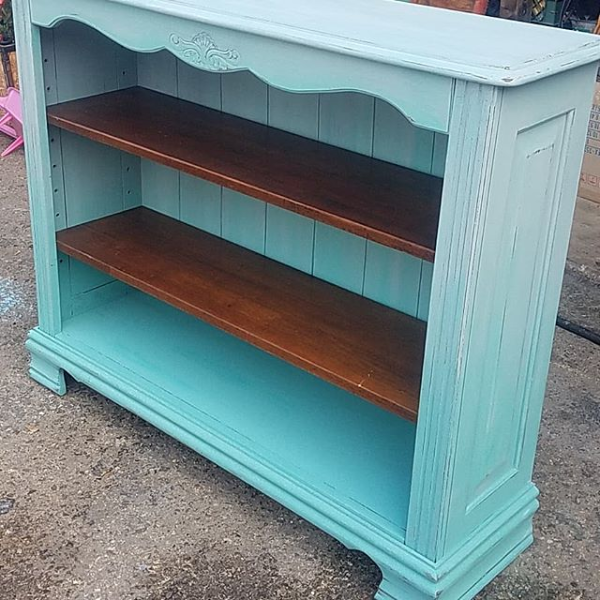
A Versatile and Easy-to-Use Paint for Furniture
Complete your Project with Chalk Mountain
The History behind Chalk Furniture Paint

The Origin of Natural Furniture Wax