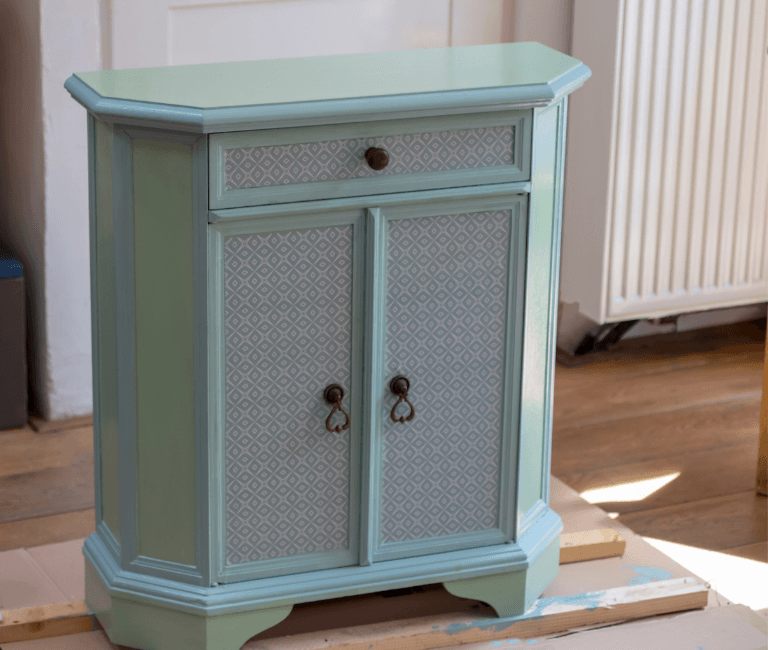
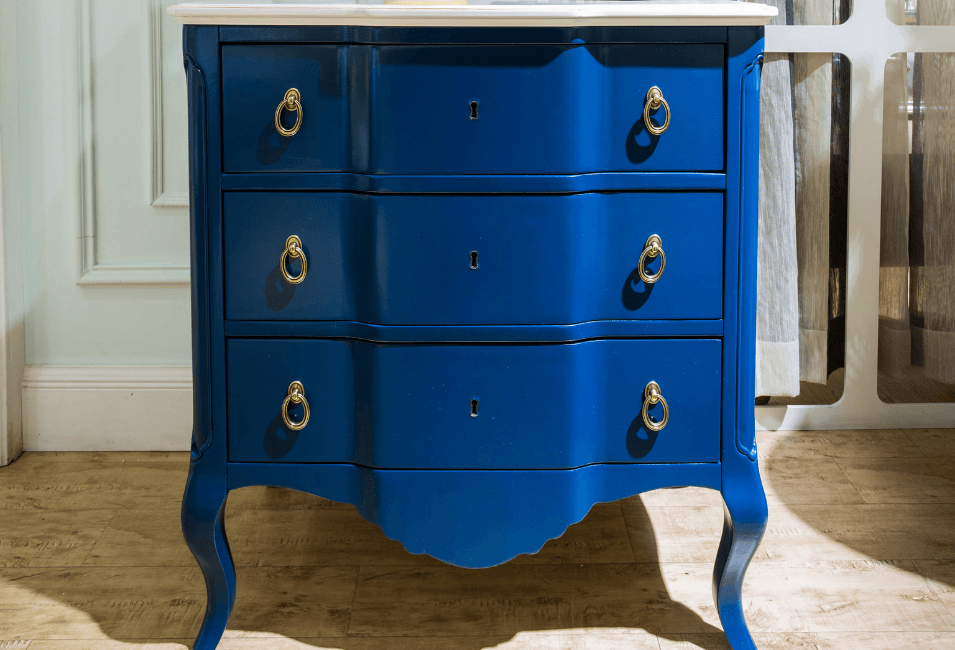
Why Use Chalk Paint Vs Regular Paint?
Do I Have To Use A Primer For Chalk Paint Or Latex Paints?
Chalk Paint adheres to most surfaces without the need for priming and only a “scuff” sand. The minerals and pore space present in chalk paints allow it to grip more slippery surfaces. There are some times when primer may be necessary (i.e. slippery IKEA furniture with a Teflon coating baked in….) in order to help with adhesion. All in all its easier to get a properly adhered finish with chalk style paints.
Latex Acrylic Paint often requires more sanding and priming for proper adhesion. When the proper prep is not given on your piece prior to painting, you can end up with peeling paint.
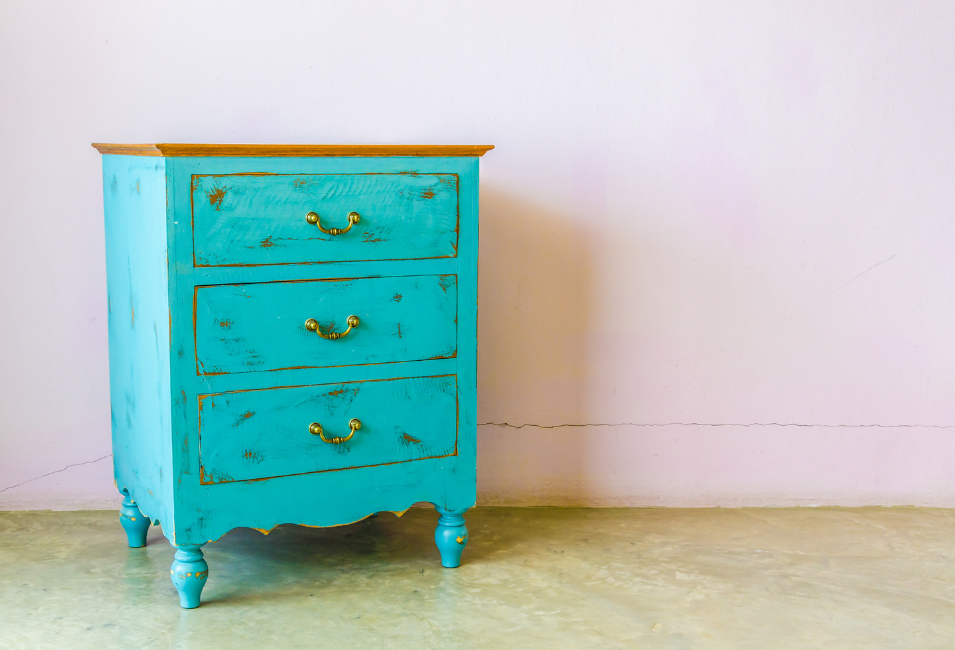
The Best Paint For Distressing Furniture
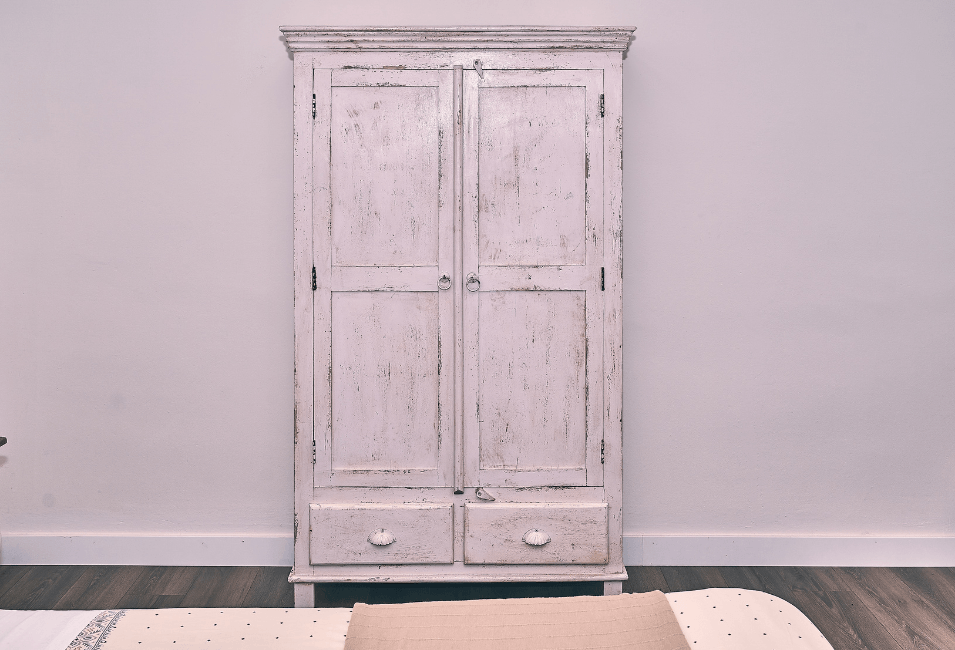
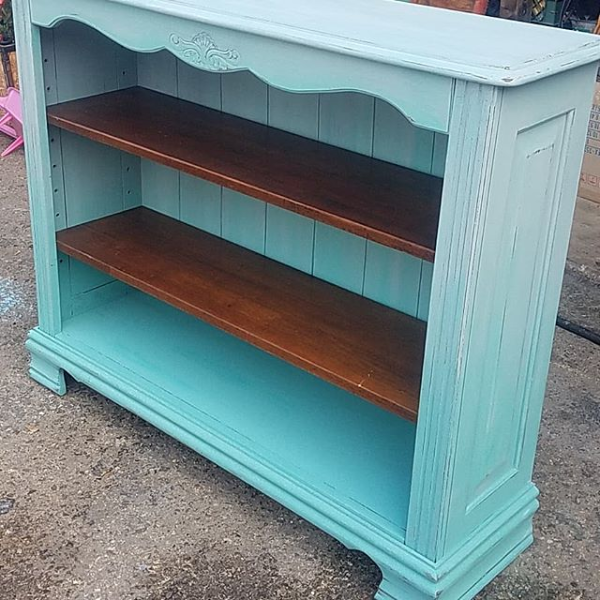
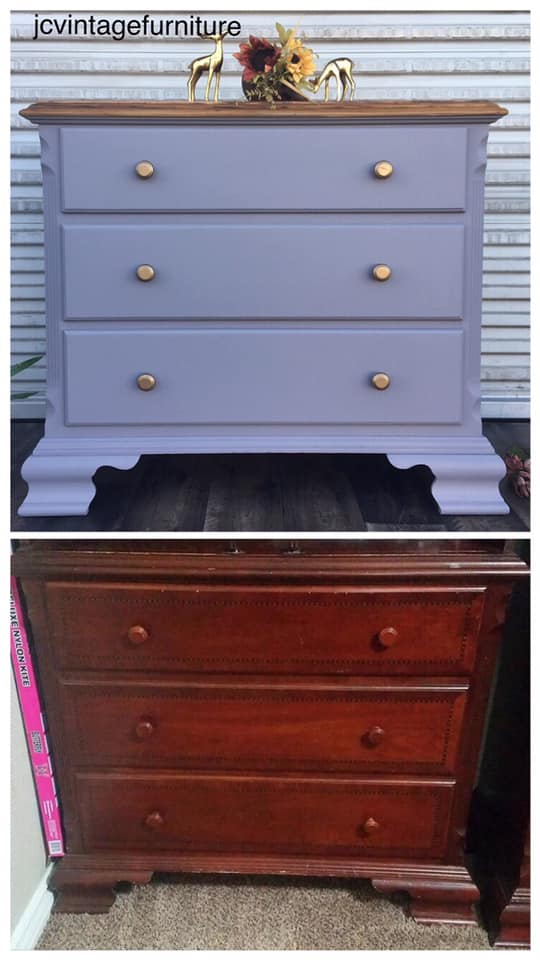
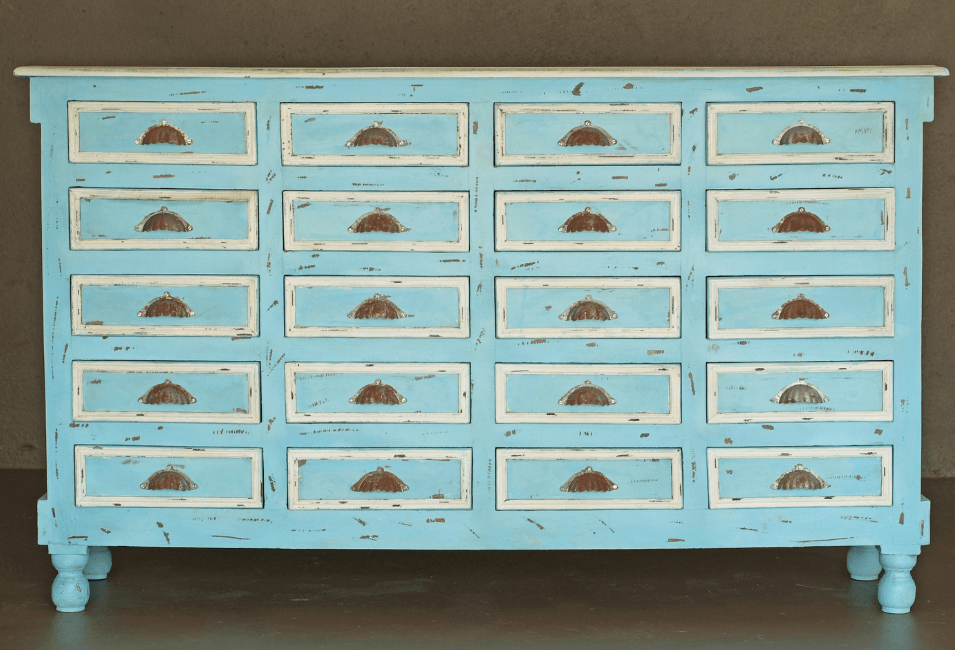
Chalk Paints will distress with ease. May be wet distressed using a damp cloth, sponge, or scrubby or distress after drying with wire brush, sand paper, or your favorite sander. As the paint cures (dries and strengthens over the next few weeks) distressing will become harder to do and this is normal. The sooner after application that you distress, the easier it will be and with chalk style paints, the paints will simply “break away” so you work.
Latex Acrylic Paint can tend to gum up when distressing. This activates the glues present in the latex paint resulting in a chunky or stretchy removal of larger areas of paint resulting in a lumpy or blotchy finish.
Brush Marks In Chalk Paint And Latex Paint
Chalk Paints are often self leveling unless they are too thick (which can tend to happen over time or even intentionally by the manufacturer. Simply add water in your preferred way. You can mist the surface you are working on beforehand, work with a wet brush, thin your paint with water, or simple spray as you work.
Latex Acrylic Paints are also often self leveling. However when they aren't able to level out enough, adding water can tend to cause more problems. This chalk style paints there is often a higher concentration of pigment and binder at work. With latex acrylic, you may find adding water will cause it to destabilize and prevent proper adhesion, so be careful!
Chalk Paint Coverage Vs Latex Paint Coverage

Most chalk style paints offer incredible coverage! Keep in mind the more thick you apply the paint, the less coverage you will get simply because you are applying it so thick! Find your happy medium.
Latex Acrylic Paints can typically take more paint to create an opaque finish for a couple of reasons. Often the pigments aren't as saturated and concentrated in Latex Acrylic Paint. Additionally, Chalk Paints GRAB to each other. Latex style paints slide across one another. This means it's just a little harder to get that full coverage finish.
Ideal Conditions With Chalk Style Or Latex Paints
The composition of clay, lime, and other minerals found in chalk style paints can typically mean withstanding hotter and colder temperatures once painted on a surface. The pore space present in chalk style paints allow for expansion and contraction without flaking, peeling, and weakening the bond when exposed to fluctuations in temperature or even humidity.
The strength of latex paint can be extremely temperature dependent. KNOW YOUR PAINT! If you are working on a project other than walls, learn what the best product is for your project and what to do to expect the best results!
Is Distressing Dangerous? Chalk Paints Vs Latex Paints
Chalk Paints: YES. That is the short answer. Regardless of what is in the paint, when inhaling ANY airborne particles, you are putting your health at risk! When you sand and distress with dry paint with a dry method, the paint and all its ingredients are airborne! This is why you should wear a dust mask or use wet distressing techniques. Additionally some paints contain known carcinogens.
Latex Style Paints: YES. Again that is the short answer. When you sand and distress with dry paint with a dry method, the paint and all its ingredients are airborne! Additionally while some chalk paints carry carcinogens in them EVEN MORE often you find them in latex style paints because they were never really meant to be sanded and distressed.
Sealing Painted Furniture
Chalk Style Paints: Typically they should. Many paint companies will tell you “No top coat needed”! And,.. while thats often true, it’s not completely true. Top coats are typically used for durability, so when it comes to that, chalk paints typically have durability covered! So then, why top coat? This is where SEALING comes in. Remember we have said several time chalk paints are porous! What happens when you spill your kids red drink on the pavement? This is also the case with your chalk style paint. Therefore its best practice to seal it in some way to prevent it from soaking up what you DON'T WANT it to soak up!
Latex Style Paints: Often latex paints do not require sealing. The product is not porous to begin with! At most you will likely only need to add a protective finish to your surfaces where someone may set a drink or plates or the like, also referred to as “high traffic areas”.
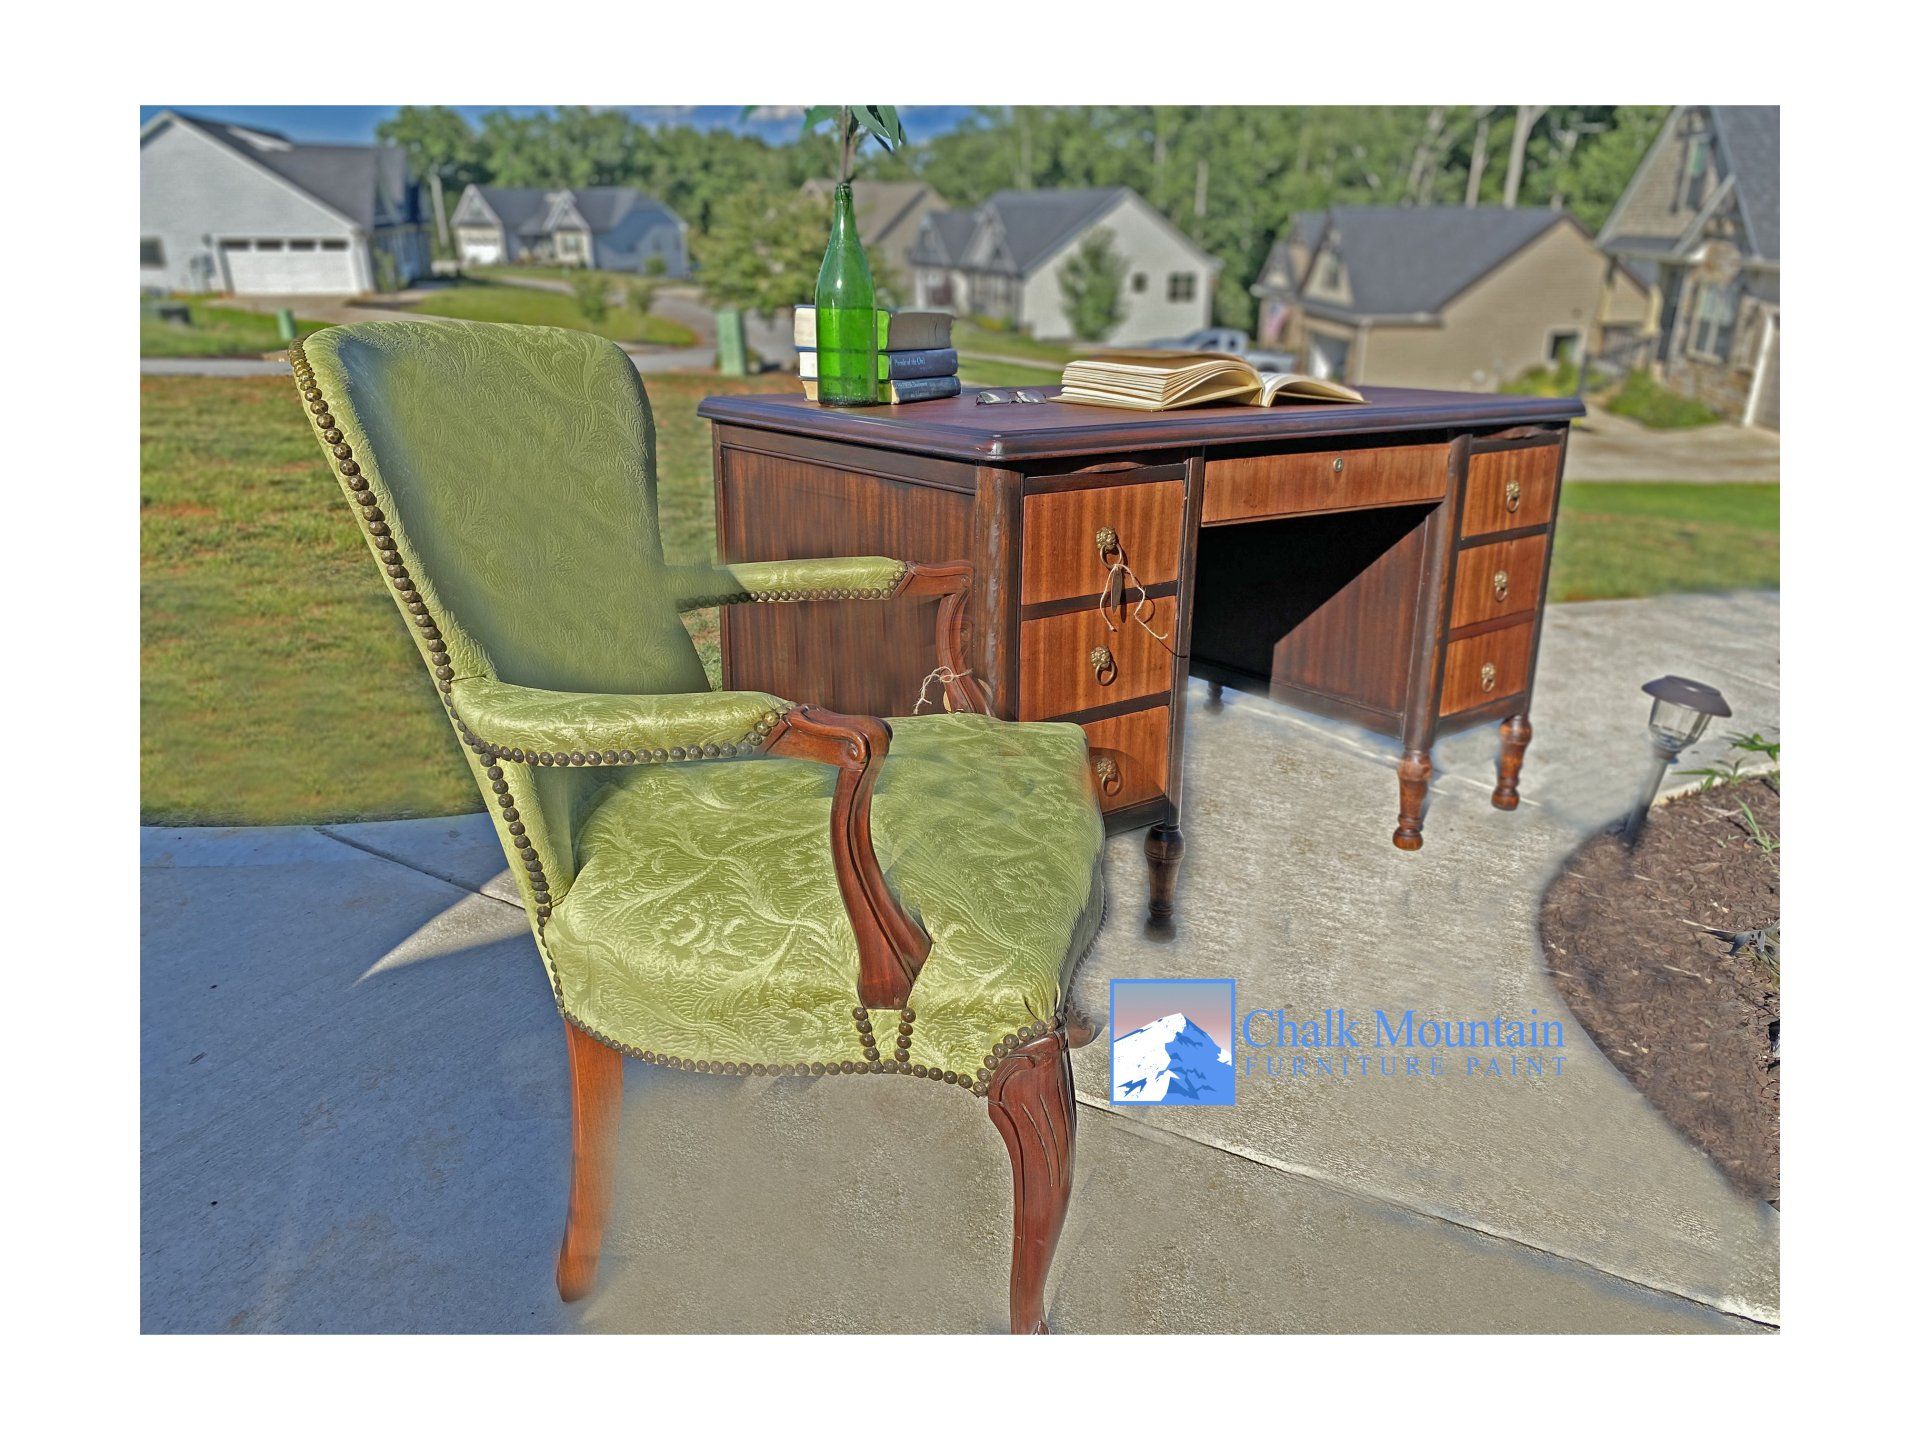
Blending Paint On Furniture
Chalk Paints: Absolutely! What is lovely about the chalk style paints is they really lend theirselves to these artistic finishes. They blend easily without resist, and there are lots of methods for layering and creating interesting looks!
Latex Acrylic Paints: Mmmmmm,… kinda? Of COURSE it’s possible. But it does take some extra practice and a very specific “touch” to blend Latex Acrylic Paints. Because it’s not porous and therefore less “accepting” of anything being pulled into it, blending can be a tad more trying if you want a seamless look. Layering is also possible but again,.. you will want to play and research to get what you desire. It’s not as easy to create those artistic finishes. However, this is what makes the Latex Acrylic Paints amazing for solid, more “modern” style finishes!
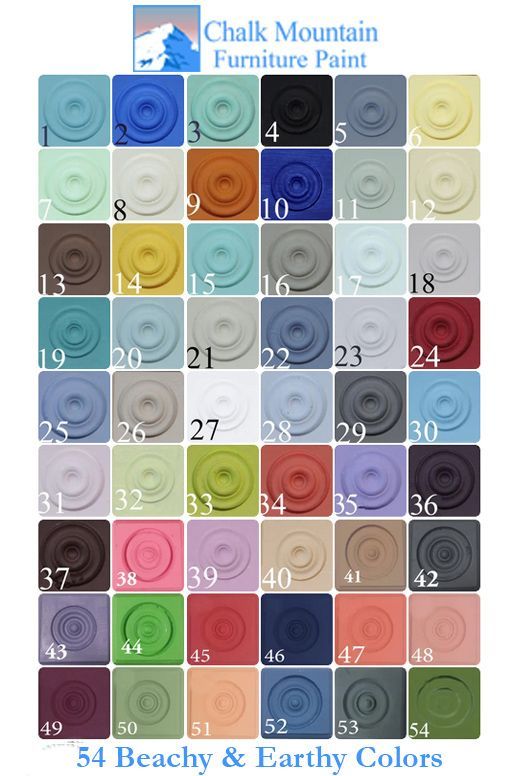
Are you ready to order your Chalk Mountain Furniture Paint? Check out our store today! We are a brand you can trust...Guaranteed!