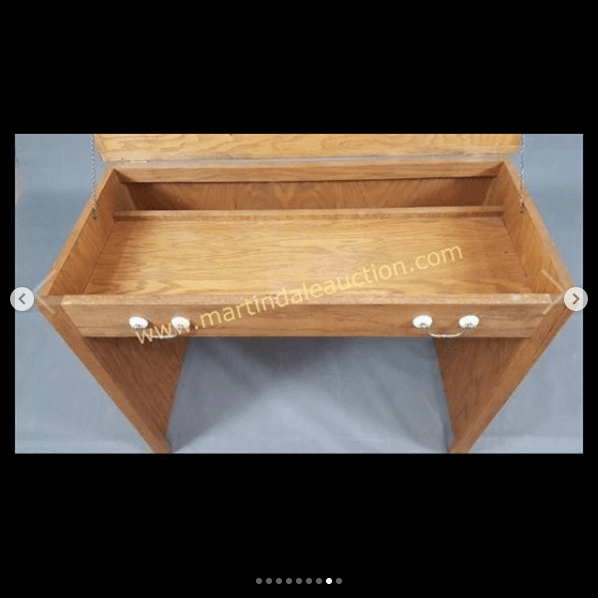
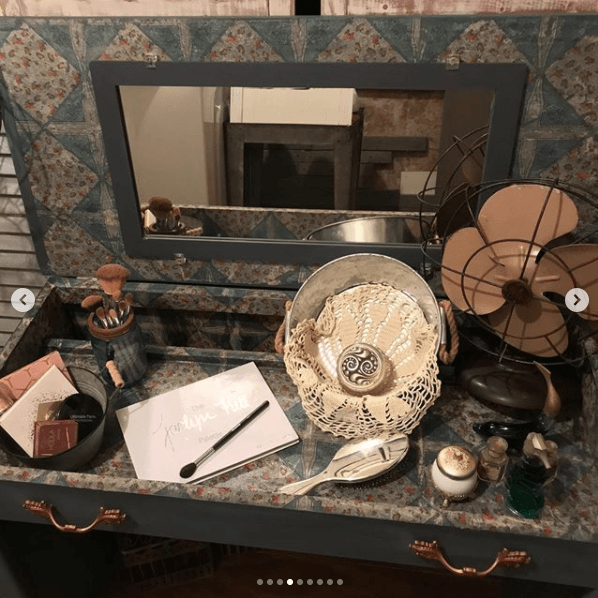
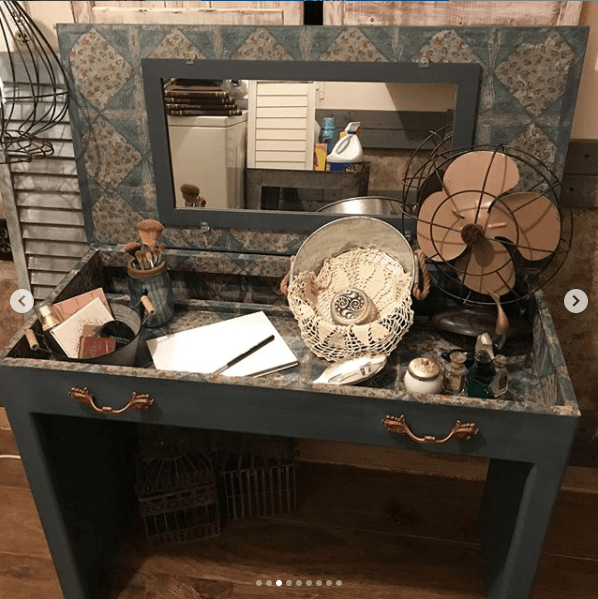
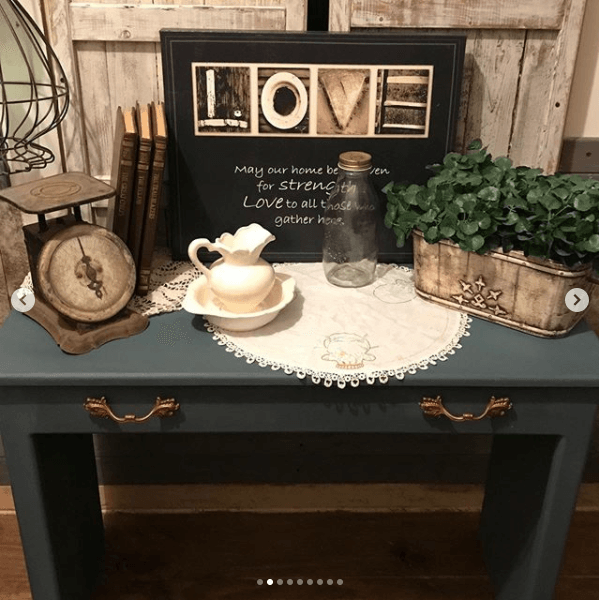
Not just another paint...
Your project doesn't have to be difficult...
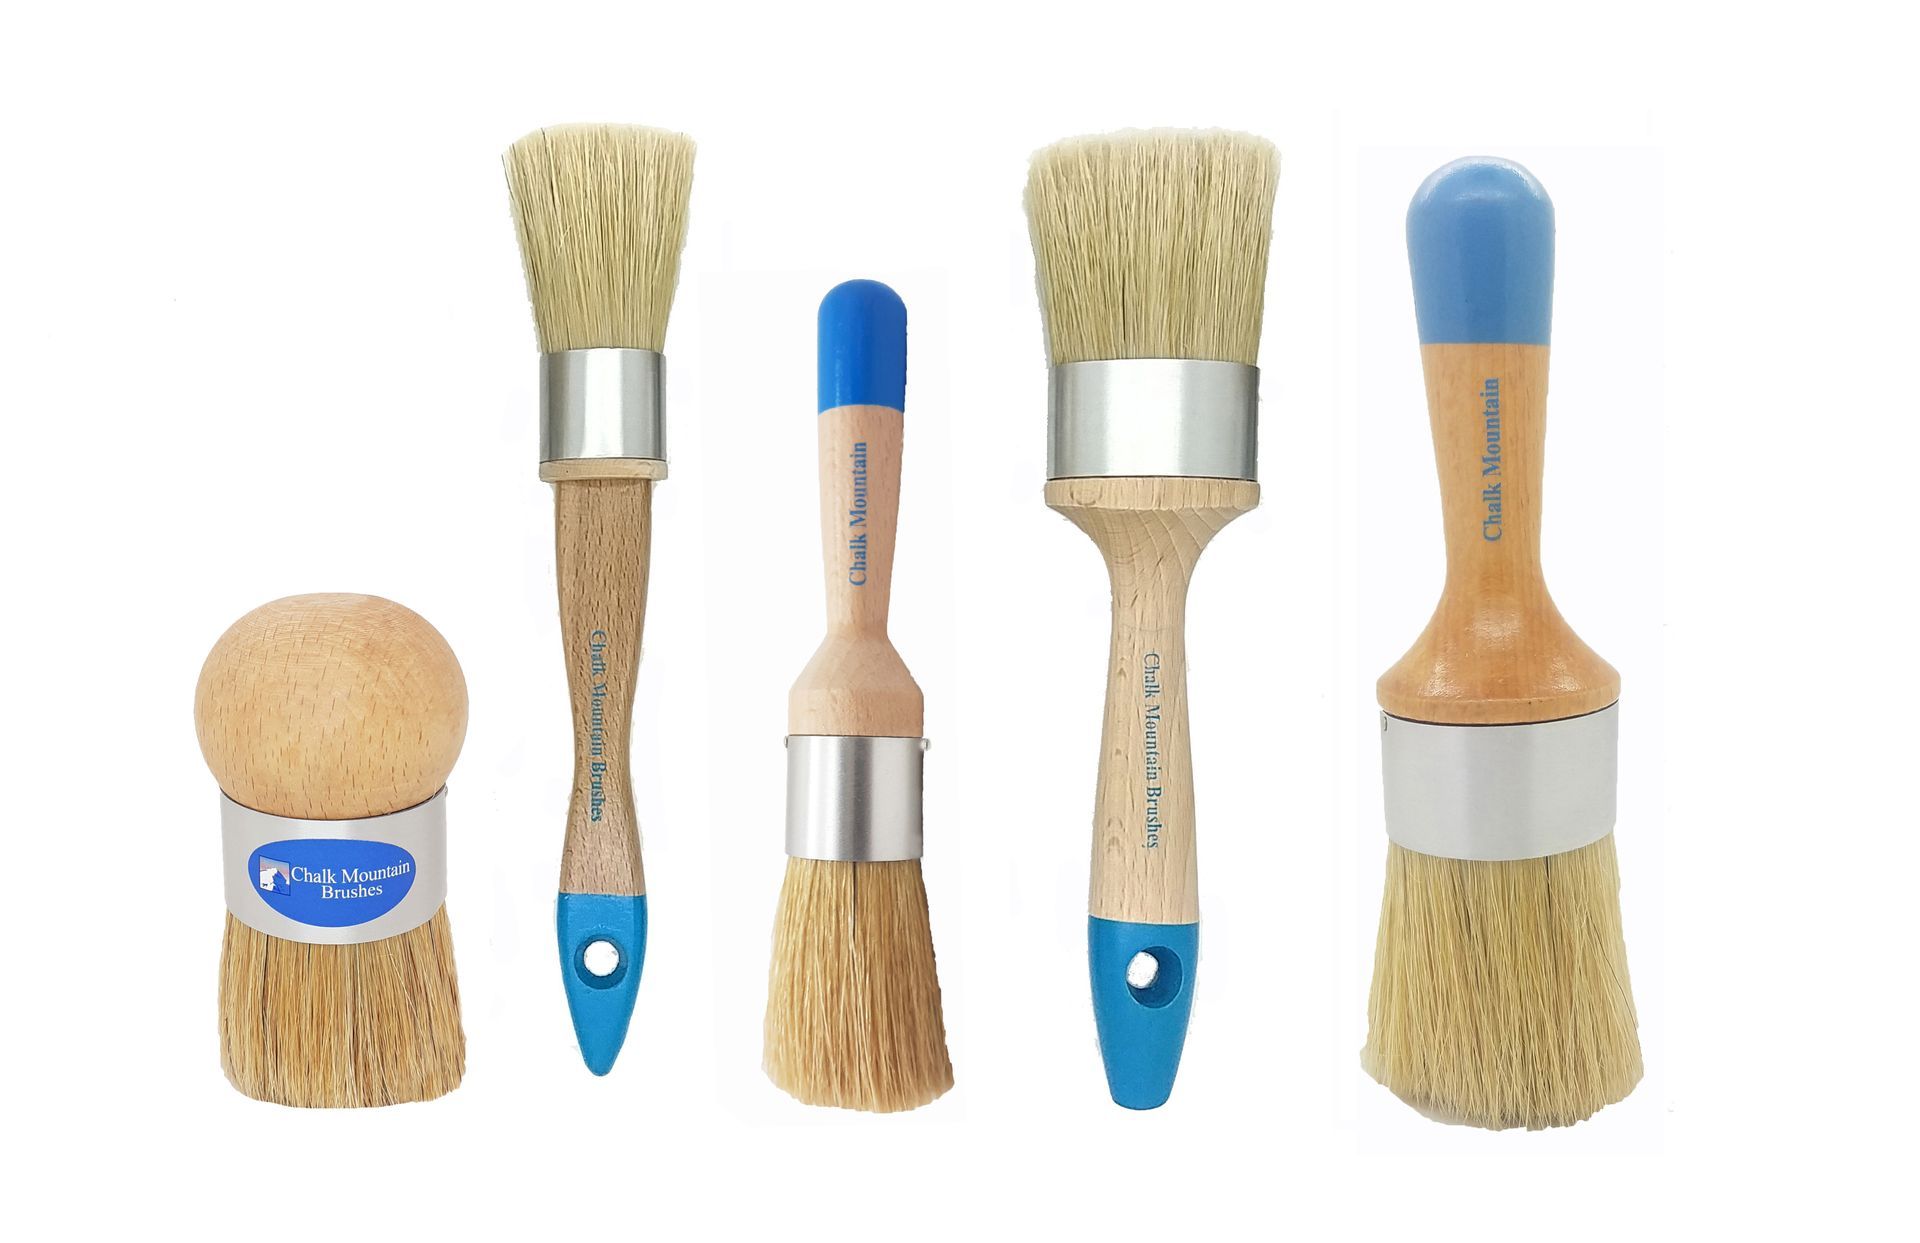
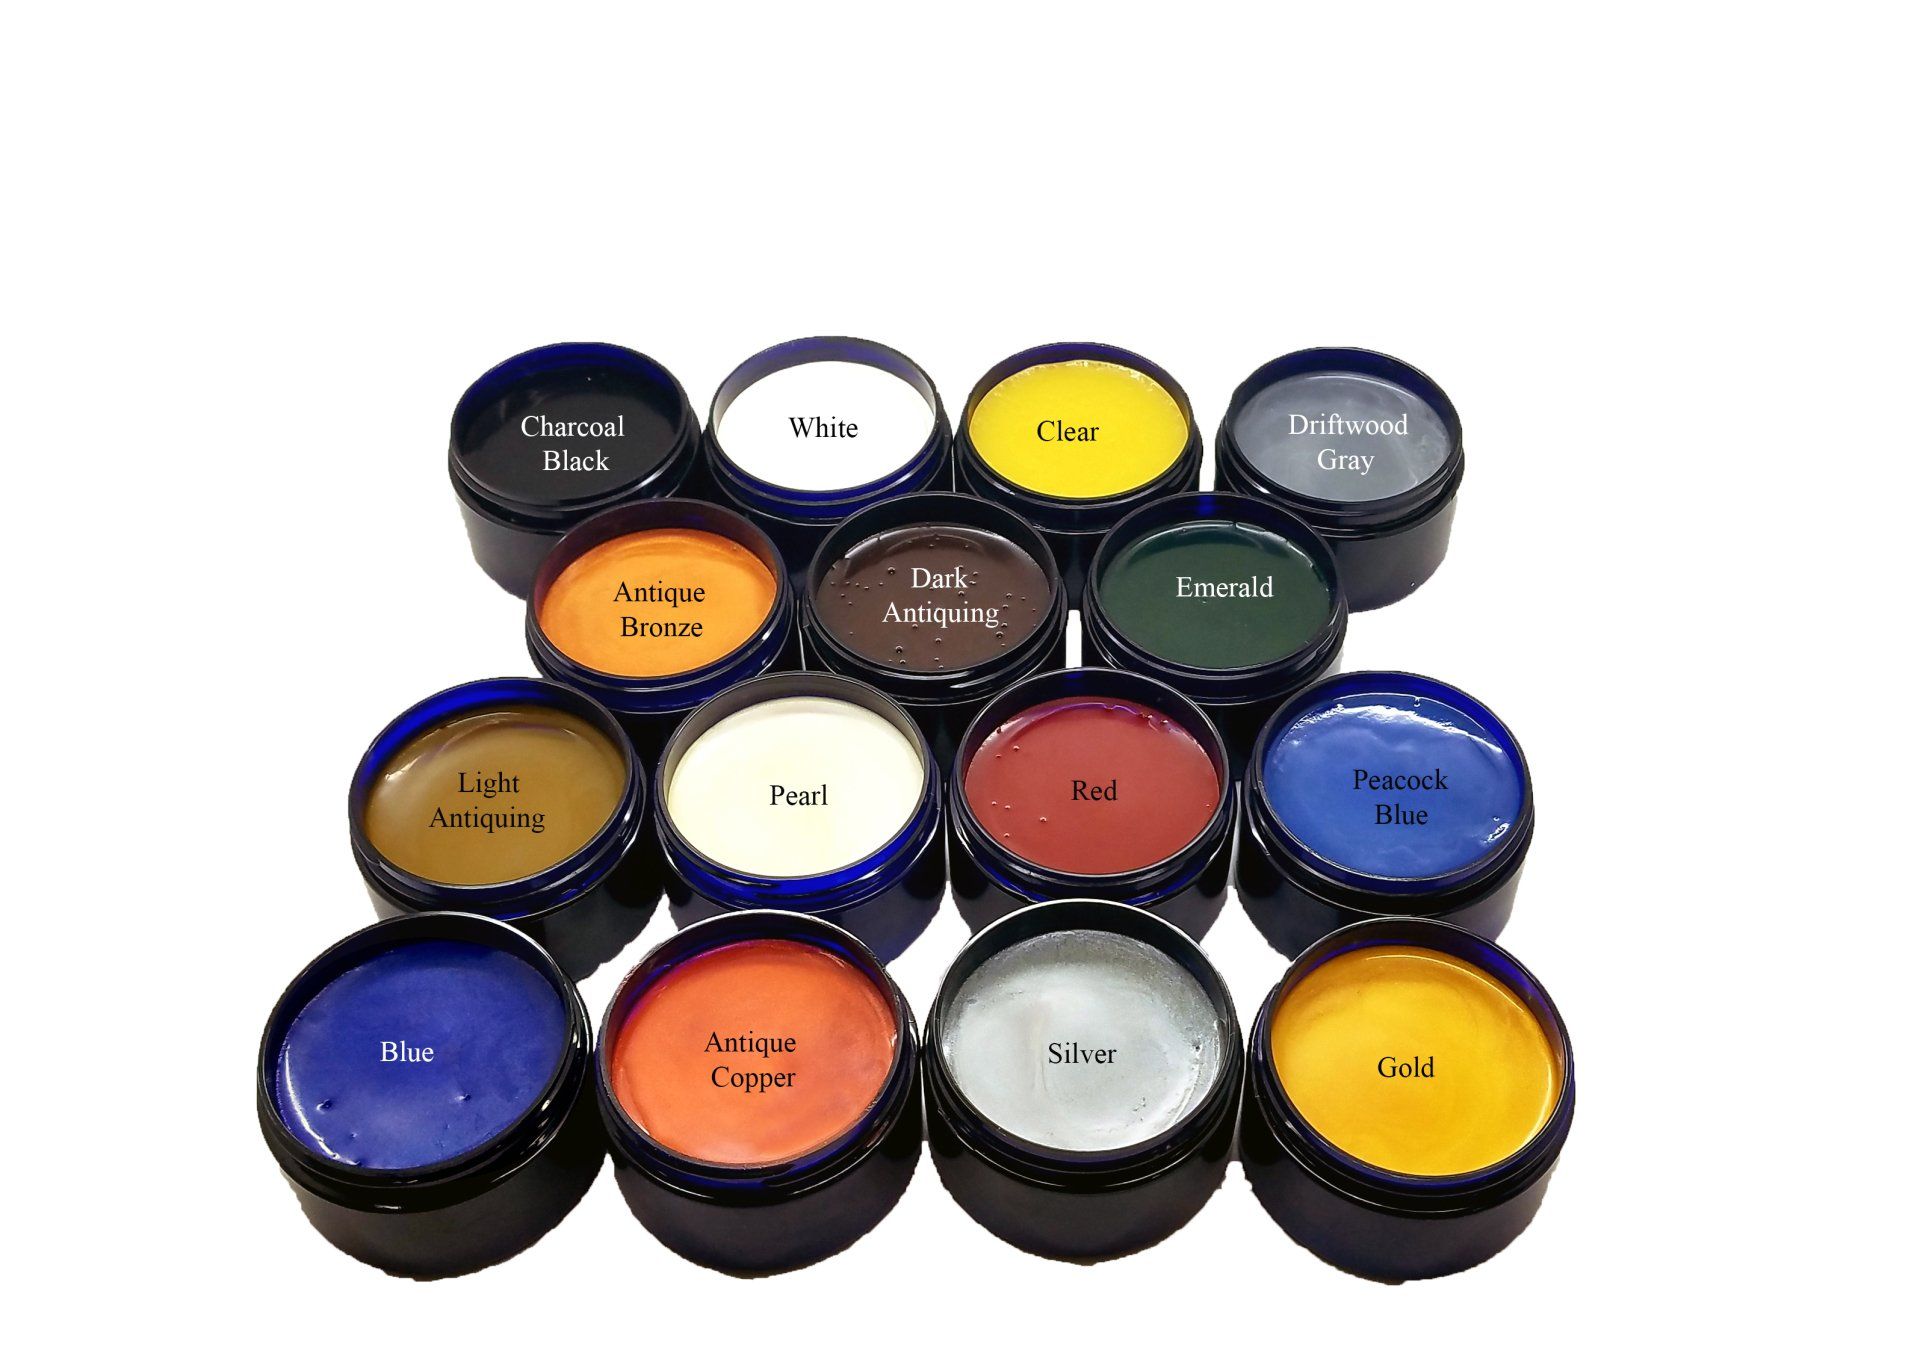
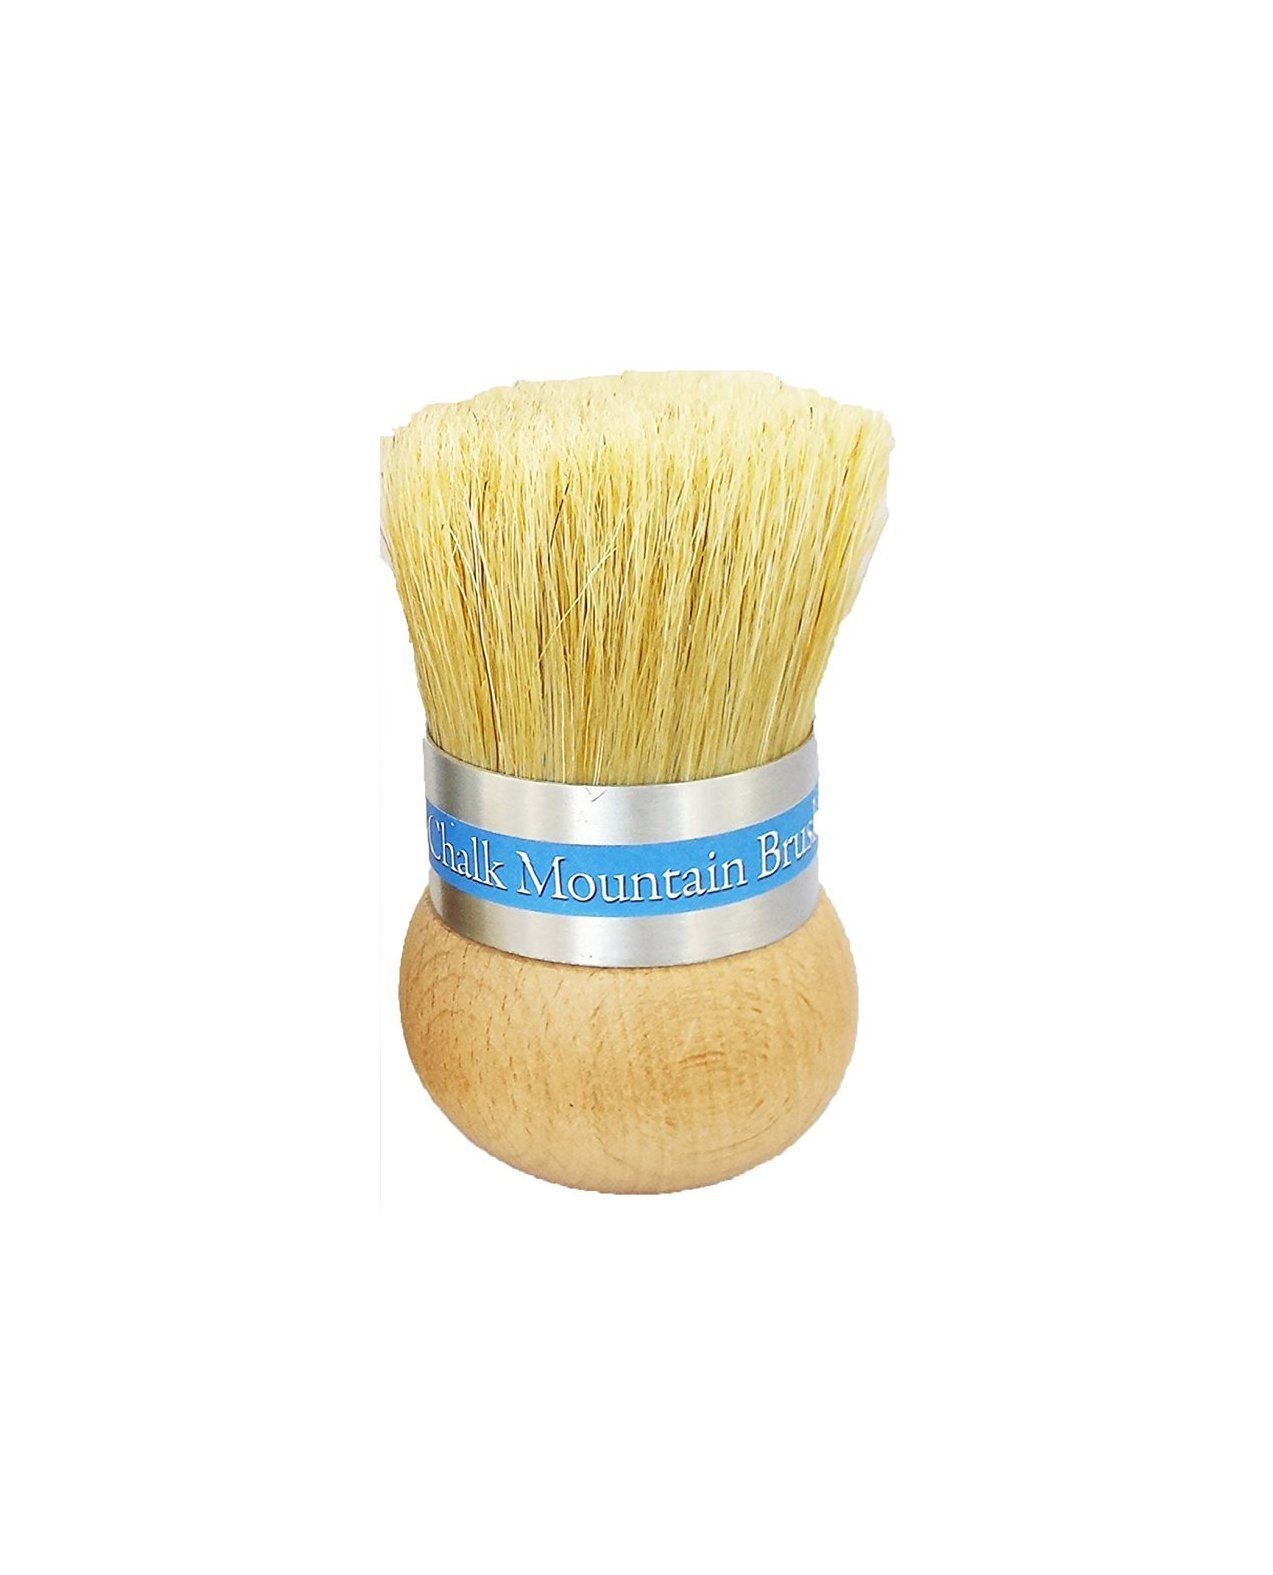
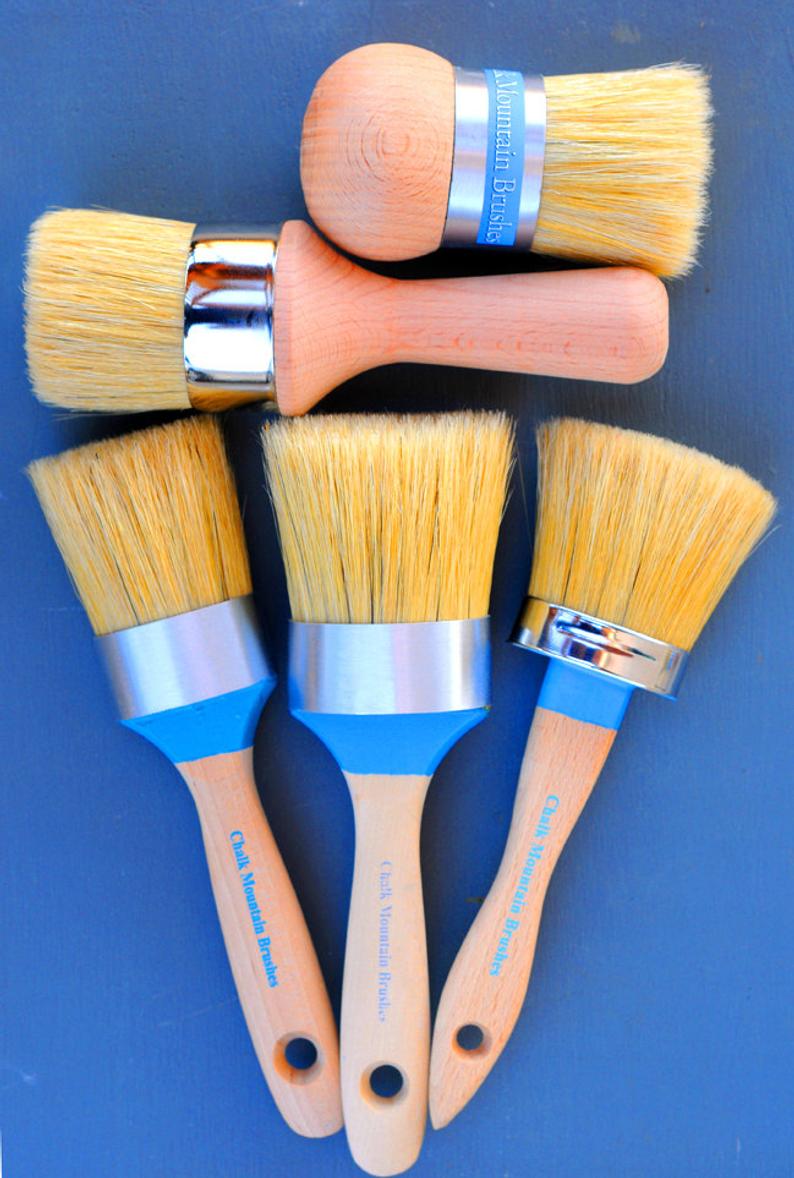
With Chalk Mountain Paint we are more than just a layer of color. Unique brushes and waxes will enhance your project and give it the look and feel you dream about.
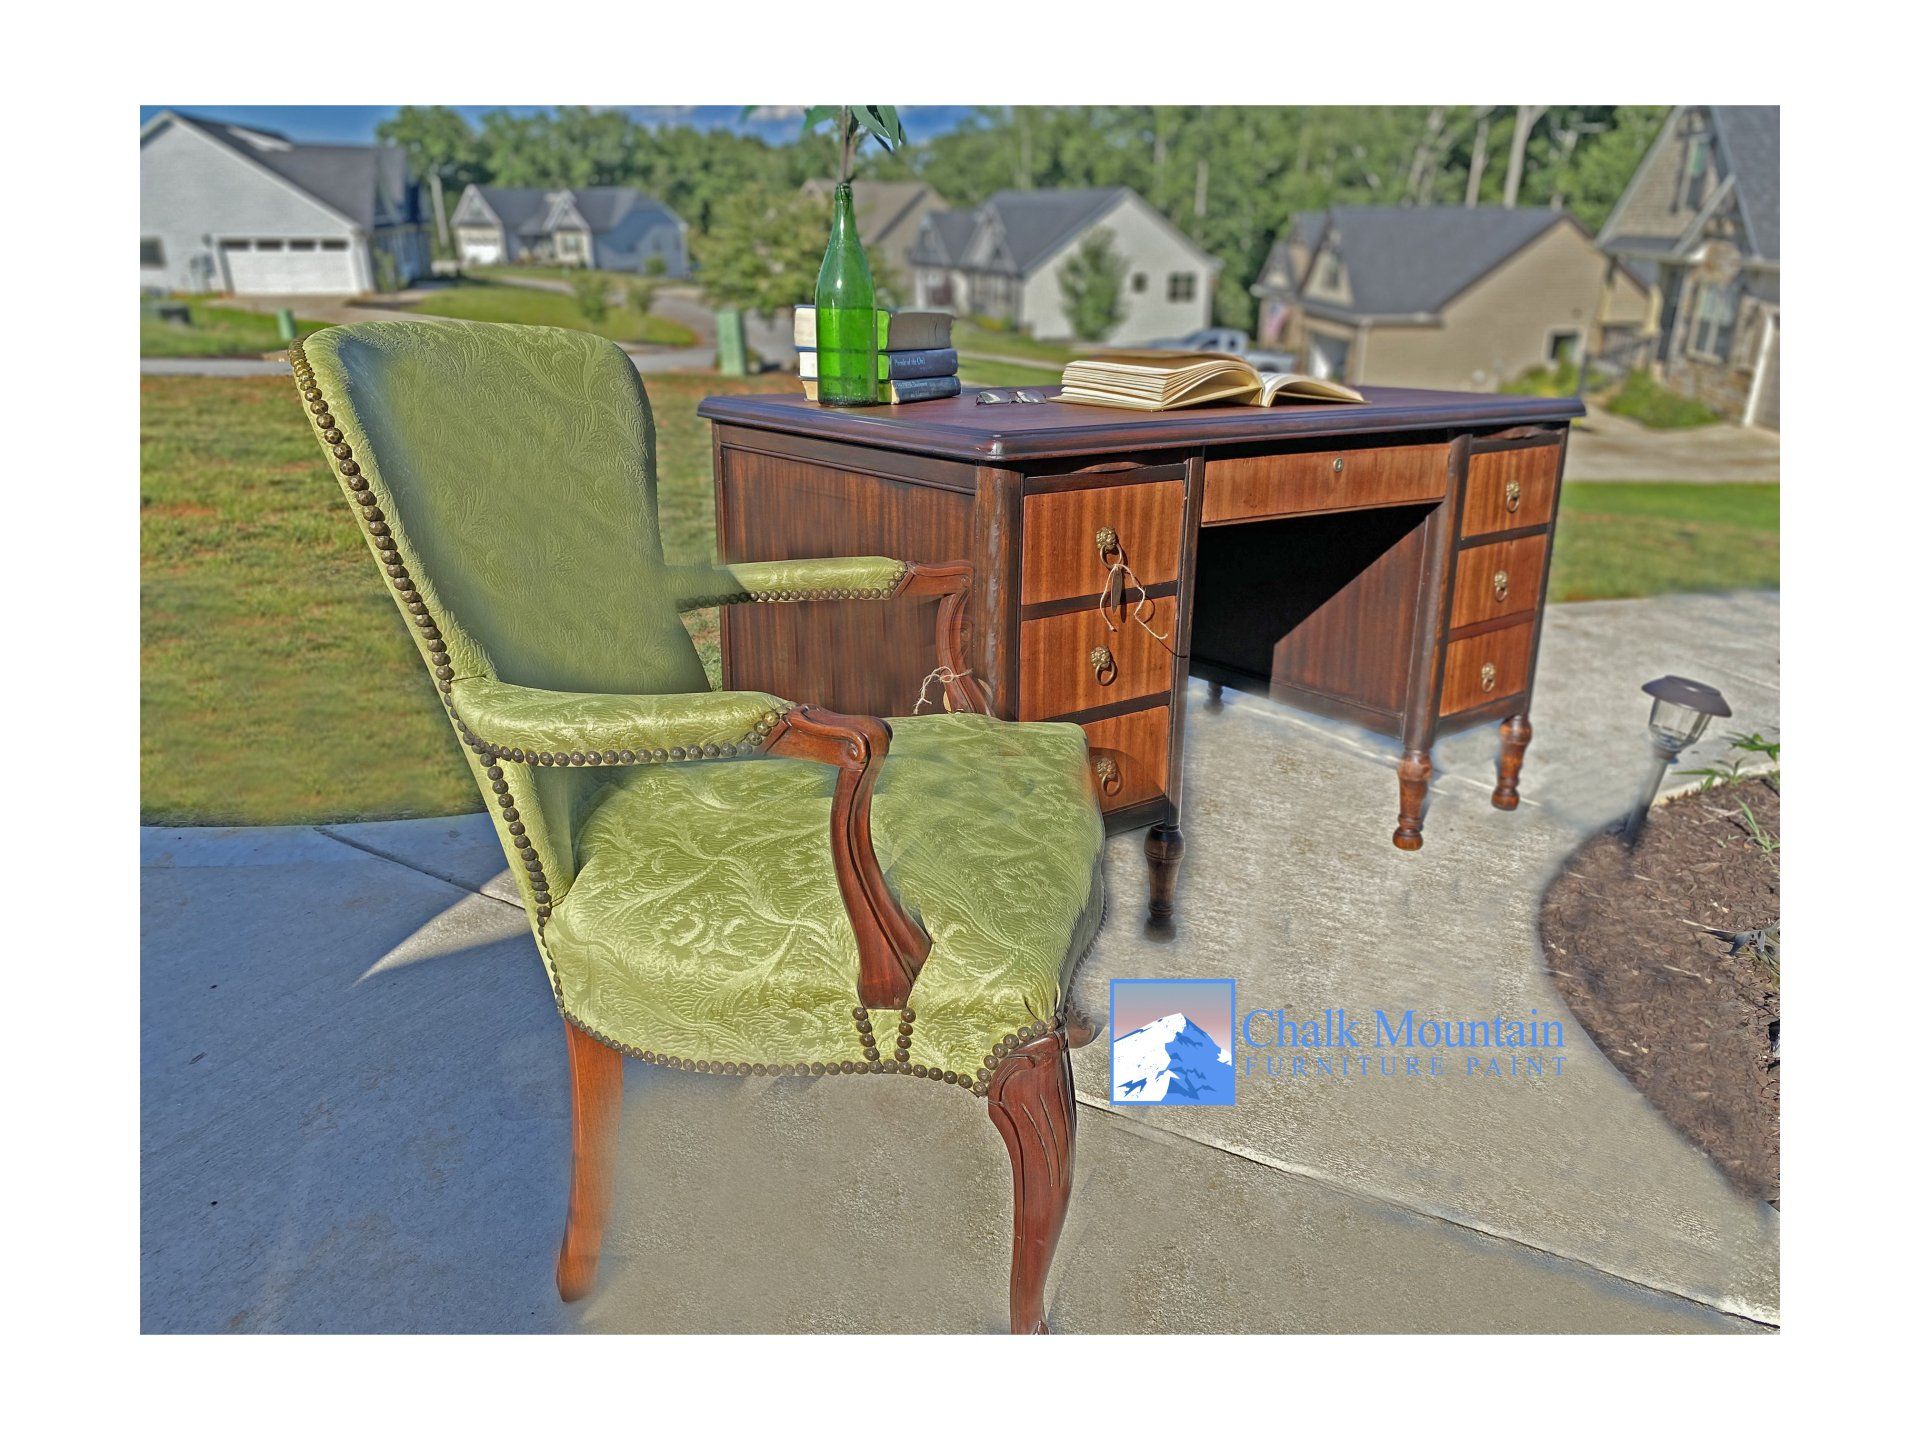
Before you start painting you want to make sure that you’re wearing clothes that you don’t mind getting paint on. Now’s the time to break out your old shirts and bottoms or steal your honey’s old duds and get down to business.
- Remove any handles from the drawers. You may need to be patient if the screws are in a bit tight.
- Wipe down the desk with a damp cloth to remove any dirt or dust.
- Dry the desk with a second rag before you begin painting.
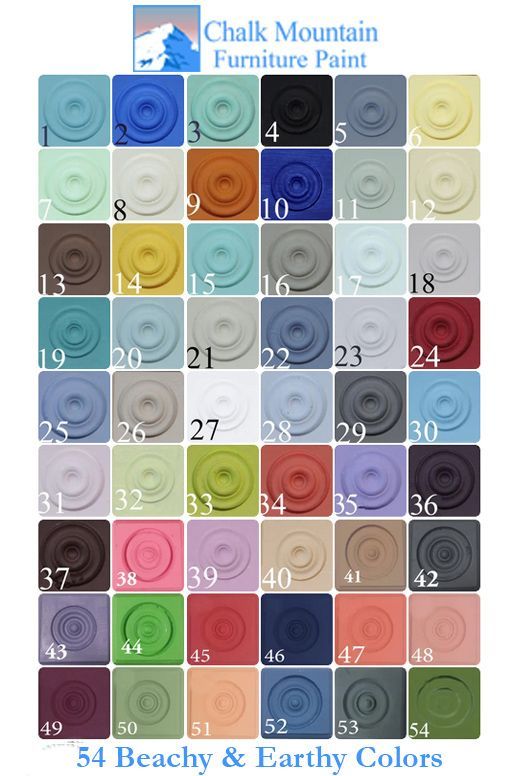
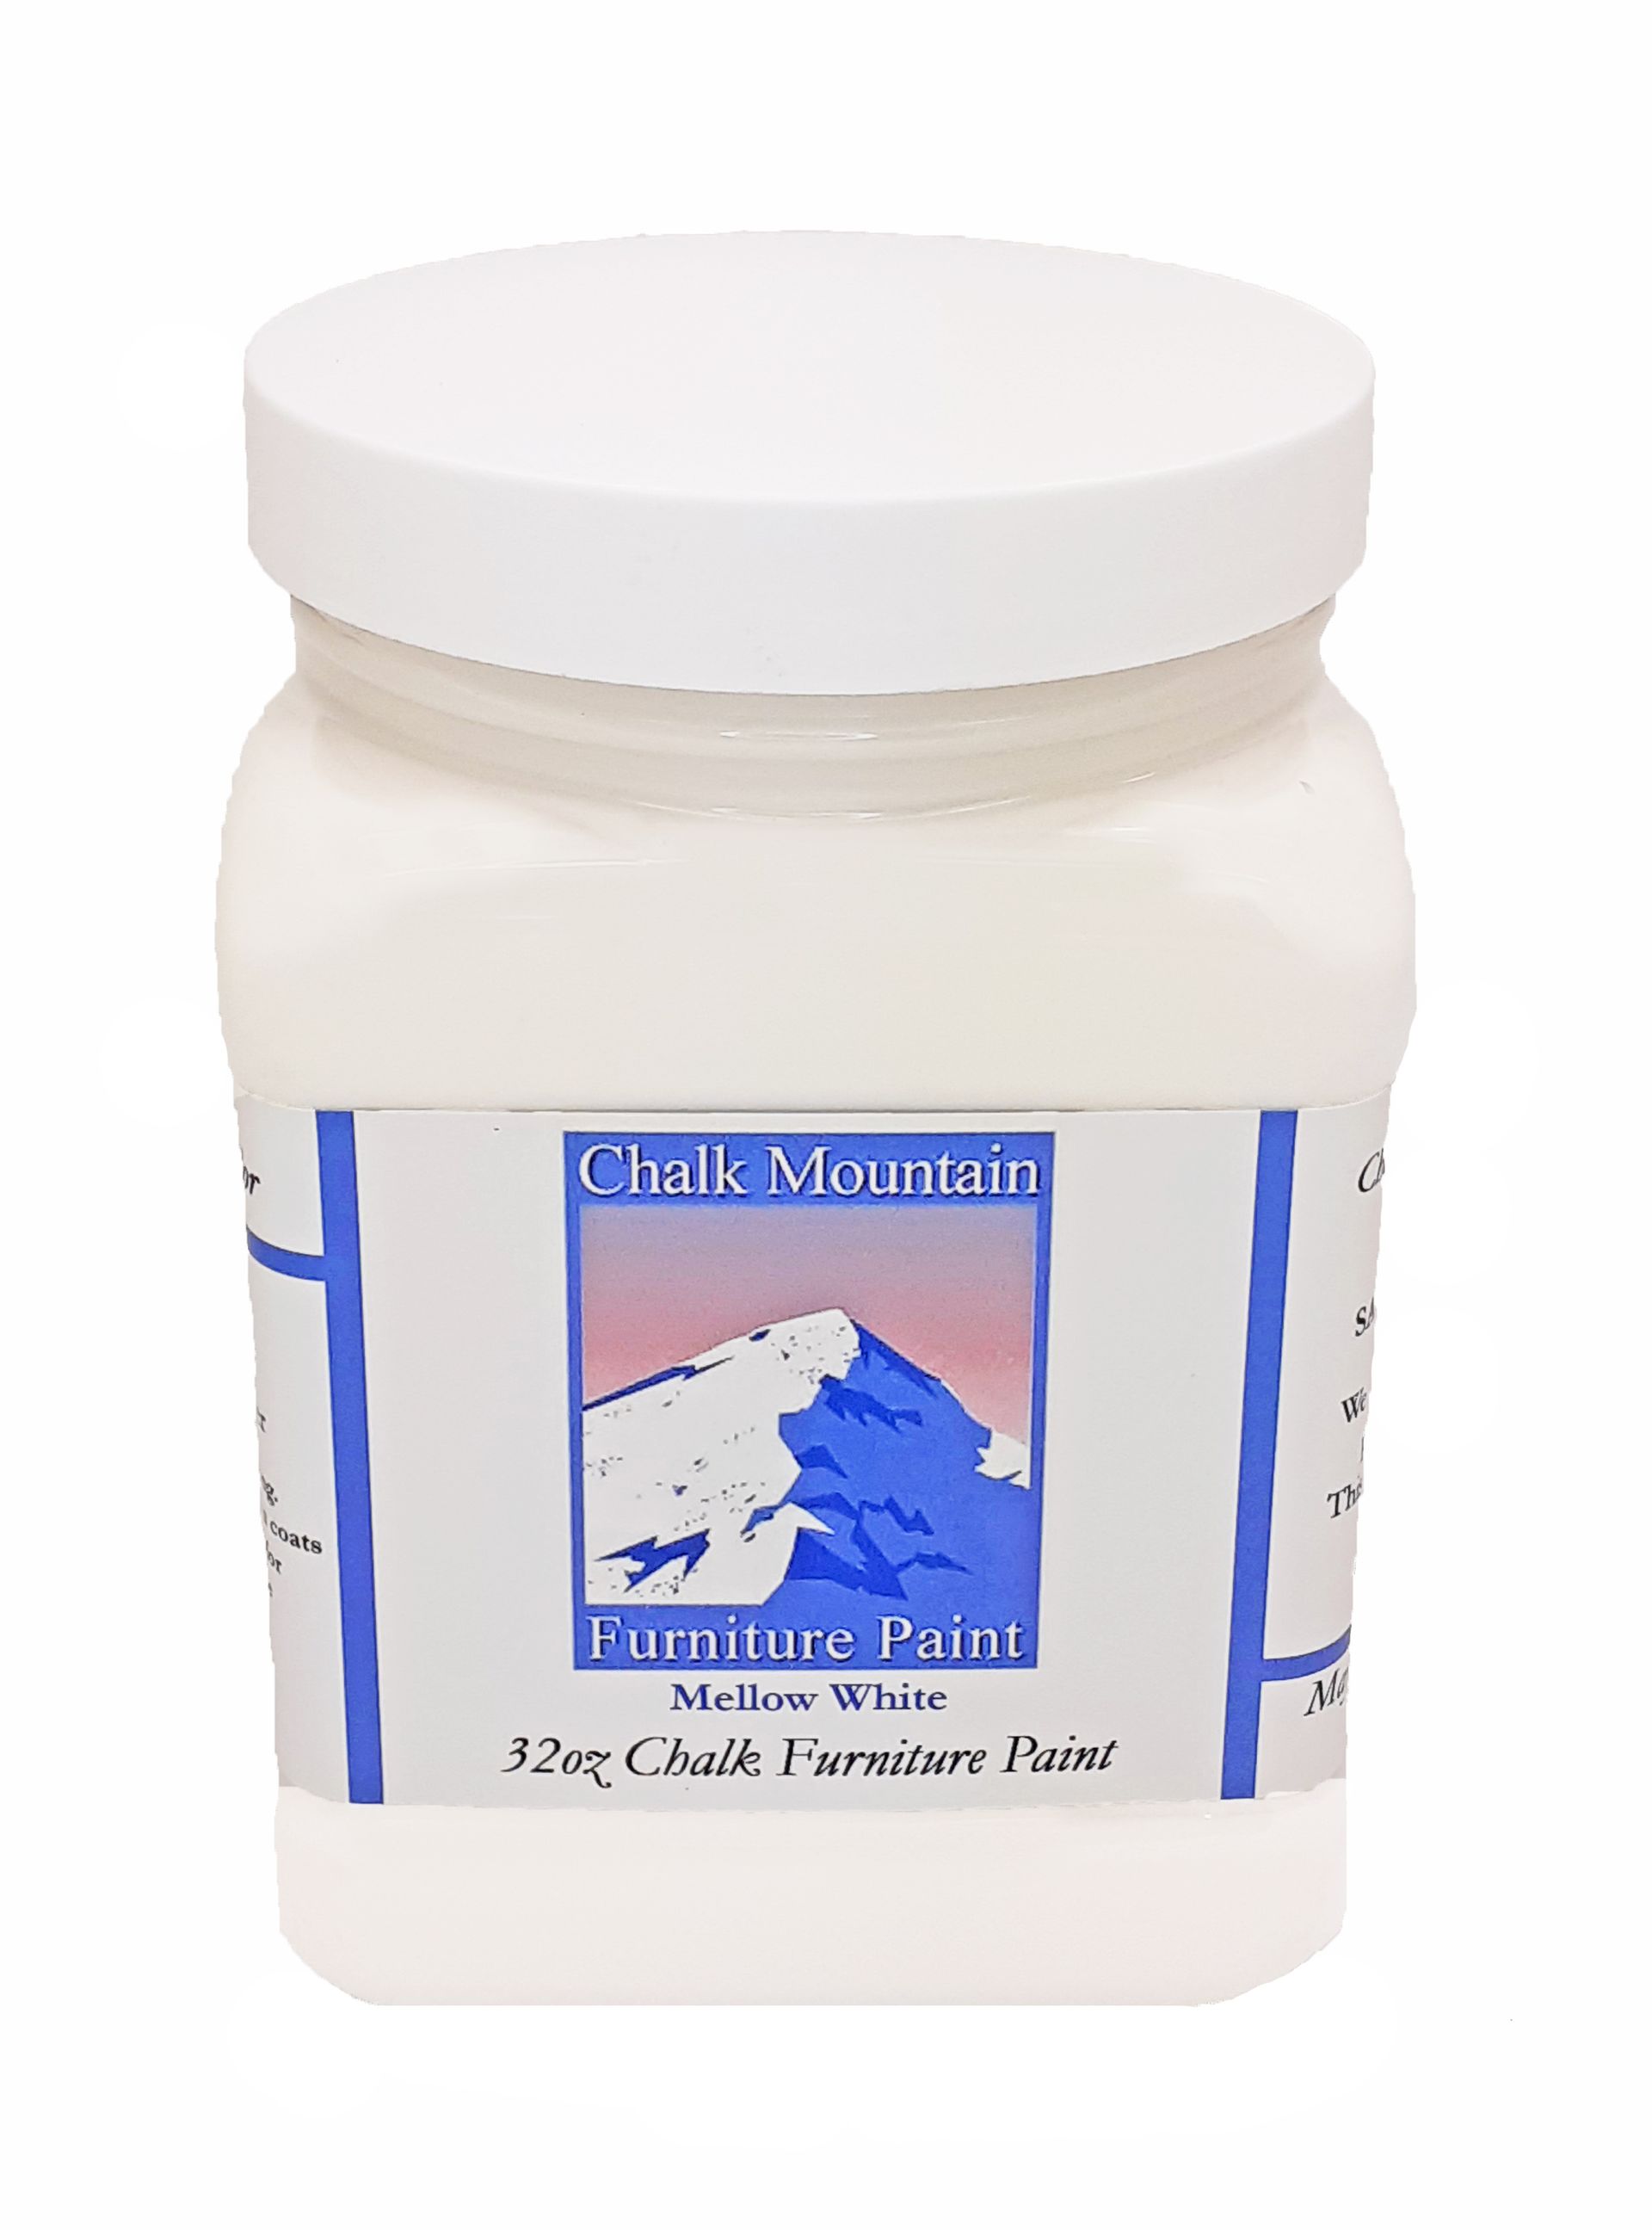
- Open your container of Chalk Mountain paint. is an excellent brand to use.
- Stir the paint.
- Pour it into a glass jar.
- Fill a spray bottle with water.
- Spray your brush every once and a while as you’re painting if your paint starts to get too thick.
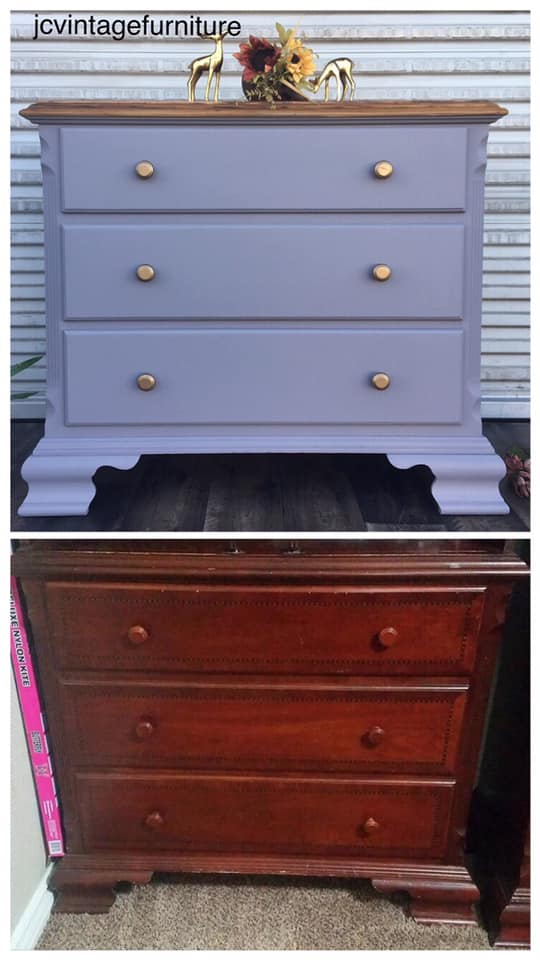
- Paint your desk with the grain of the wood.
- Swipe the brush across the top to give it a nice smooth look.
- Once you’re done painting the desk top, proceed to paint the front of the drawers.
- Let the paint dry for 30 minutes.
- Apply a second coat to the dresser and drawers.
- Let it dry for 30 minutes.
- Apply creme wax with a foam brush to protect the paint and leave a silky finish. Americana Decor has an excellent clear creme wax to use as the final topcoat. You don’t want to put a heavy coat of this on. You just want a thin layer.
- Once everything is dry, put the handles back on the drawers and place the drawers back into the dresser.
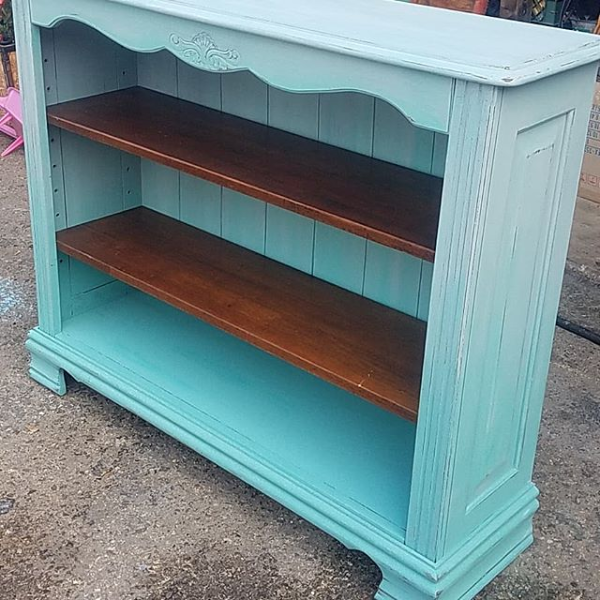
There are several ways to create a blending technique with chalk furniture paint, depending on the effect you're looking for and your comfort level. Wet Blending: This is a great technique for beginners and creates a smooth, seamless transition between colors. What you'll need: Chalk furniture paint in your desired colors, a dedicated brush for each color, a misting bottle filled with water, and a soft blending brush. Steps: Apply your base coat(s) in your chosen colors, leaving some space for blending between them. While the paint is still wet, lightly mist the area where the colors meet. Use your blending brush, dampened with water, to gently work the colors together in small circles or back-and-forth strokes. Continue misting and blending until you achieve the desired level of transition. Let the paint dry completely before adding another coat or sealant. Dry-Brush Blending: This method offers more control and is ideal for creating textured or distressed finishes. What you'll need: Chalk furniture paint in your desired colors, a flat brush for each color, and a stiff bristle brush. Steps: Apply your base coat(s) as desired. Dip the flat brush into one color and wipe off most of the paint on a paper towel. Lightly brush the color onto the other color in a dabbing motion, creating a feathered effect. Repeat with the other color, working in small sections. Use the stiff bristle brush to further blend and distress the colors if desired. Let the paint dry completely before adding another coat or sealant. Feathering Blending: This technique creates a soft, diffused transition between colors. What you'll need: Chalk furniture paint in your desired colors, a flat brush for each color, a clean, and a damp sponge. Steps: Apply your base coat(s) as desired. Dip the flat brush into one color and load it lightly. Use the sponge to dab the loaded brush onto the other color, creating a feathered edge. Repeat with the other color, working in small sections. Blend the edges further with the clean side of the sponge by lightly dabbing and lifting. Let the paint dry completely before adding another coat or sealant. Meshing Technique: This is a quicker, less controlled method that creates a mottled, blended effect. What you'll need: Chalk furniture paint in your desired colors, a chip brush, and a clear furniture wax or colored wax of your choice. Steps: Apply a base coat of your chosen color. Apply a thin coat of clear glaze over the entire surface. While the glaze is wet, randomly "slap" on small amounts of your other chosen colors with the chip brush. Let the furniture wax dry completely, then add another coat if desired. Tips: Always practice on a scrap piece of wood or furniture before starting your project. Work in small sections to avoid blending too much paint at once. Keep your blending brush damp for wet blending and dry for dry-brush blending. Don't be afraid to experiment with different colors, techniques, and tools to achieve your desired effect. There are many online tutorials and resources available to help you learn more about chalk furniture paint blending techniques. We hope this helps! Contact us today if you have any further questions. May all your Mistakes be Serendipitous.


