How to Use Chalk Mountain Paint
DIY makeovers using Chalk Mountain Paint

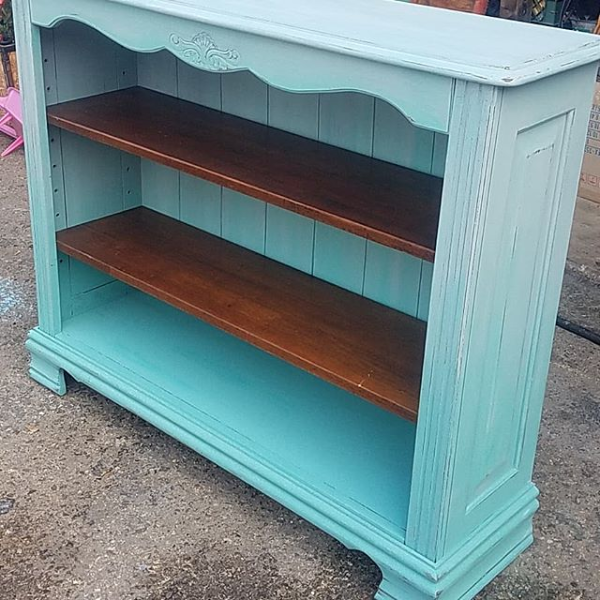
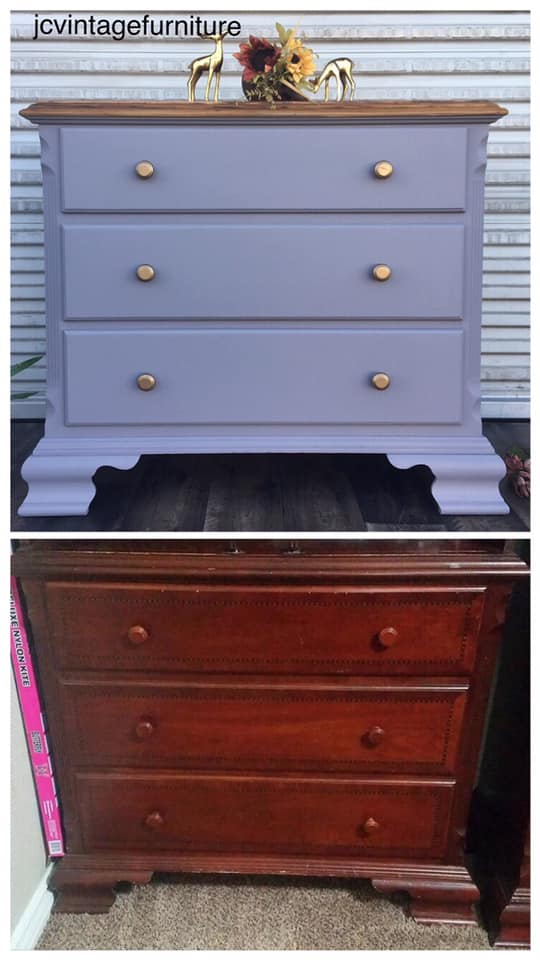
Are all of those lust-worthy before and after chalk paint pictures on Pinterest getting you in the mood to do some serious DIY makeovers to your decor?
Using Chalk Mountain paint is trending big time right now and for good reason. It’s an amazing technique to use if you’re low on time, energy, and money.
Maybe you’re simply craving a change in the way your home looks. We all go through different phases and want to switch things up. If you want to give Chalk Mountain paint a go but you have no clue what it is or where to start, then consider this your go-to guide for all things Chalk Mountain paint related.
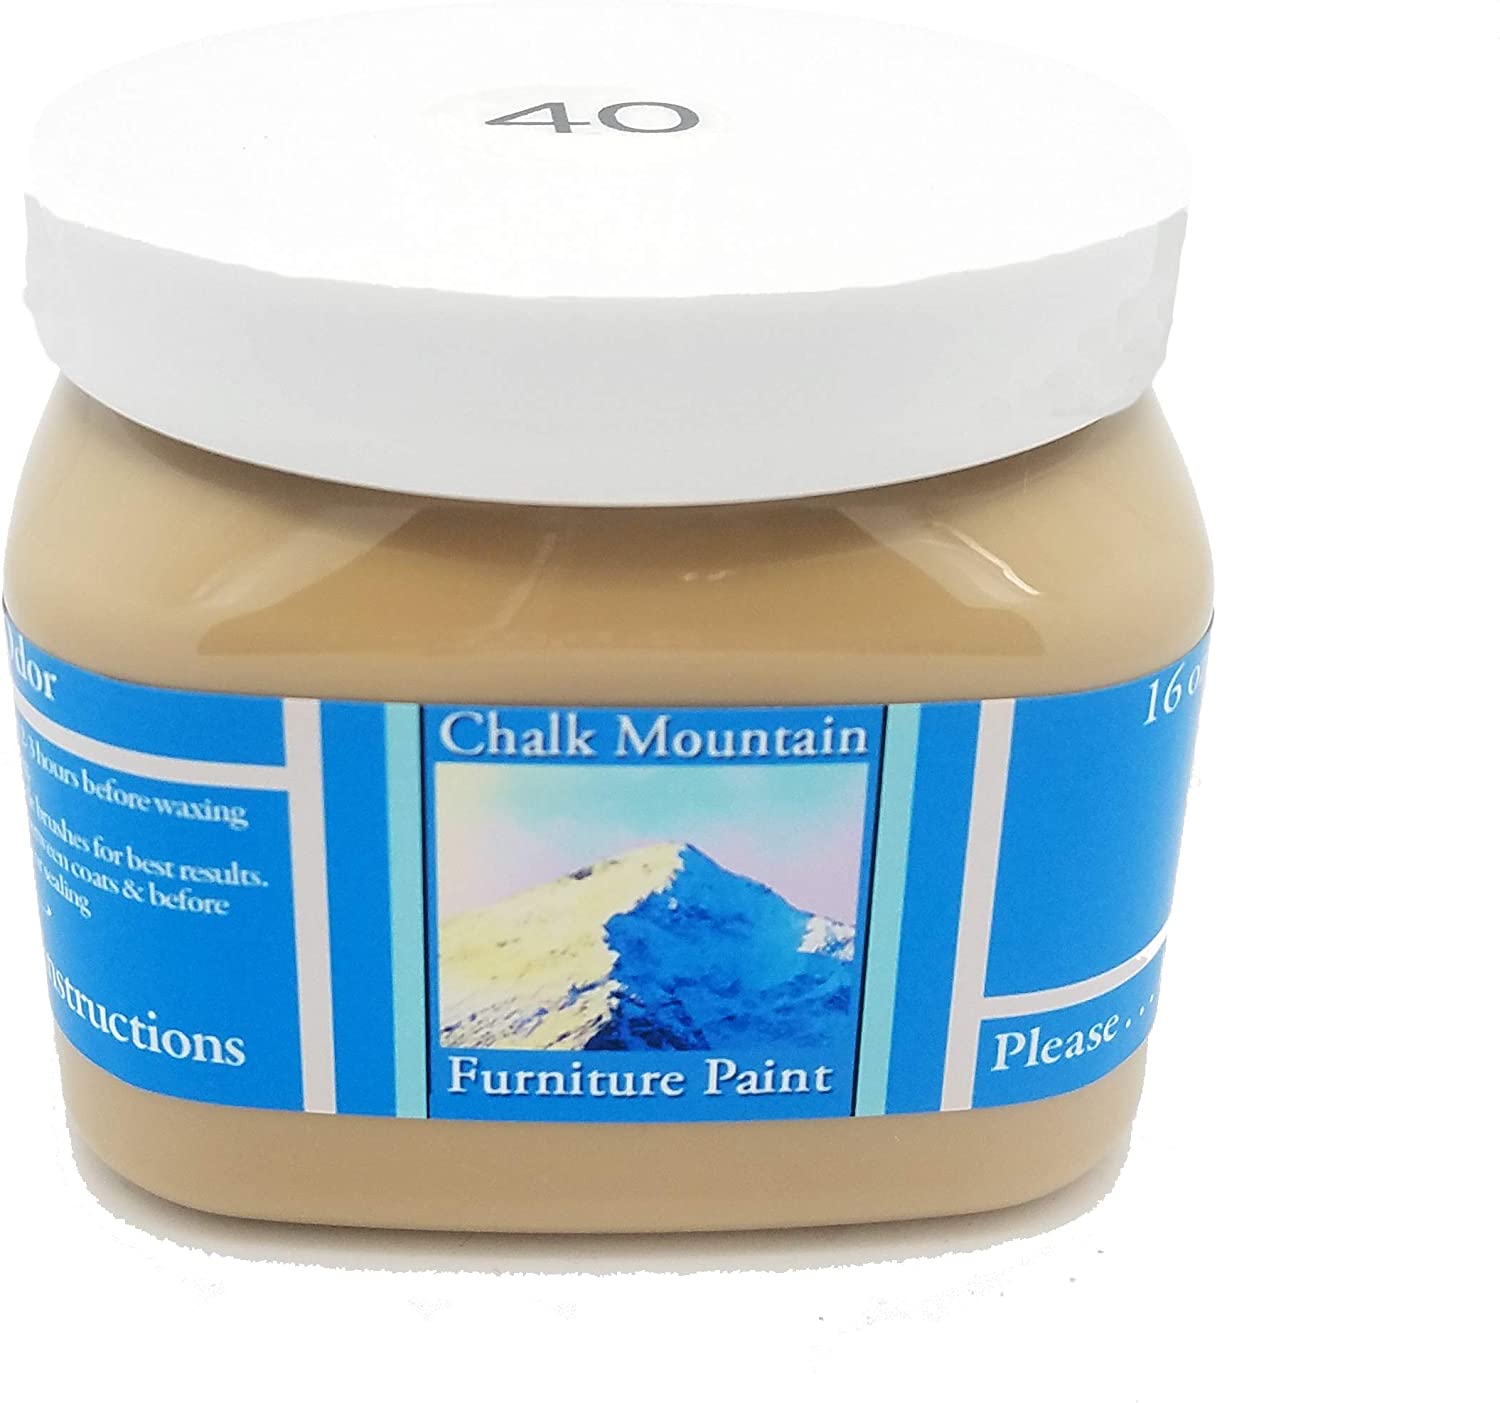
What Is Chalk Mountain Paint?
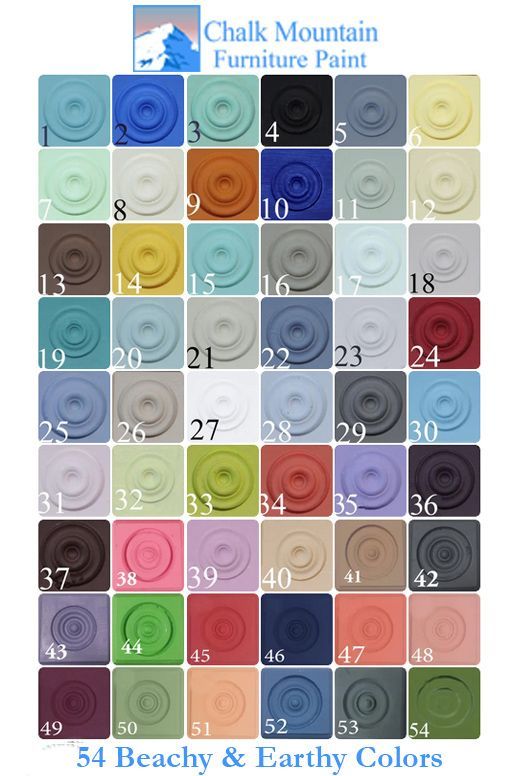
Chalk Mountain paint is a decorative furniture paint. It was developed by a small family on the Central Coast or California right here in the USA.
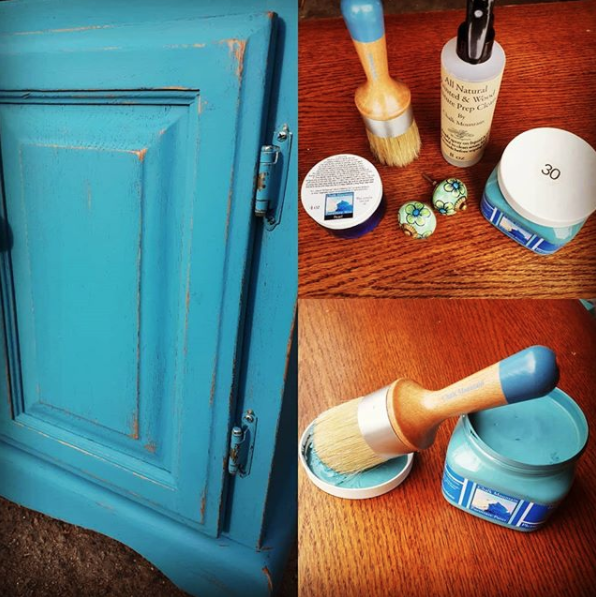
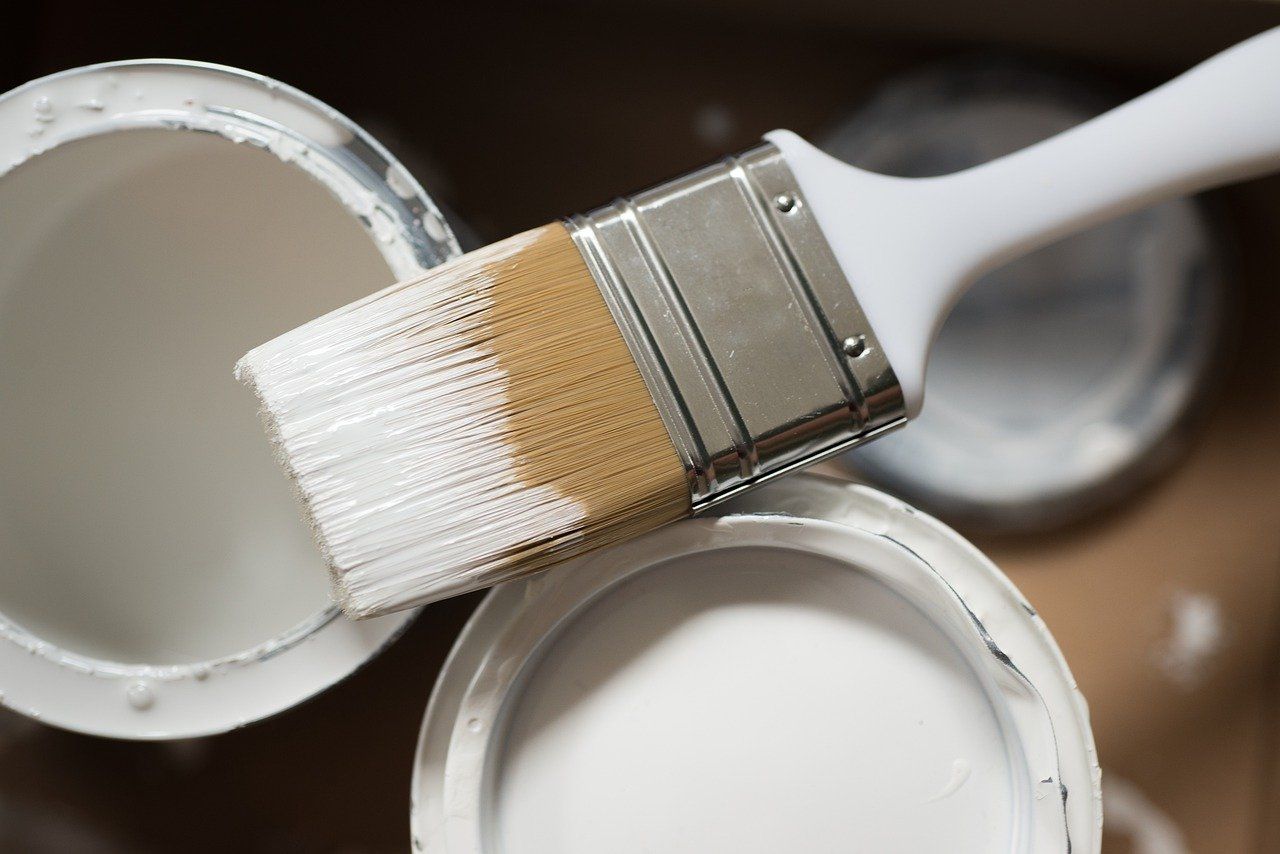
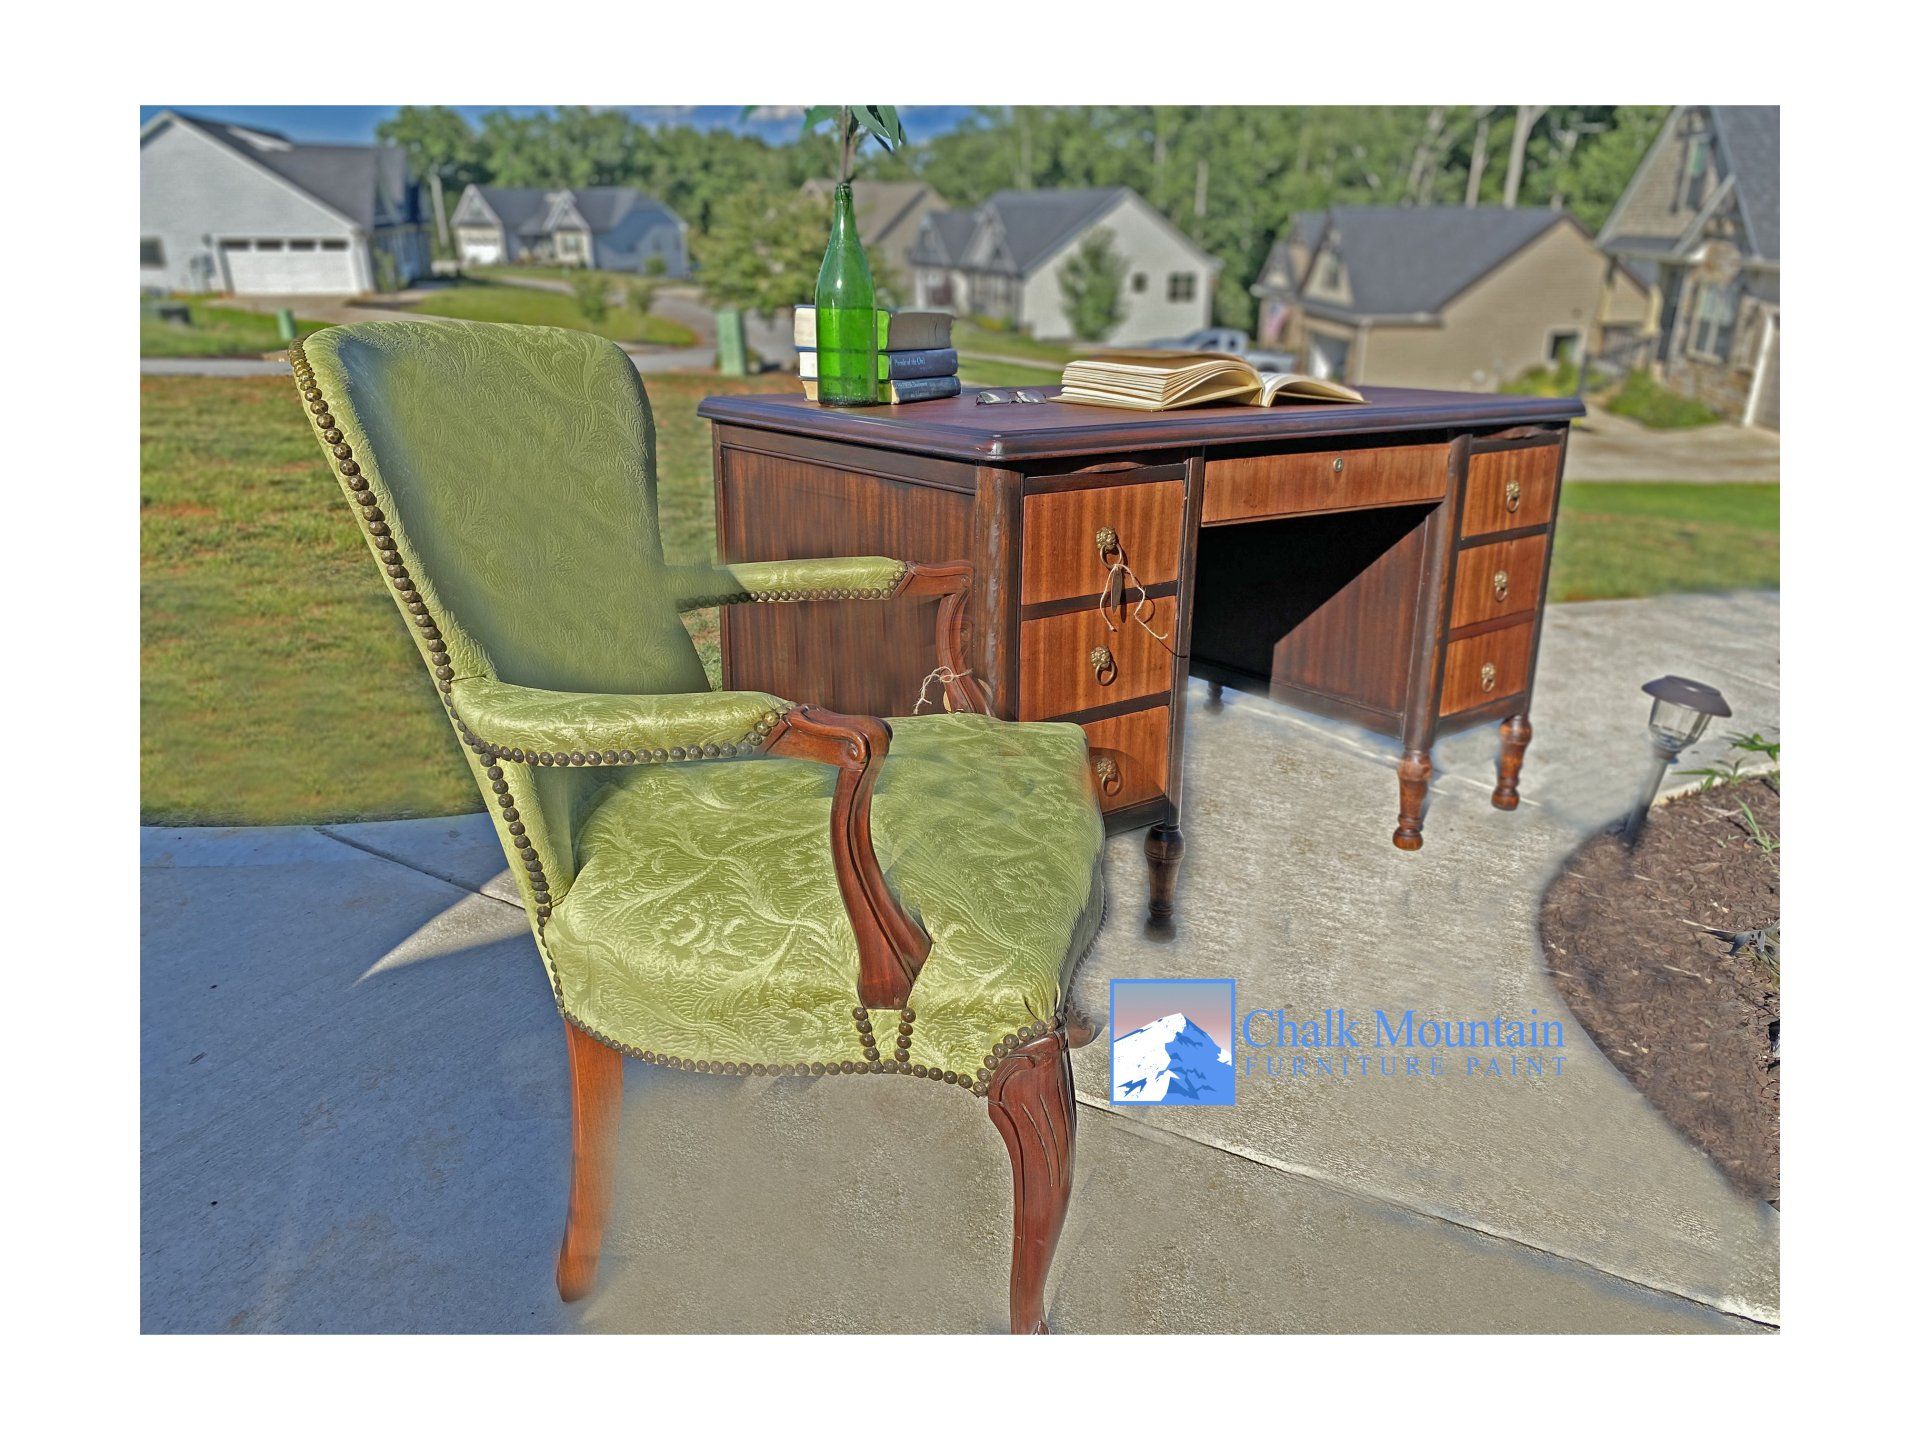
Chalk Mountain Paint has a velvety, matte finish that polishes the look of anything it touches. You can use it to bring new life to old furniture.
It can even be used to paint walls, ceilings, kitchen cabinets, and floors. It wears beautifully on a variety of surfaces such as bricks, cement, metal, plastic, and wood.
Why Should You Use Chalk Mountain Paint?
Chalk Mountain Paint is versatile and super easy to use. The great thing about Chalk Mountain Paint is that you don’t have to sand down the furniture before you paint it on as you would with regular paint. Forget about priming too – that’s not needed.
You get to skip straight to the fun part. Plus, it has virtually no odor, drys fast, and has minimal dripping. Even when you do get paint on something, it’s not the end of the world.
Chalk Mountain Paint is water-based so it’s easy to clean up. I spilled some on the entire left side of my black shorts while painting.
When I was done, I just tossed my shorts in the wash and voila, they were as good as new. There wasn’t a trace of white paint anywhere.
Using Chalk Mountain Paint is a very simple process that anyone can do. Whether you’re a newbie DIYer or a seasoned pro, using chalk paint is a walk in the park. You’ll love the amazing results!
How Durable Is Chalk Mountain Paint?
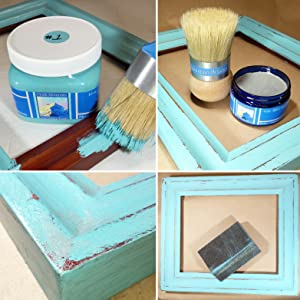
Chalk Mountain Paint can stand the test of time if sealed properly. Use a soft wax to seal the paint after it has dried.
You can get away with applying one coat of wax on surfaces that won’t get much traffic – think the legs of a bar stool. But for those surfaces that will get a fair amount of use such as the top of a living room table, you’d do well to seal it with two or three layers of wax.
Of course, you’ll need to give it enough time to dry between coats. Although this will help preserve the chalk paint, it will take away the matte finish and leave behind a silky texture.
What Not to Confuse Chalk Mountain Paint With...
Chalk Mountain Paint is not the same as chalkboard paint. The two are different types of materials. By now you know what chalk paint is, but you may be scratching your head as to what chalkboard paint is.
Chalkboard paint is used to turn a clean surface into a writing slate. It’s great to use for kid’s furniture.
Apply chalkboard paint to a little one’s dresser and let him or her go ham drawing whatever comes to mind. Little kids love stuff like this.
But it isn’t just for kids. If you’re a busy bee looking to organize your life, convert a framed mirror into a writing pad and watch how pulled together you’ll feel.
Chalk Paint vs. Acrylic Paint: Why Your Next DIY Project Demands Chalk
There are several ways to create a blending technique with chalk furniture paint, depending on the effect you're looking for and your comfort level. Wet Blending: This is a great technique for beginners and creates a smooth, seamless transition between colors. What you'll need: Chalk furniture paint in your desired colors, a dedicated brush for each color, a misting bottle filled with water, and a soft blending brush. Steps: Apply your base coat(s) in your chosen colors, leaving some space for blending between them. While the paint is still wet, lightly mist the area where the colors meet. Use your blending brush, dampened with water, to gently work the colors together in small circles or back-and-forth strokes. Continue misting and blending until you achieve the desired level of transition. Let the paint dry completely before adding another coat or sealant. Dry-Brush Blending: This method offers more control and is ideal for creating textured or distressed finishes. What you'll need: Chalk furniture paint in your desired colors, a flat brush for each color, and a stiff bristle brush. Steps: Apply your base coat(s) as desired. Dip the flat brush into one color and wipe off most of the paint on a paper towel. Lightly brush the color onto the other color in a dabbing motion, creating a feathered effect. Repeat with the other color, working in small sections. Use the stiff bristle brush to further blend and distress the colors if desired. Let the paint dry completely before adding another coat or sealant. Feathering Blending: This technique creates a soft, diffused transition between colors. What you'll need: Chalk furniture paint in your desired colors, a flat brush for each color, a clean, and a damp sponge. Steps: Apply your base coat(s) as desired. Dip the flat brush into one color and load it lightly. Use the sponge to dab the loaded brush onto the other color, creating a feathered edge. Repeat with the other color, working in small sections. Blend the edges further with the clean side of the sponge by lightly dabbing and lifting. Let the paint dry completely before adding another coat or sealant. Meshing Technique: This is a quicker, less controlled method that creates a mottled, blended effect. What you'll need: Chalk furniture paint in your desired colors, a chip brush, and a clear furniture wax or colored wax of your choice. Steps: Apply a base coat of your chosen color. Apply a thin coat of clear glaze over the entire surface. While the glaze is wet, randomly "slap" on small amounts of your other chosen colors with the chip brush. Let the furniture wax dry completely, then add another coat if desired. Tips: Always practice on a scrap piece of wood or furniture before starting your project. Work in small sections to avoid blending too much paint at once. Keep your blending brush damp for wet blending and dry for dry-brush blending. Don't be afraid to experiment with different colors, techniques, and tools to achieve your desired effect. There are many online tutorials and resources available to help you learn more about chalk furniture paint blending techniques. We hope this helps! Contact us today if you have any further questions. May all your Mistakes be Serendipitous.
Starting your furniture upcycle business with Chalk Mountain
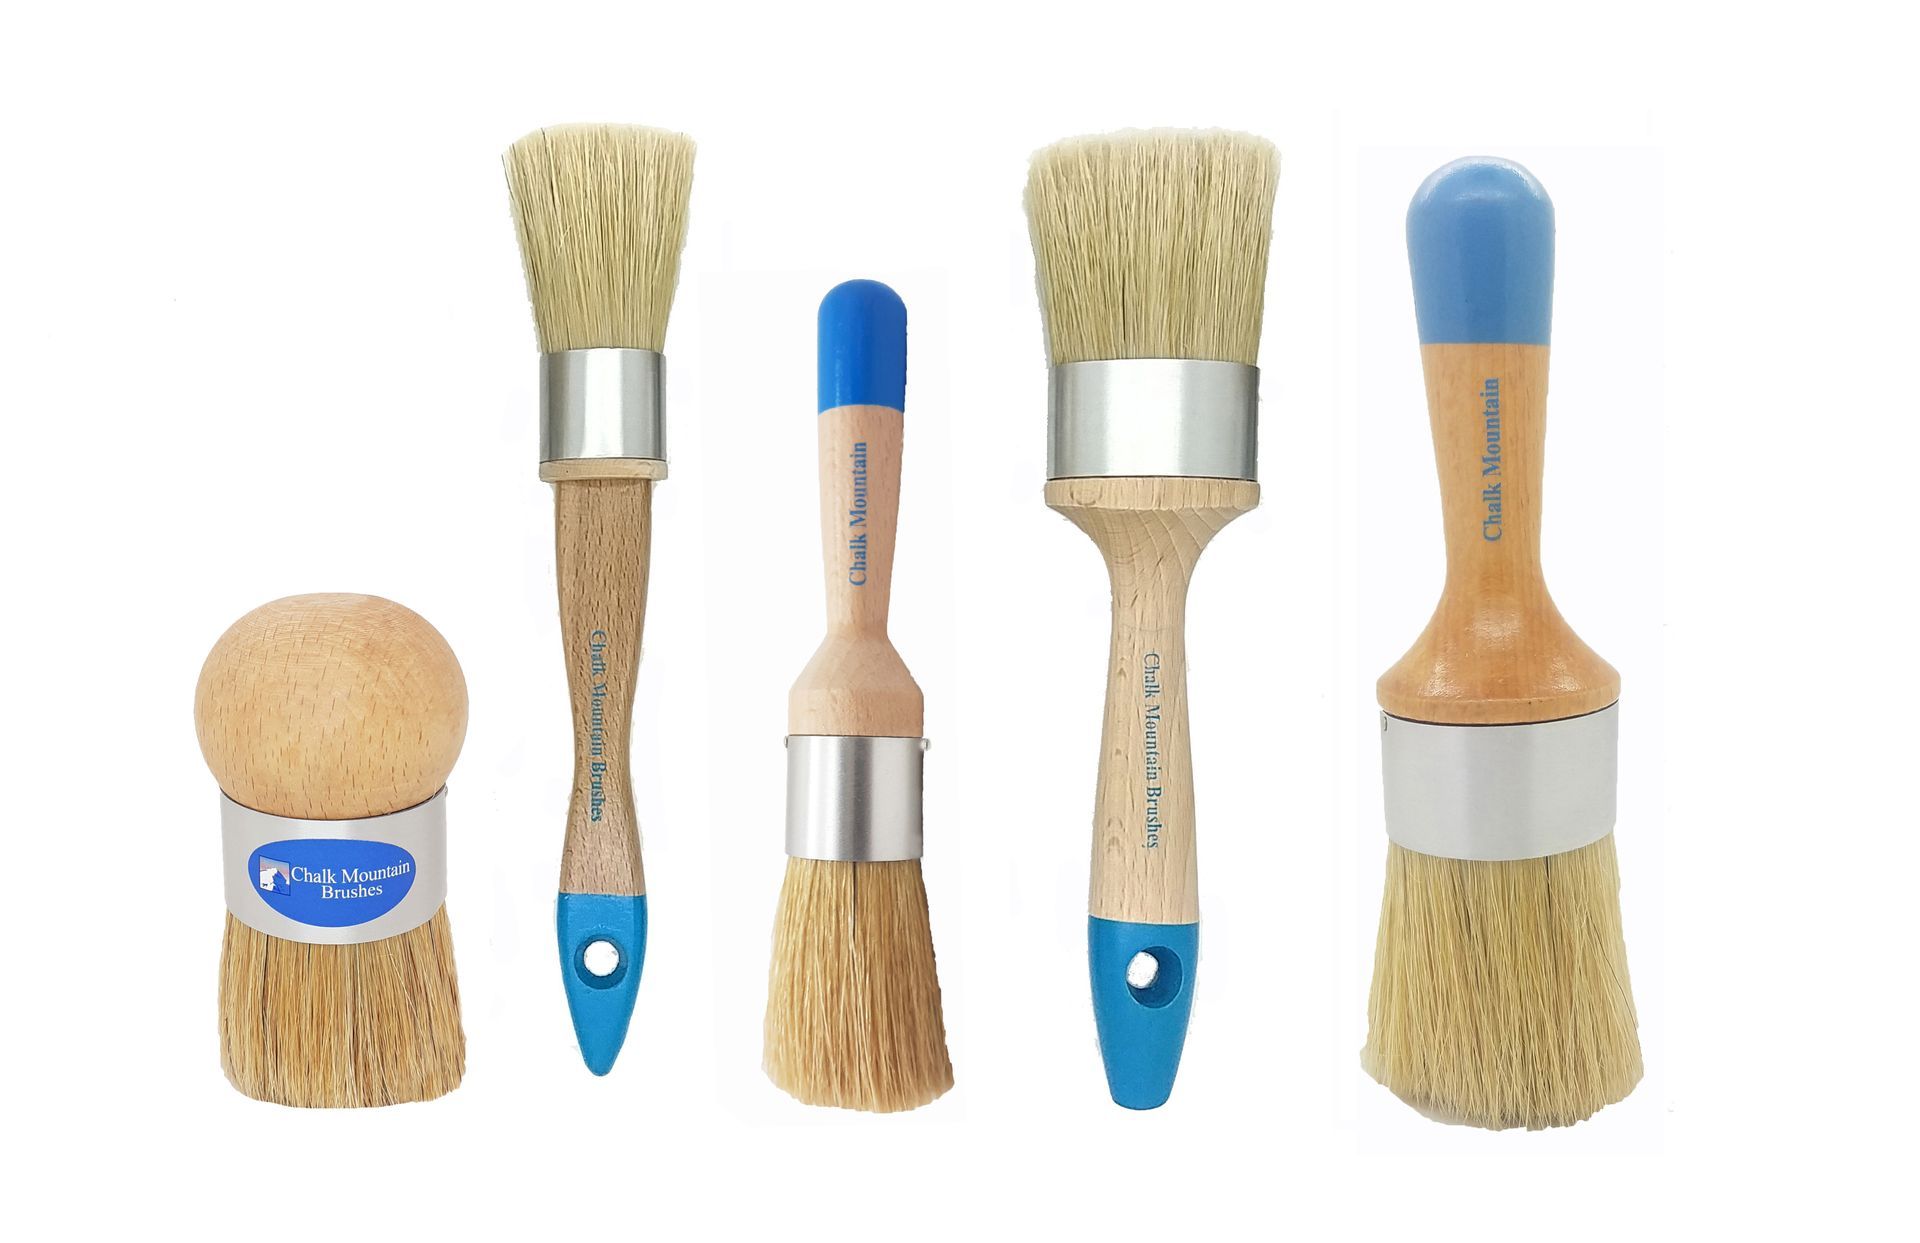
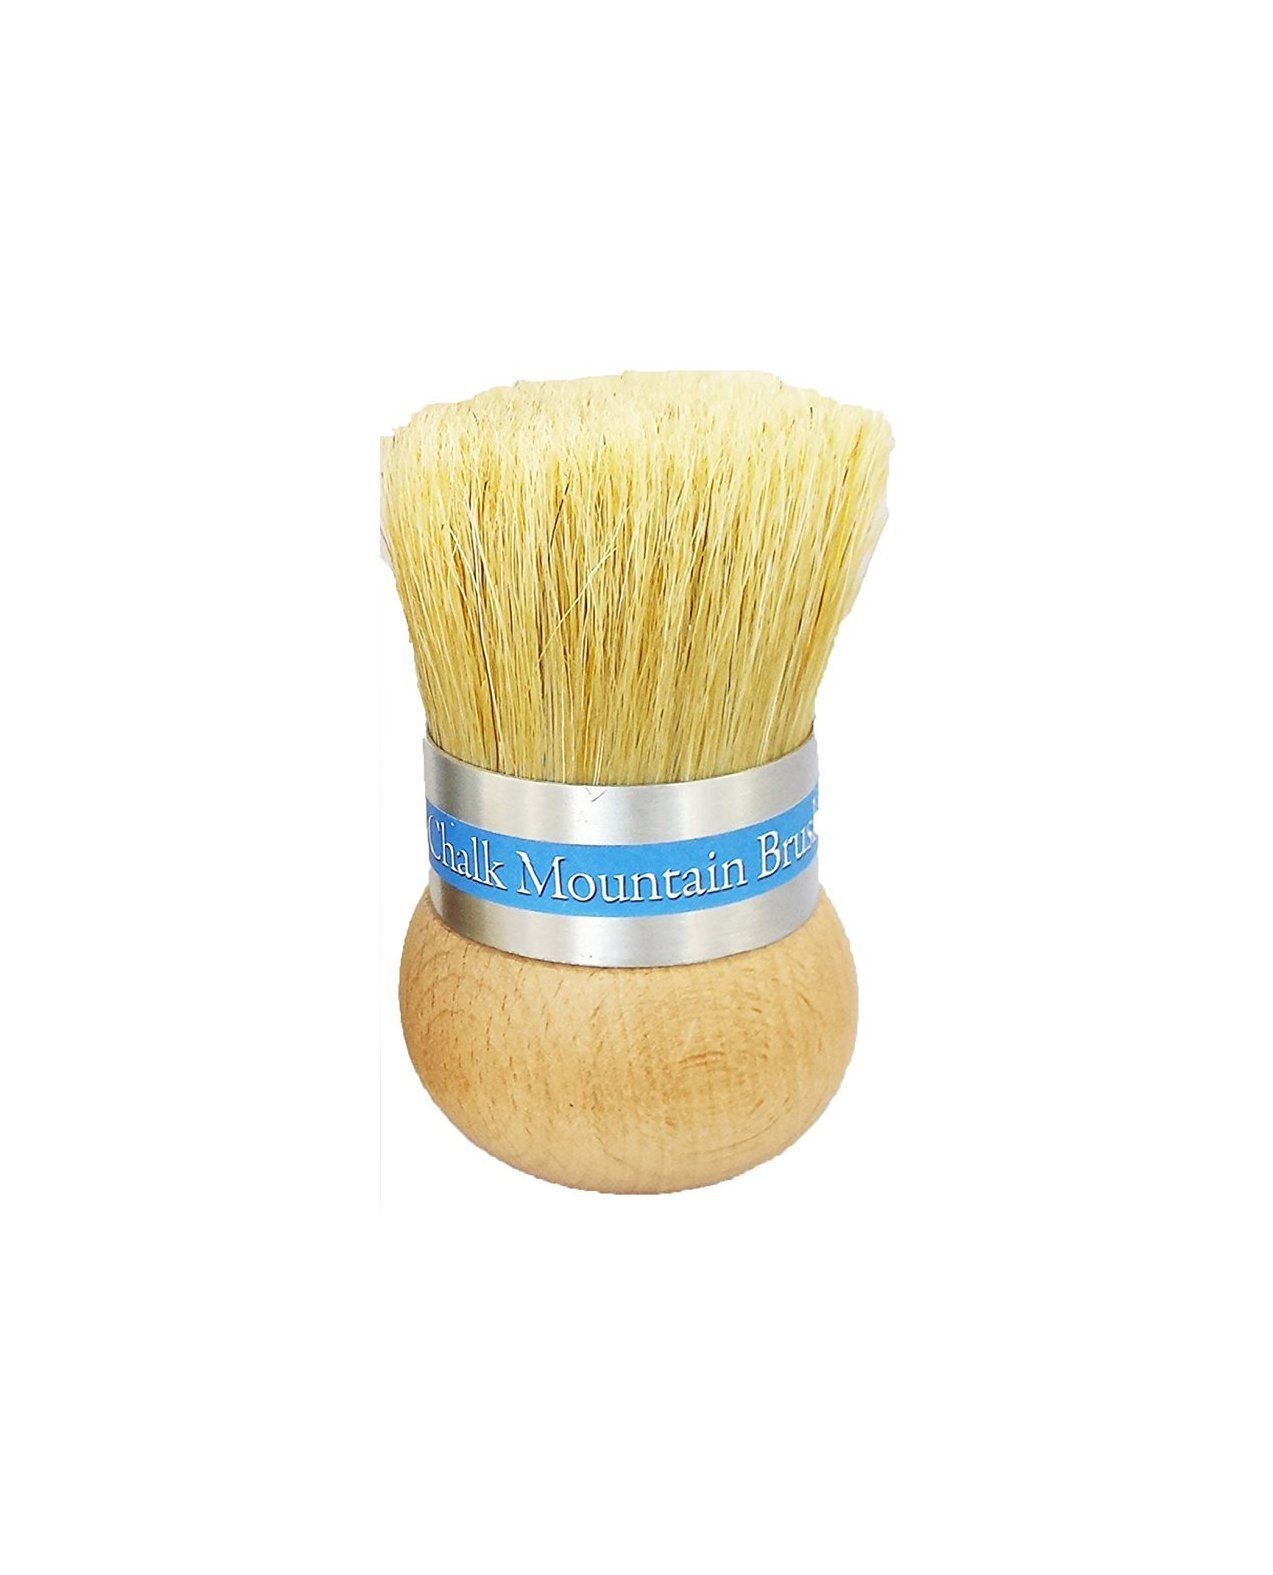
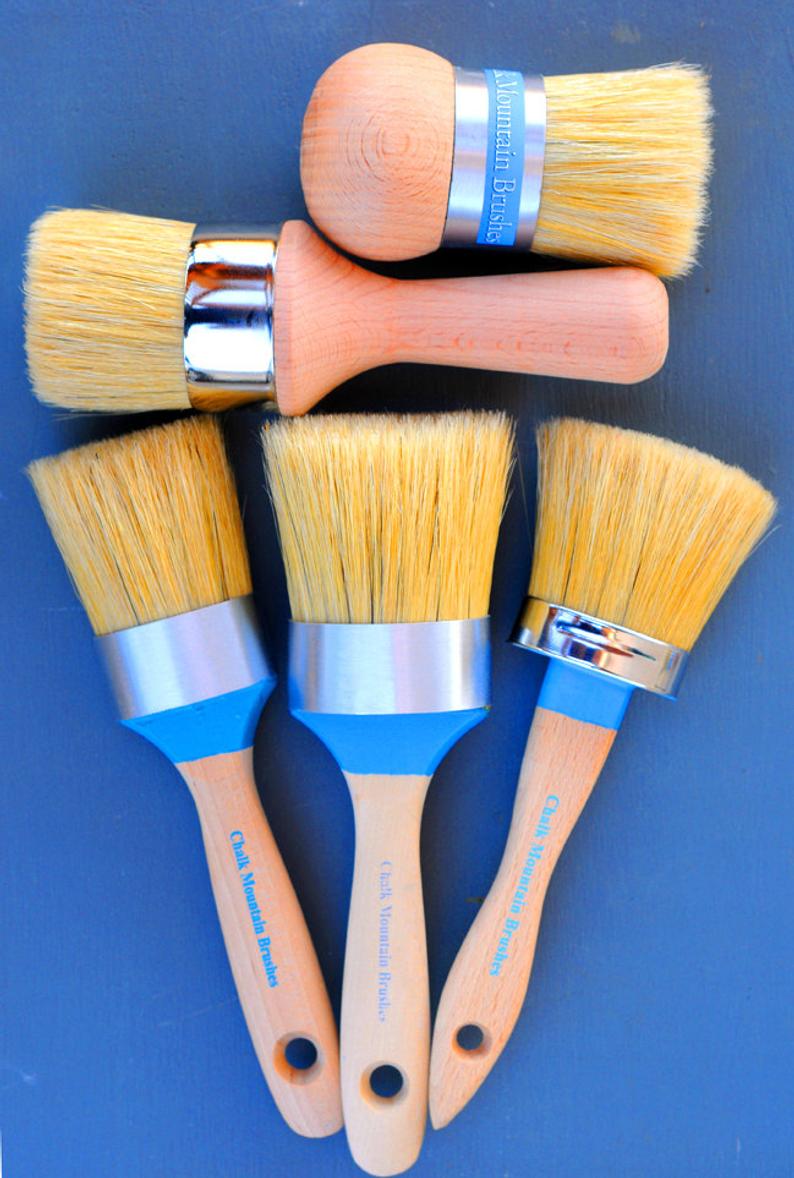
Boar Hair Paint and Wax Brushes: The Artisan's Choice for Quality and Efficiency
Caring for your brushes after a project.
For all your DIY supplies
A Versatile and Easy-to-Use Paint for Furniture
Complete your Project with Chalk Mountain
The History behind Chalk Furniture Paint

The Origin of Natural Furniture Wax